About the cooking blog...

We enjoy a good meal. 99 out of 100 times, this good meal takes place in our kitchen. We don't eat out very often, and when we do, we're rarely "wow-ed" by the food we get. The following are recipes that have passed through our kitchen. They're not always winners, but we'll tell you if they're not, and what should be changed to make them better. Enjoy!

Saturday, October 15, 2011

Virginia makes food too!

So, I realized last week that while Aaron has been a culinary king, exploring exotic butters and jams, I haven’t made any blog worthy food since we moved to Staunton.

My solution was to spend one evening making home-made apple sauce and pumpkin pie. The inspiration for the pie was my mom who recently lured Aaron and I to Lexington just with the promise of the first pumpkin pie of the season. The inspiration for the apple sauce was Leah Sirkus who has been buying bushels of apples literally every time I see her.

First the pie. The only pumpkin pie that I really love is my mom’s and it’s ridiculously easy and almost impossible to mess up. Side note, this isn’t the real recipe, I’ve tweaked the amounts to make extra filling. All you do is mix:

  • 1 can pumpkin (use Libby’s DO NOT use pumpkin pie mix)
  • three eggs
  • 1/2 sugar
  • almost all of a small can of evaporated milk (PET - the can that's about the size of my fist)
  • 3/4 cup dark corn syrup plus a few extra squirts for good luck
  • 1/4 teaspoon salt
  • 1 teaspoon cinnamon
  • 1/2 teaspoon ginger
  • 1/2 teaspoon nutmeg


And pour that into a pie pan. Because I always use the whole can of pumpkin, it usually makes too much to fit in the pan. So just pour the extra into a pyrex baking dish and you have pumpkin soufle'!

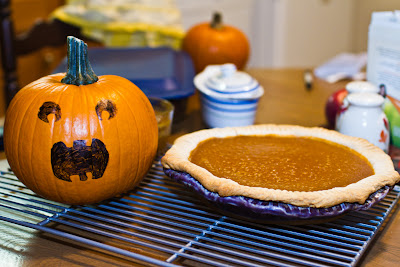
It’s so easy we didn’t even take pictures of that part. Here’s what the delicious pie looks like though.

That pumpkin was freaking out because he knows he’s next in line… But seriously, if I do make a pie out of a real pumpkin (with no help from Libby’s) I’ll be sure to document it on the blog.

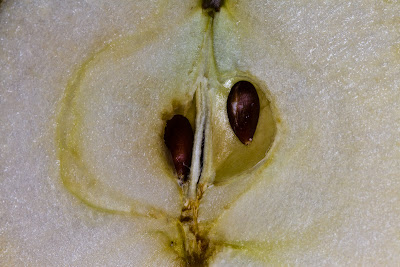
Now for the apple sauce, which is also ridiculously easy. The hardest part is chopping up all the apples. I decided to go with the chopped, chunkier apple sauce because I was afraid grating it would be too messy and juicy, but next time I think I’ll try grating them.

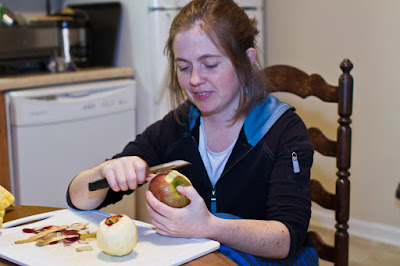
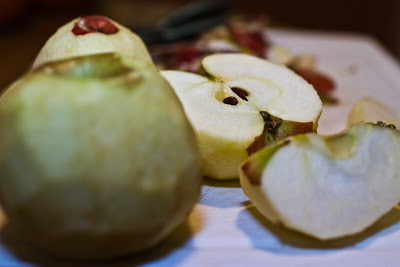
I peeled mine first to avoid the texture of the skin, but you don’t have to.

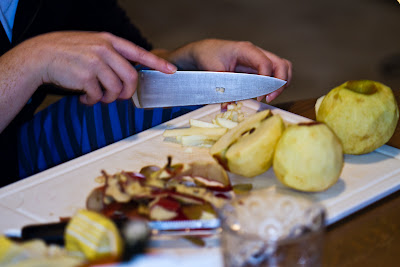
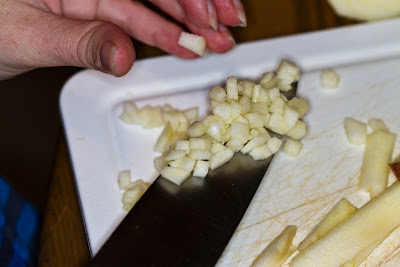
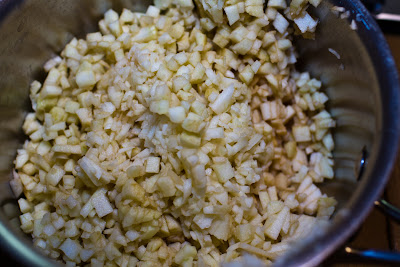
Then the chopping began.

Oh the chopping!

Once my apples were chopped. They went into the sauce pot.

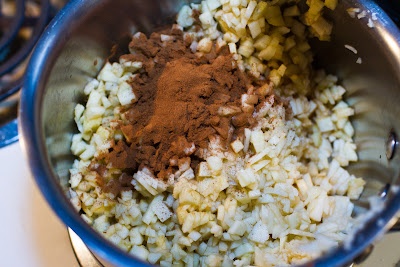
Then I added 1 teaspoon of cinnamon, although next time I would use less. Maybe start with 1/2 teaspoon.

I added about 3 tablespoons of water and 2 tablespoons of cider as the apples cooked down. Basically every time the consistency got really thick and started sticking to the bottom of the pan. I cooked the apples about 20 mins. until soft. Then added brown sugar to taste.

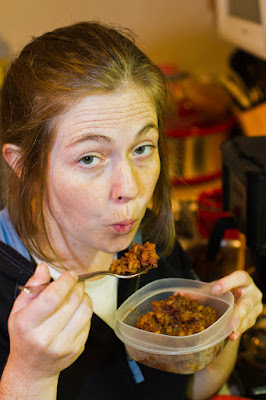
Delicious! But sadly three apples only made about three servings, so next time I would hire more minions to do the chopping and/or grating.
Tuesday, October 11, 2011

Habanero Pepper Jelly


A word up front with this recipe.

SAFETY FIRST.

I often say that stupidity should hurt. Well, today, I learned two things.

  1. Stupidity DOES in fact hurt.
  2. I am stupid.

So. When working with Habaneros, it’s important that you think about the damage they can do. The oil from the peppers will soak into anything they can. This means open pores, dry skin, open wounds, etc. If you tend to have especially dry skin, either lotion up, or wear gloves. Right now, it burns under all of my fingernails and the entire end of the pointer finger on my right hand feels like I’m holding it over a candle flame. My forehead finally quit burning about 5 minutes ago, and my nose is starting to stop burning as well. So.. wear gloves, turn the thermostat down to 62 degrees so you don’t sweat… whatever you have to do to make sure that you don’t touch any part of yourself after touching the peppers.

All of that said, on with the recipe. For this one, you’ll need a few special things…


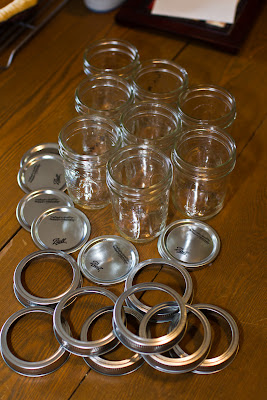
You’ll need about 8 1/2 pint Mason jars (or Ball jars) and 2 - 3oz packs of liquid pectin.

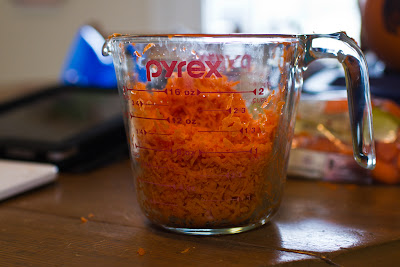
Also, you’ll need about 15 Habanero Peppers, a cup’s worth of shredded carrots, 1-1/2 cups of Cider Vinegar, 1 Red Bell pepper, and a bucket of sugar.

To start things off, let’s work on the Habaneros.

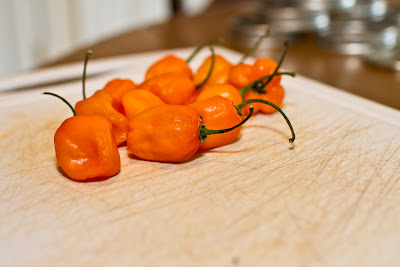
Here they are in their whole, evil form.

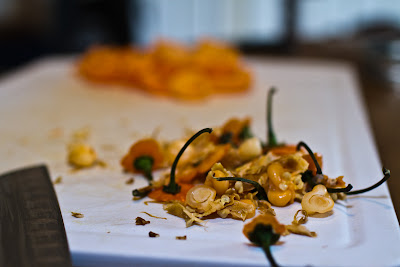
First, you need to get rid of stems and seeds…

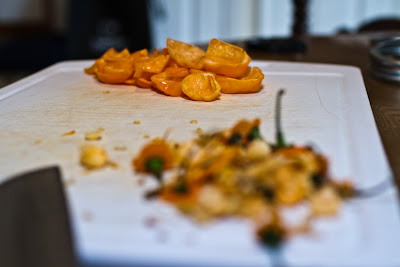
Leaving just the flesh of the pepper behind…

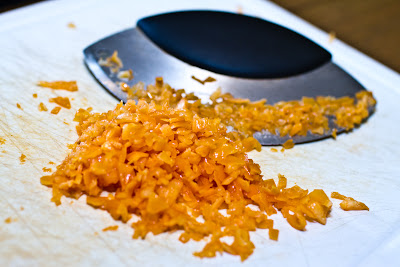
Then, mince the peppers until the are chopped like a fine relish…

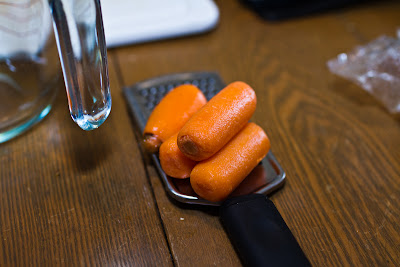
Go ahead and prep your carrots as well… you’ll be shredding the carrots…


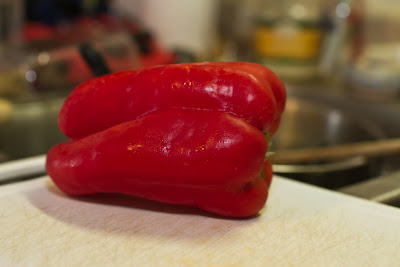
Now, the red pepper. You only need about a half a cup… but, you can eyeball it.

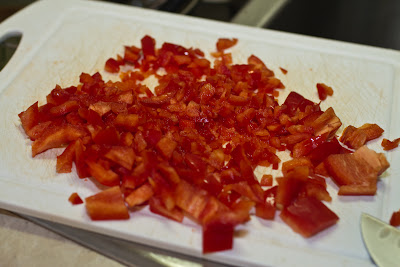
Chop it … all nice and fine.

It’s almost time to start making the jelly… but first, boil a big pot of water. Once boiling, take the lids off of your jars and toss them in the boiling water for 5 minutes to sterilize them. Then pull them out and let them cool a little bit on the counter.

Now, it’s time to start making the jelly.

So, remember that bucket of sugar I said you’d need?

This is 6-1/2 Cups of sugar…. yeah… that’s a lot… but… oh well.

Put the sugar in a medium sized pot, and add 1-1/2 Cups of cider vinegar.

This will be enough to make the sugar mostly wet… toss the sugar around and try to get all of it wet before tossing it on the stove. This is also a good time to get a big pot of water boiling on the stove… like the one that you sterilized the jars in… you want to have 1 inch of water above the tops of the jars.

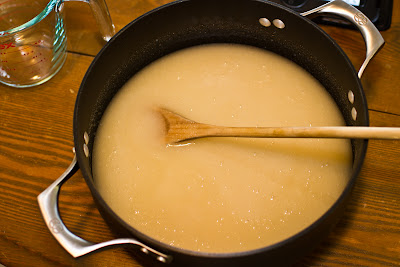
Put it on medium heat until all of the sugar is dissolved.

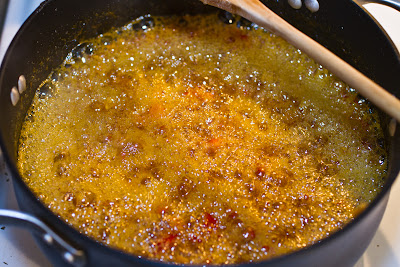
After all of the sugar is dissolved, add the chopped red pepper and the carrots. Bring it to a boil and let it go for 5 minutes, stirring occasionally.

After 5 minutes, add the habaneros and simmer for another 5 minutes, stirring occasionally.

After 5 minutes, add the 2 packs of liquid pectin and stir continuously for one minute. This will thicken the jelly up rather quick-like.

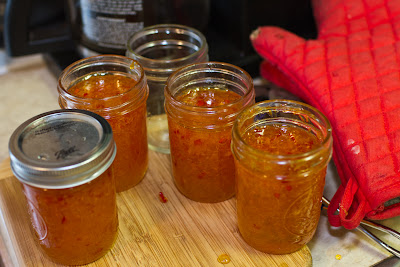
After the pectin has been in for 1 minute, it’s time to pour into jars. Leave some room at the top, I like to leave 1/2”.

Toss the jars into the boiling water for 5 minutes, then remove them and allow them to cool on a wood surface, or a surface covered in a few towels.

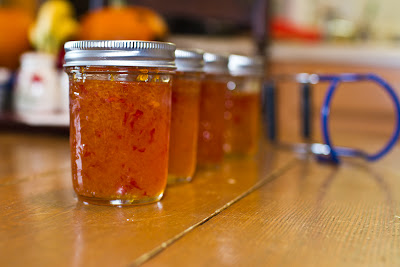
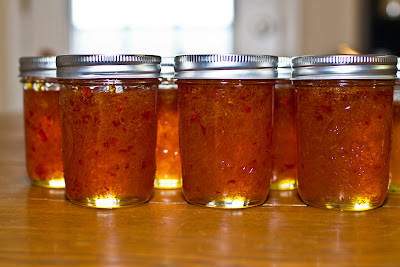
This recipe made about 6-1/2 half-pint jars.

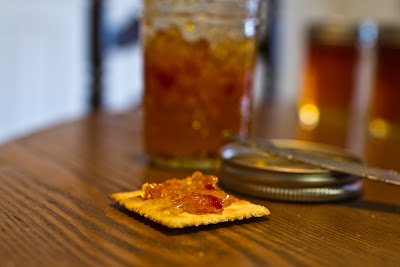
I like to serve the pepper jelly with some cream cheese and crackers, but I suppose there are all sorts of things you can do with it….


This was just a test batch.. there will probably be another batch coming around Christmas time…. so… let me know if you want to try a jar from the test batch… you can come by and grab a jar!