About the cooking blog...

We enjoy a good meal. 99 out of 100 times, this good meal takes place in our kitchen. We don't eat out very often, and when we do, we're rarely "wow-ed" by the food we get. The following are recipes that have passed through our kitchen. They're not always winners, but we'll tell you if they're not, and what should be changed to make them better. Enjoy!

Sunday, April 11, 2010

Slow grilled Pork Ribs

Lord only knows how many international laws I’m breaking here for giving away BBQ secrets…but I’m about to tell you how to make amazing ribs on a gas grill.

Starting off, get yourself some Hickory Smoking Chips.Put about 2 cups in something that you can soak them in. They tell you to let the chips soak in water for 30 minutes. I used unsweetened Apple Juice. After 30 minutes, drain the chips and make a pouch about 8-10 inches long out of aluminum foil. Make sure the pouch is sealed on all four sides, then poke some holes in the top of it… about 10-12 holes with a knife will work just fine. Place the packets directly on the burners that will be used for your cooking. (Under the grilling surface itself.)

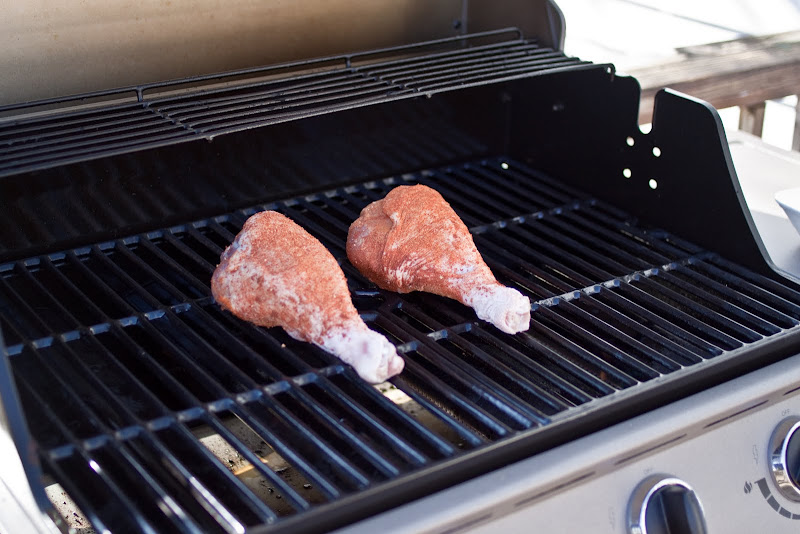
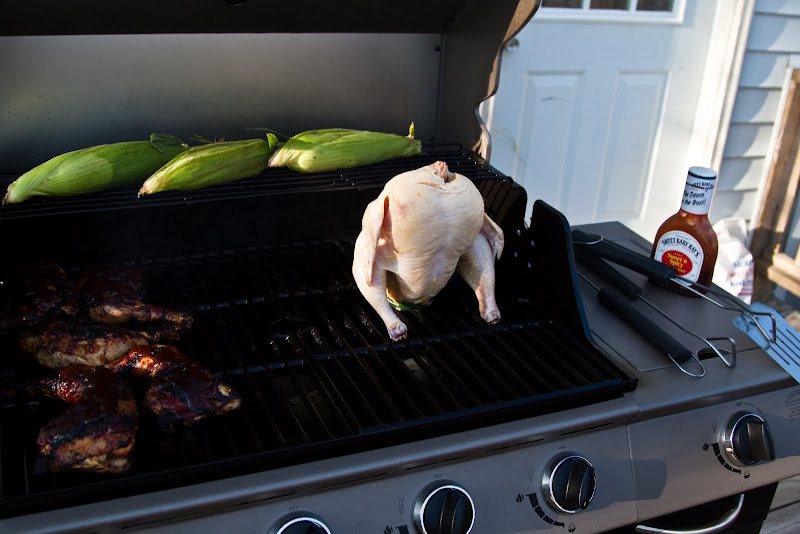
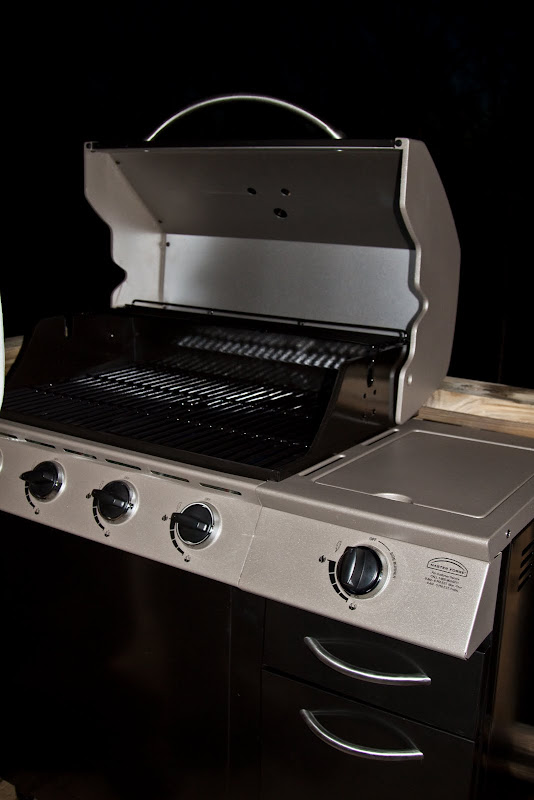
As far as grill setup, you want to cook the ribs indirectly, so on my 4 burner grill, I turned the outside burners on low, and the ribs will be cooked above the inner 2 burners that will remain turned off. You’ll be able to see what I’m talking about in pictures later. So, get the Hickory packets on the outside burner(s), set the burner(s) to low, close the lid and get the meat ready.

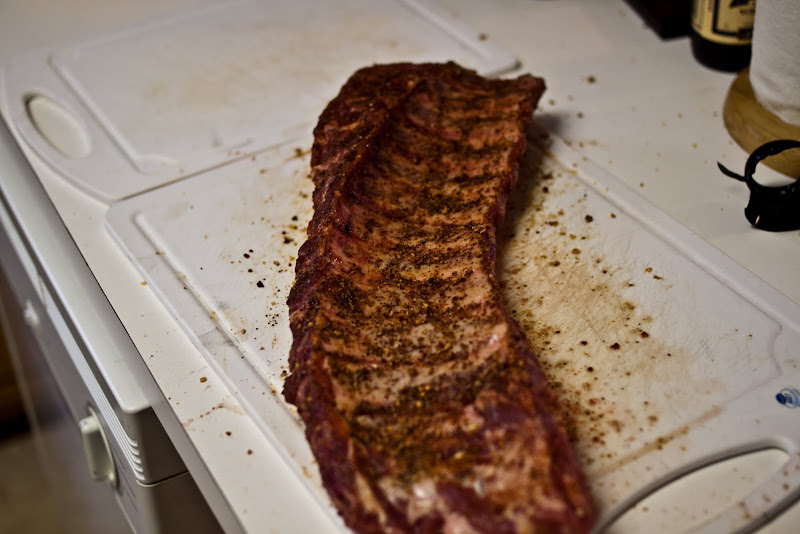
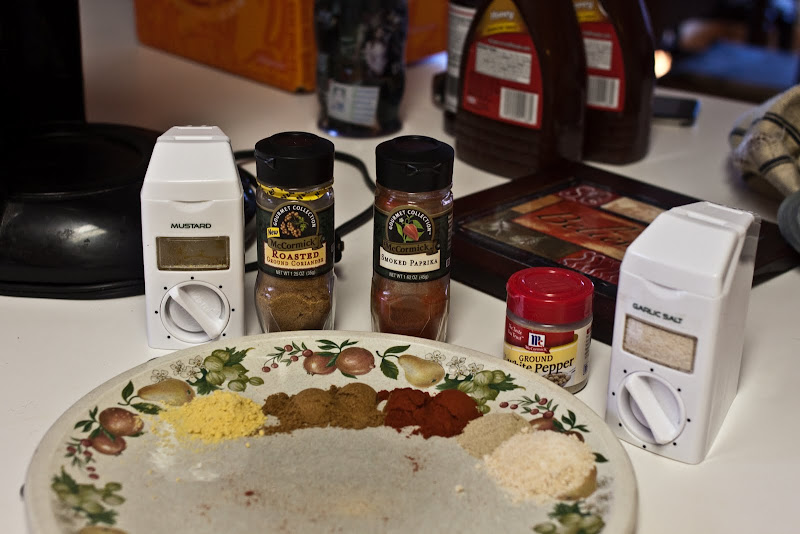
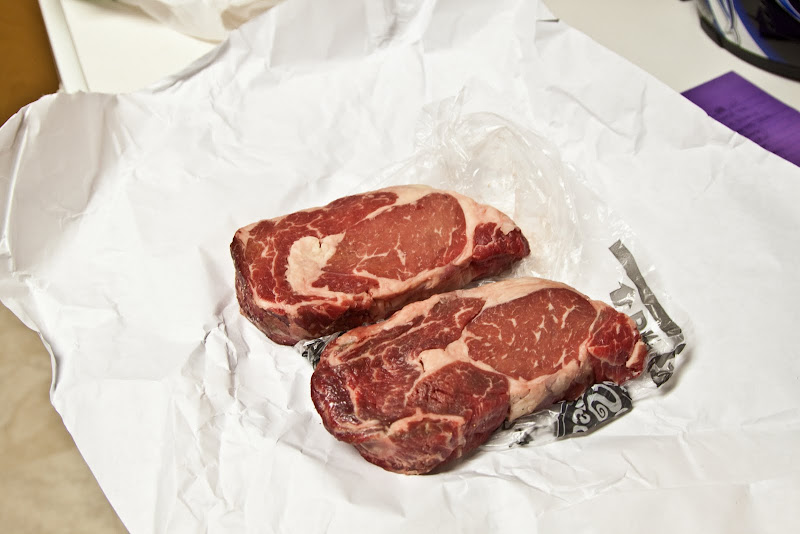
Start with a good rack of ribs, trimmed of *most* of the fat. A little bit of fat left will slowly cook off. Rinse the ribs under luke-warm water, then it’s time for your rub. My rub consisted of McCormick Smokehouse Maple seasoning and McCormick Worcestershire Ground Black Pepper. That’s it.

Now it’s time to put the meat on the grill.

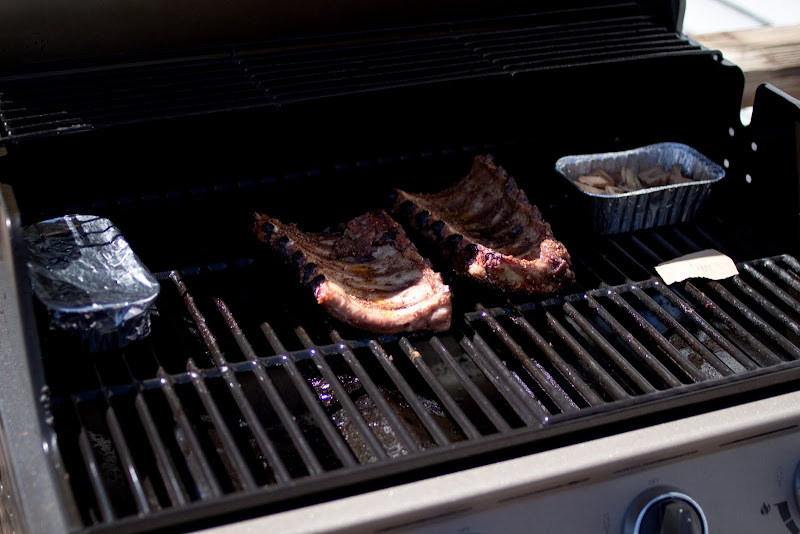
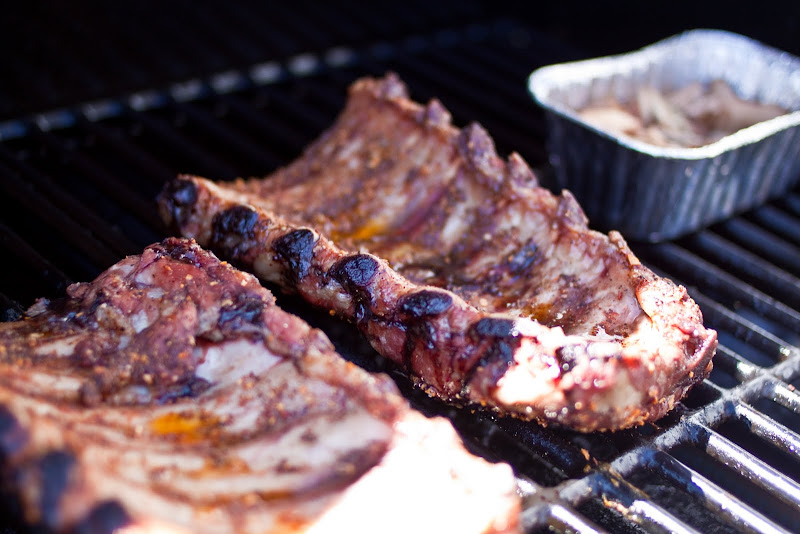
Now, in the picture above, you see my failed attempt. The smoking devices DO NOT WORK placed on top of the grilling surface. They got really dry. No smoke. But, the location of the aluminum pans (also don’t work well) tells you where the 2 outside burners are; the ribs are over the 2 inner burners.

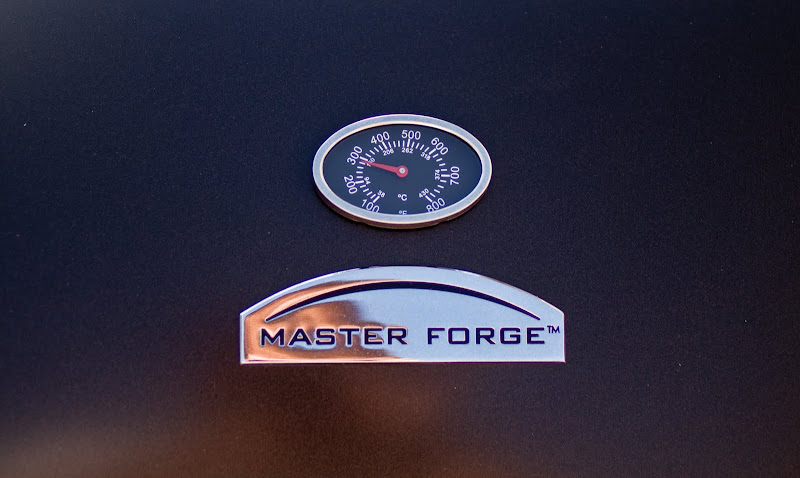
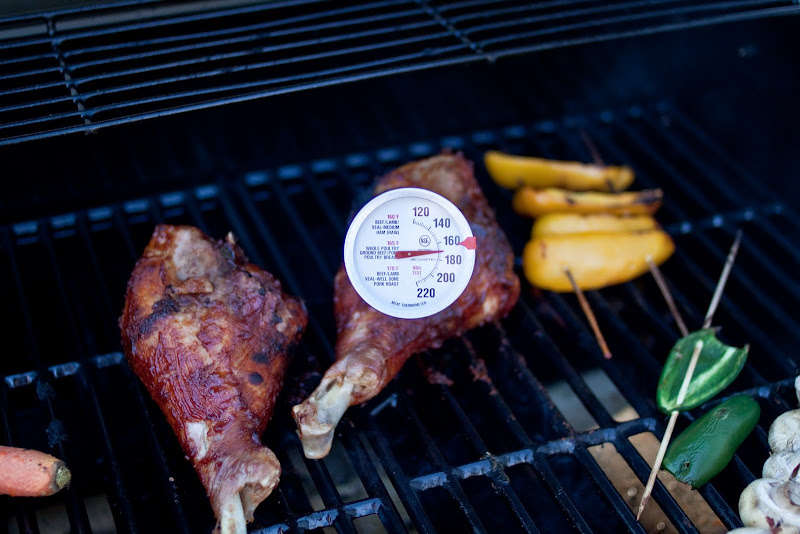
After a few minutes, check you lid-mounted thermometer. You should be somewhere in the neighborhood of 250-275 degrees. If it’s a hot day, look at your lid thermometer before you start cooking to see how far off it’s reading. In Boone today, it was about 75 degrees, but in direct sunlight, the grill was reading 125 degrees before I turned it on. So, during cooking, mine was sitting at about 300.

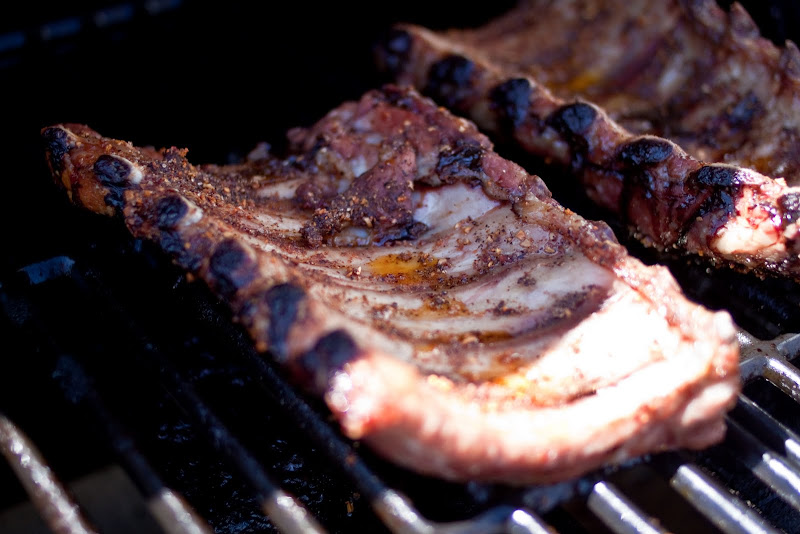
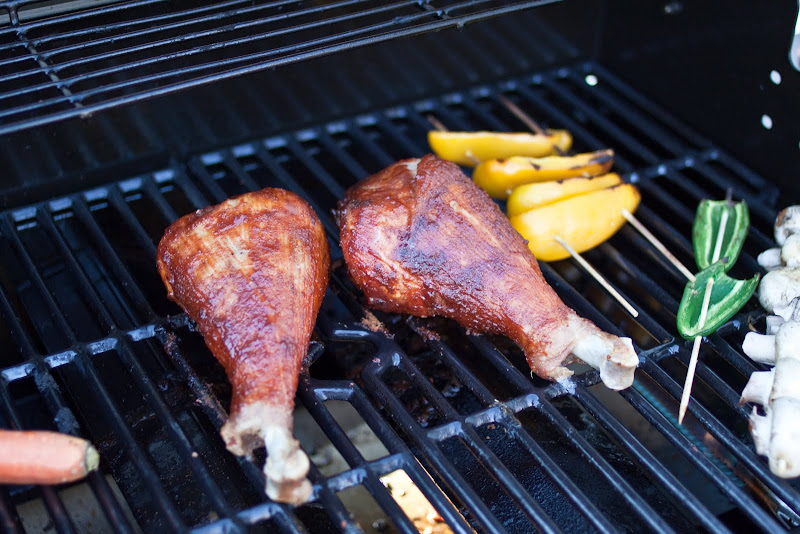
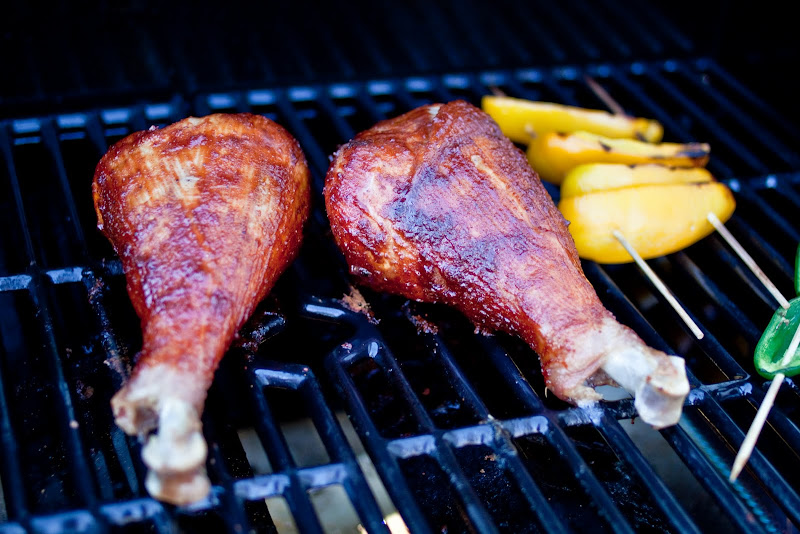
This is how they looked after an hour. You shouldn’t be opening the grill, I just did it for pictorial purposes. You don’t need to flip them. Leave them bone side up and the juices will pool and stay with the meat.

Now, you just sit and wait… and wait… and wait… You’re looking at about 2-1/2 – 3-1/2 hours total cooking time. When you’ve got about twenty minutes left, you can flip the ribs and brush some sauce on.

For the sauce, I used some extra thick Lea & Perrins Worcestershire sauce and some molasses BBQ sauce. I used probably a 1/4 Cup of BBQ Sauce, and about 2 TBSP of Worcestershire sauce.

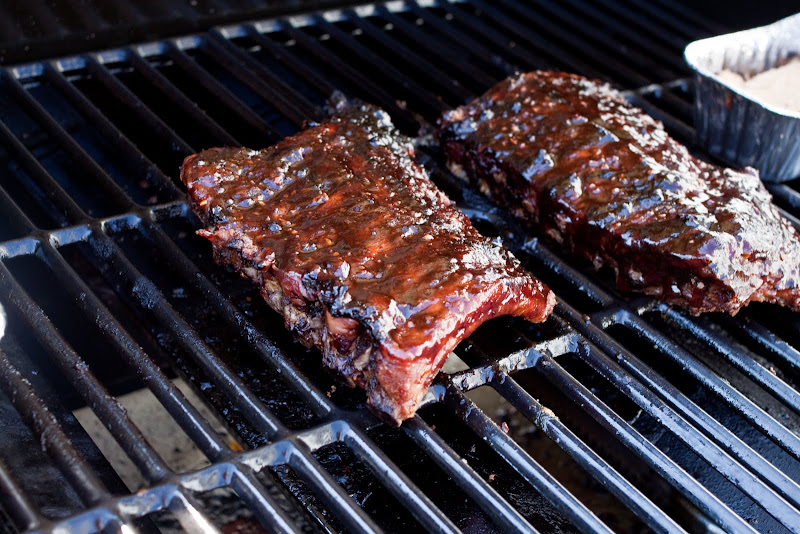
Another 20 minutes, and they’ll be ready to come off the grill…

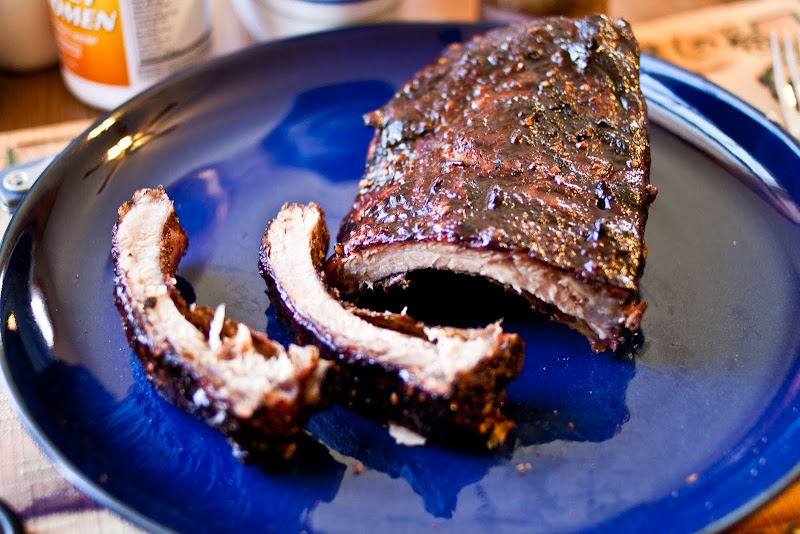
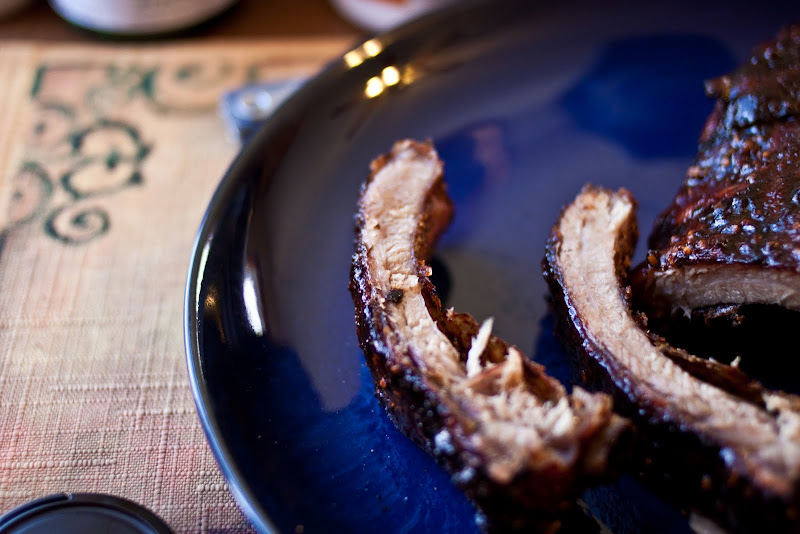
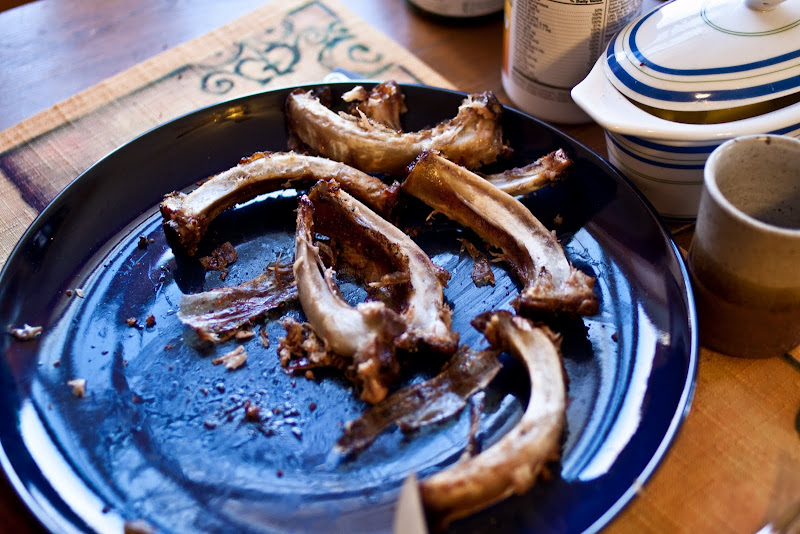
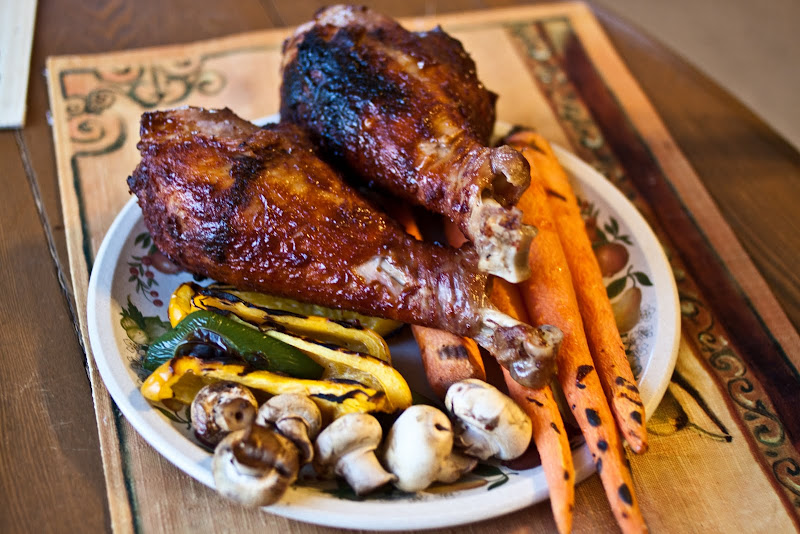
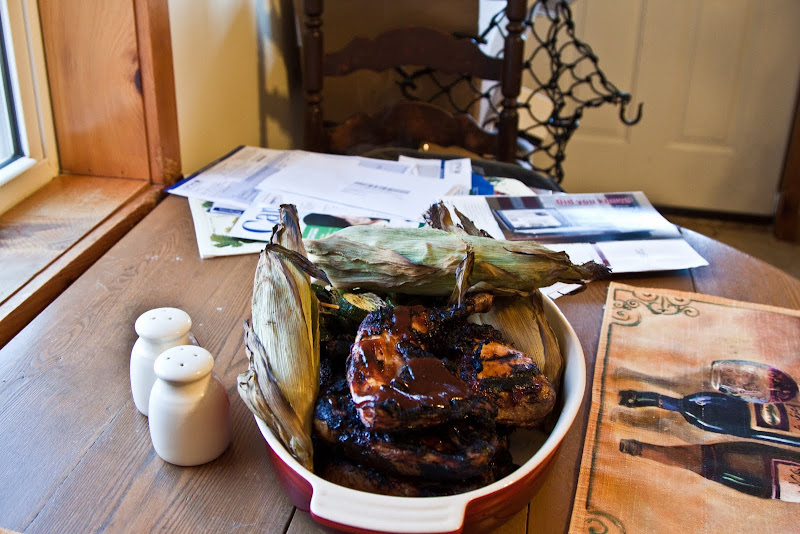
Juicy. Sweet. Salty. Savory. Wonderful.

I was really impressed considering that this was my first attempt in making ribs and really, it was amazingly easy. If you have a grill, and the most basic of motor skills, you should absolutely make these. Obviously, you can change seasoning and sauce to suit your tastes, but for me, this is the recipe that’ll be sticking around, and I won’t be paying for any ribs in restaurants anymore.

In closing…

Saturday, April 10, 2010

Slow grilled turkey legs

Tonight, I wanted to do some slow-grilled turkey legs, so first I had to make up a rub for them. While making the rub, I preheated the grill to about 300 degrees.

For my rub, I mixed up:

  • 1TSP Dry Mustard
  • 1 TSP Roasted Coriander
  • 1 TSP Smoked Paprika
  • 1/2 TSP White Pepper
  • 1-1/2 TSP Garlic Salt

After mixing the spices up, I rubbed down the turkey legs, picking up the skin where I could and rubbing the spices directly on the meat.

Now, from what I read, in cooking items on a gas grill that should really be made in a smoker, the key is using indirect heat. So, I have a four burner grill. I turned the outer two burners to med-low and let those preheat the box. After I had the meat rubbed down and ready to go on, I put them on the grill in the center, where the burners are turned off.

Now, we close the lid and let the heat do its thing…

Fast forward two hours….

The turkey legs are looking tasty… I brushed them with some BBQ Sauce at about 1-1/2 hours. Then, at 2 hours, brushed the other side, flipped them, and put some veggies on the grill.

With Poultry, the magic number is 165 degrees. I shoot for 170-175 to ensure that they’re done all of the way through, but still juicy.

Here’s everything off of the grill. Total time on the turkey was somewhere in the neighborhood of 2.5 hours… The peppers came out good, apparently, I could have left the mushrooms on longer, and carrots… well… Either they needed to go on when I put the turkey legs on… or I should have just cooked them inside.

And Voila. Moist and juicy. But… turkey legs are a pain. I don’t know if I’ll be doing them again…

Beer Butt Chicken and more…

Last night, Virginia and I had Josh over for dinner, and while he was here, I poked and prodded for some grilling tips. Josh is what we’ll call “The Man” when it comes to grilling some stuff up… so I was picking his brain for technique and whatnot.

So, up on the menu last night was “beer-butt chicken”. Overall, it’s not a hard concept, and you can make it on the grill or in the oven. In the oven, you do it on a cookie sheet @ 325 for about 3 hours … or so… depending on the size of your bird. On the grill, it ended up taking about an hour and a half over low heat (Which given the wind last night was between 300 – 400 degrees).

So, any bird that’s big enough to hold a can of beer will work. We caught a deal at our local grocery store, so we had a 4.5lb bird.

Grab a can of your favorite beer, and “dispose of” (AKA Drink) half of it. Leave the can 1/2 full and in a small saucepan, put a stick of butter, and whatever spices you’d like in your chicken. For me, I used some ground Sage, Garlic, Onion Powder, salt and smokehouse pepper. 

Get all of your butter and spices blended and happy in the saucepan, infusing all of your spices into the butter. Then, pour the butter concoction into the 1/2 full beer can.


The next step is getting the can into the chicken’s cavity. Remove all of the giblets, and trim around the opening so you don’t have a bunch of skin balled up at the end of the chicken. Grab your can of beer and butter and get ready to stuff it in the chicken’s … a-hem… cavity.

Don’t be surprised if it takes you more than one try to get it lined up to where the chicken will stand on it’s own two feet. errrrr… nubs. The top picture is not what you’re looking for. The bottom picture is what you’re going for. Centered, stable, and slightly creepy looking.

After you get it standing, it’s time to get it out onto the grill. Easy enough right? Get someone to open doors for you, and stand it on up at the tallest part of the grill. Watch your temperature, and try to keep it between 300-350 degrees… Mine was fluctuating a bit because the wind was blowing like crazy, but after an hour and a half, I inserted the meat thermometer into the top of the breast and pulled 180 degrees. Chicken, when done is 165 degrees, so I probably could have pulled it out a bit earlier.

This is the finished result. The skin is crispy and wonderful, the meat is juicy, and believe it or not, in the outer-most breast meat, you could taste the sage cooked all of the way through the meat.

But wait! There’s More!!

We knew the beer butt chicken was going to take a while, and we had already decided that we were starving. So, we cooked up some other stuff while we were cooking dinner.

First up, veggie-kebobs. Cut up zucchini, onions, and some peppers. Roll them all in some olive oil, salt and pepper. Then stick them with some skewers. Prep work there is done, they’re ready for the grill. You just want to get these browned with grill marks on each side. Don’t let them get all mushy.

We also had some corn on the cob and chicken leg quarters going on the grill. Corn on the cob = easy. Pull out the “hair” from the top of the corn you can get at… then throw the whole ears on the top rack of the grill. Once the outer layers start to turn brown, it’s about ready. I like my grilled corn to still be crispy. A lot of “state fair” BBQ’d corn is mushy. Depending on what you like, you can push on the corn and get a feel for what’s going on inside.

Here’s everything pulled off the grill. The chicken quarters, on low-medium heat, let them go for about 10-12 minutes on each side, then paint them in BBQ sauce and finish them off for about 5 minutes on each side.


Above is the result of a bunch of chicken and veggies.

Thursday, April 8, 2010

New cooking paraphernalia

Well… we finally broke down and got a Grill. I had planned to do a nice time-lapse of putting it together… was going to put the camera on the tripod, tether it to the laptop, and set it to fire off a shot every 30 seconds or so… but, upon unloading the box and carrying everything up the stairs one piece at a time, I knew that I most likely wouldn’t want to remember this experience.

Even with Gracie’s help, it was still a pain. Perhaps the time-lapse would be better spent showing me choking the person who designed this thing. The entire thing went together with nothing but Phillips-head screws, but they all had some odd head size and went into spaces that a pygmy’s hands couldn’t have fit into. So, notice the sunlight as I’m working on it…

Then notice that it’s dark once I got it together. But that didn’t slow us down… We grabbed some ribeyes, some asparagus, and some peppers and grilled up dinner.

I definitely need a little practice with the grill. The top rack in the grill has the rods going width-ways, so when cooking asparagus, it had to be laid on at an angle to keep it from falling through the grate. But, I only lost 3 pieces the first time. Also, I may have put the asparagus on a little too early, as some of it was a bit “crispy”.

With the weather finally turning around though, we’re going to be using the grill as much as possible, so expect some entries to the cooking blog to be grill specific entries.