So… having never done it before… I decided to make some cannoli.. I figured.. “how hard can it be?” Make some tubes… make some filling… bada-bing bada-bang… It’s done…
So… the night that we had folks over for pasta and meatballs, I figured that’d be a perfect time to make some cannoli’s up.. first up was finding a recipe… easy right? In the days of the internet, how hard could it possibly be? Well let me tell you… http://tinyurl.com/3olhn4q yeah… some 450,000 hits. So… I started looking through them until I found one that “sounded right” to me… you know… with my vast experience of never making them before.. and eating them very rarely… the recipe I found that sounded the best to me was this one: http://www.recipegirl.com/2007/04/23/cannoli/ …
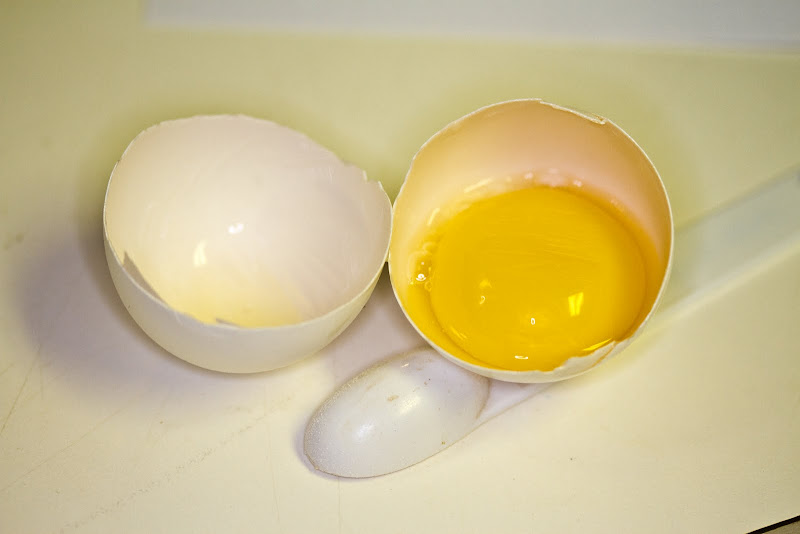
First up… making the filling.
so.. step 1.. hang the ricotta to dry…
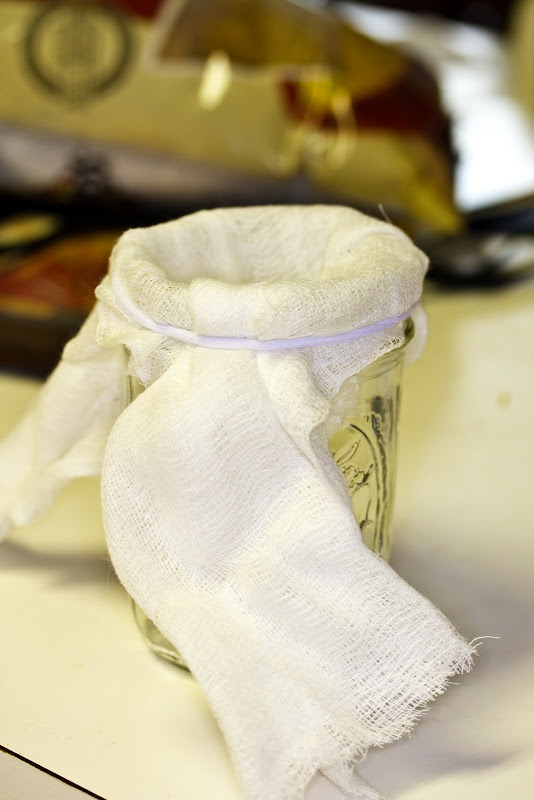
I had to get a little inventive on this one.. the instructions say to hang the ricotta in cheese cloth overnight to let it drip out a bit…. so.. I draped the cheese cloth over a mason jar.. and secured it around the top with a brand new, unused hair band… I’m sure a rubber band would work equally as well.
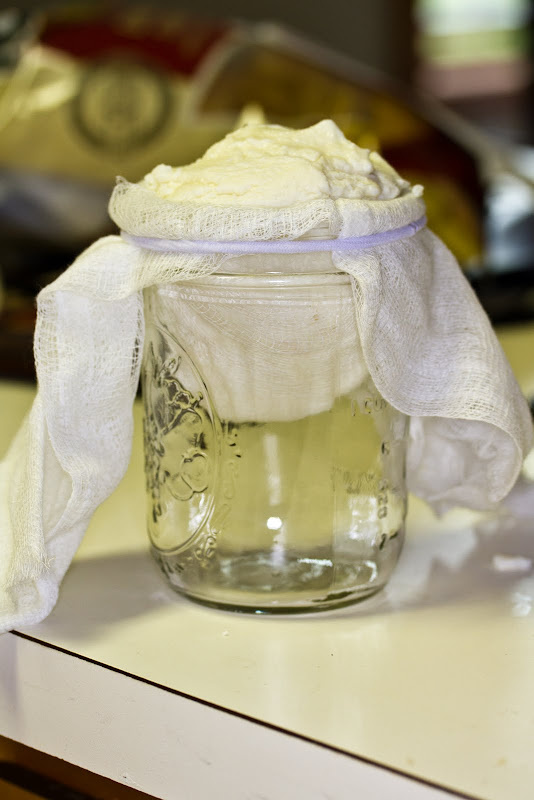
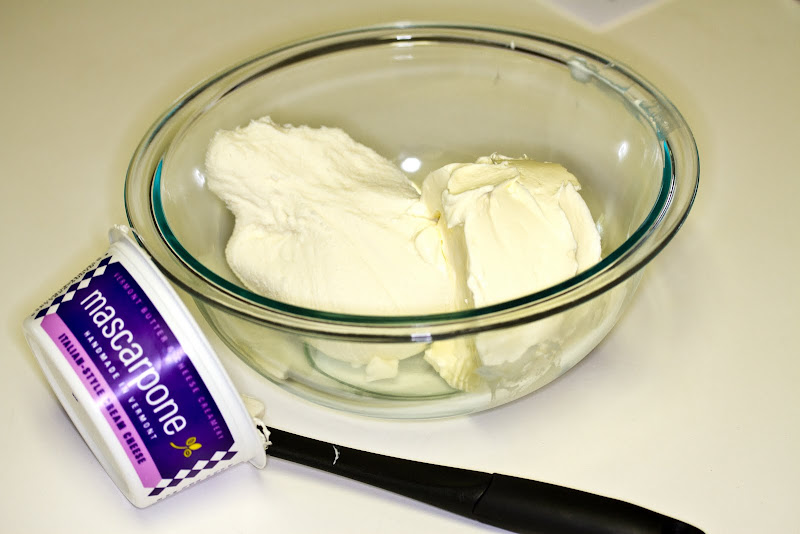
So… load your 3/4 cup of ricotta into the cheese cloth, and let it drip in the fridge for a while… after it’s dripped for a while, wrap the cloth around the ricotta and squeeze out all of the moisture that you can.
Obviously, it won’t be dry like parmesan cheese… but… it should be stiffer than normal, and you will have likely squeezed out several tablespoons worth of liquid….
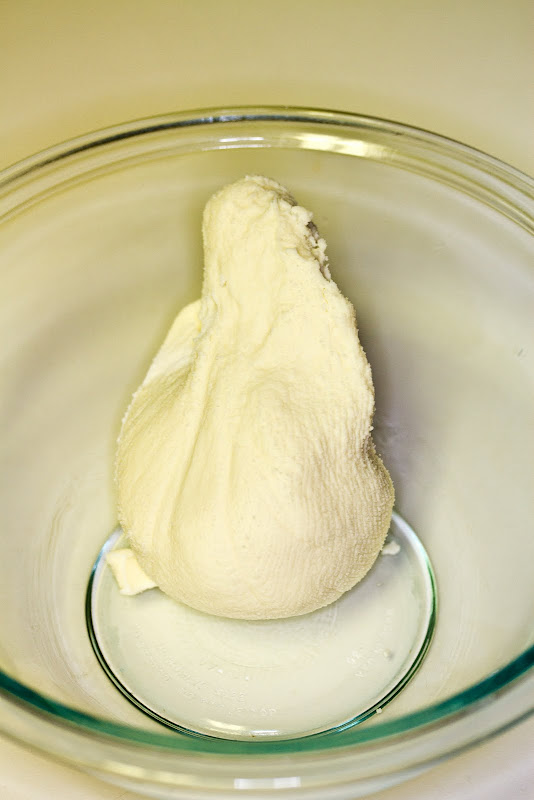
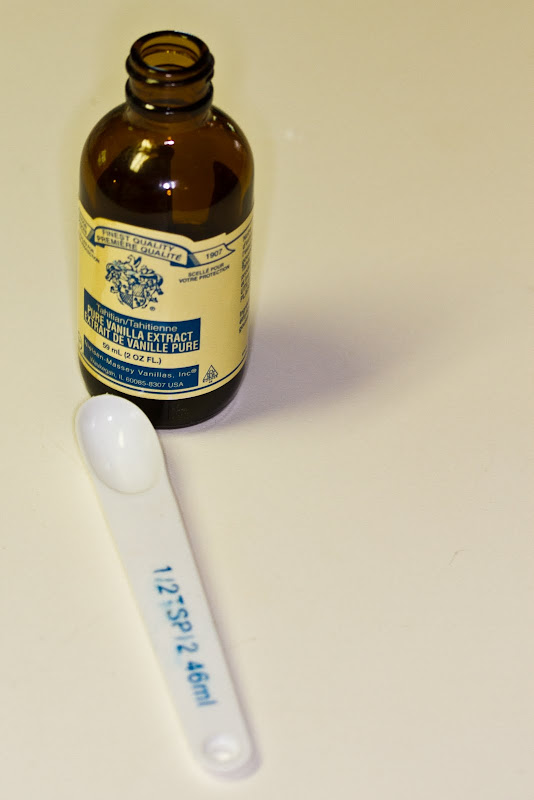
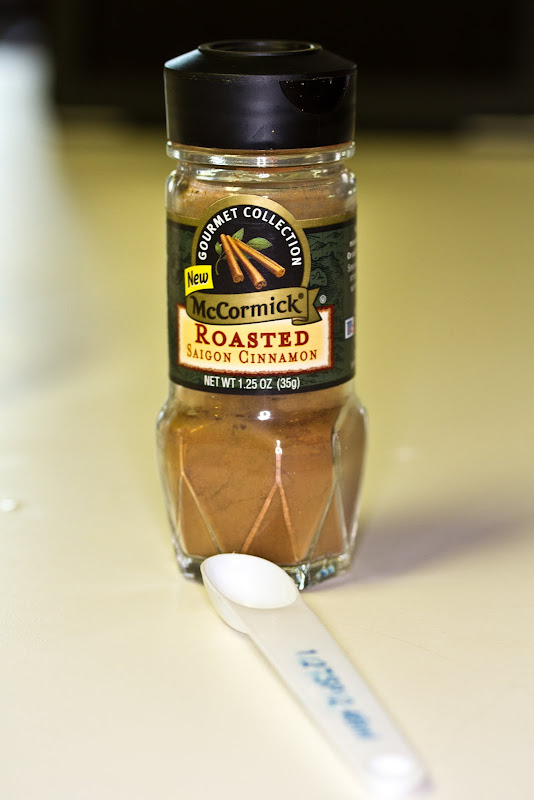
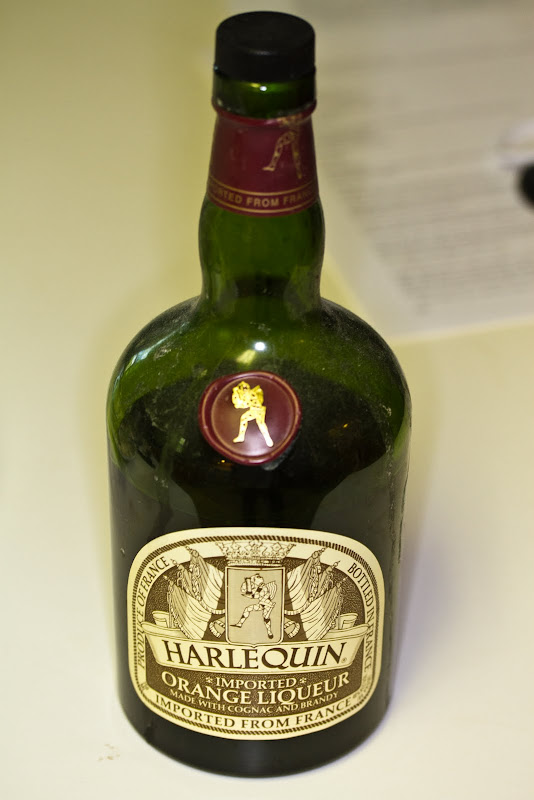
Next… start adding the rest of the ingredients… 3/4 cup of mascarpone .. 1/4 cup powdered sugar.. 1/2 tsp ground cinnamon a pinch of salt… and the recipe calls for 1/2 tsp Grand Marnier… which.. I didn’t have.. so, I used a combination of orange liqueur and vanilla.
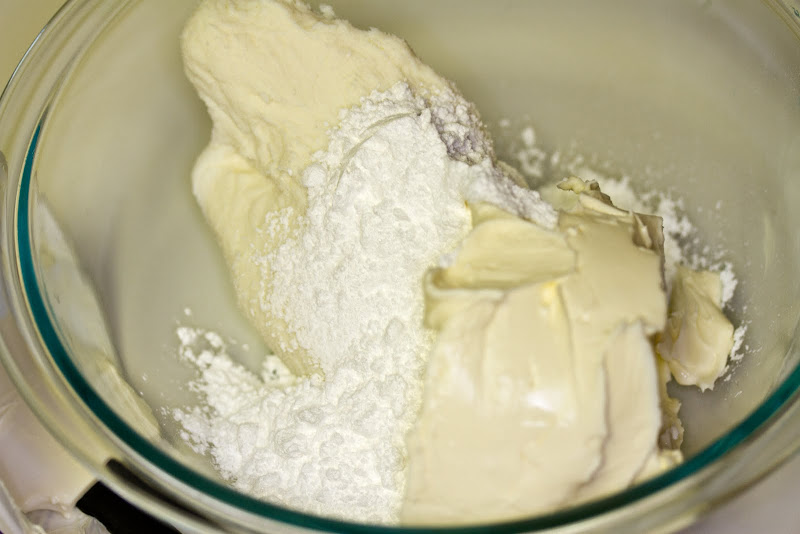
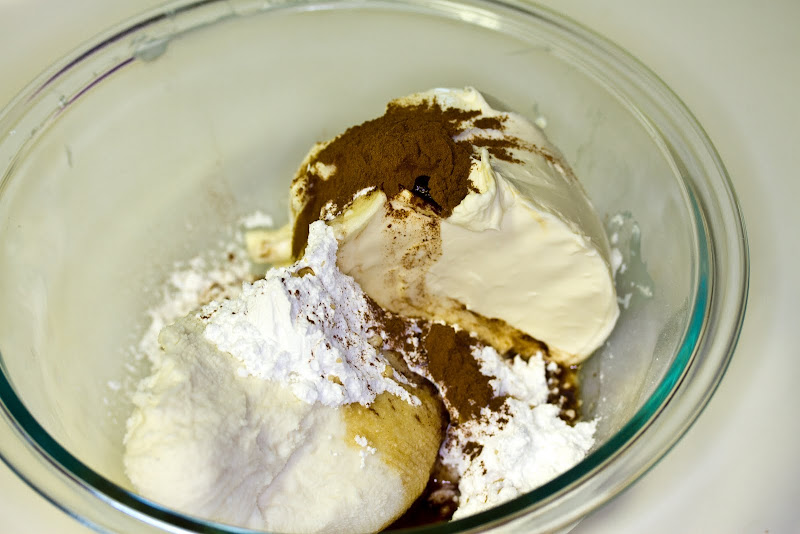
So.. now… mix it all up!
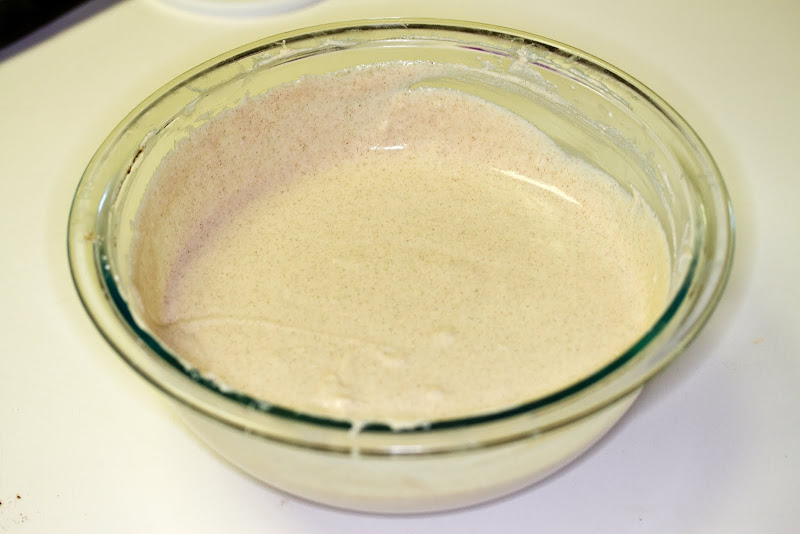
After it’s all creamed together nicely, toss it in the fridge and it’s time to work on the shells…
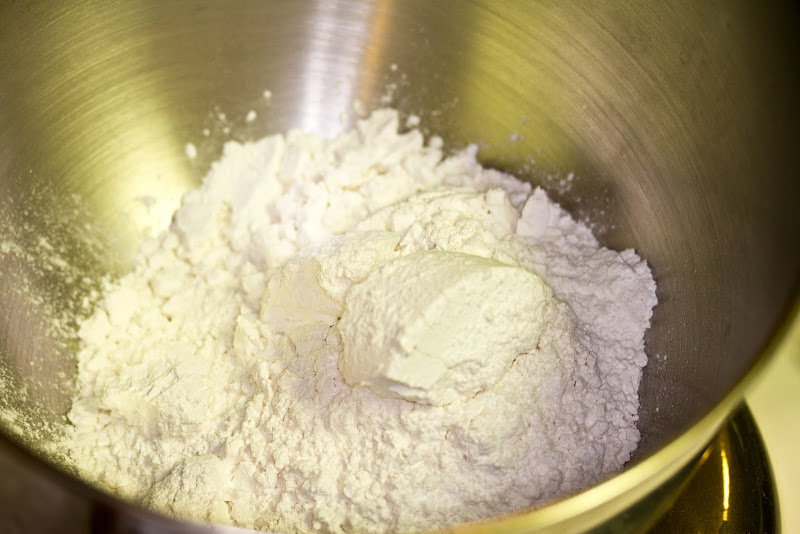
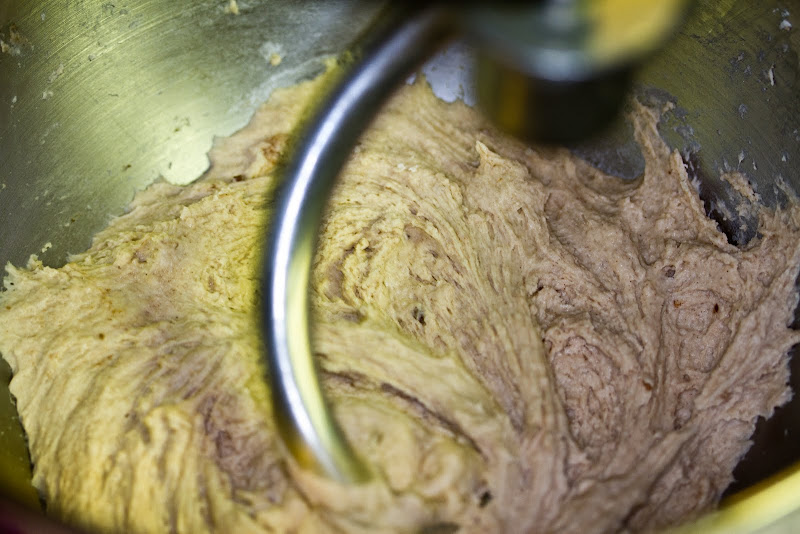
2 Cups of flour… 1/2 TSP Cinnamon, 2 TSP Granulated sugar, pinch of salt, 2 TBSP Melted Crisco, 3/4 Cup sweet marsala wine, and 1 large egg white.
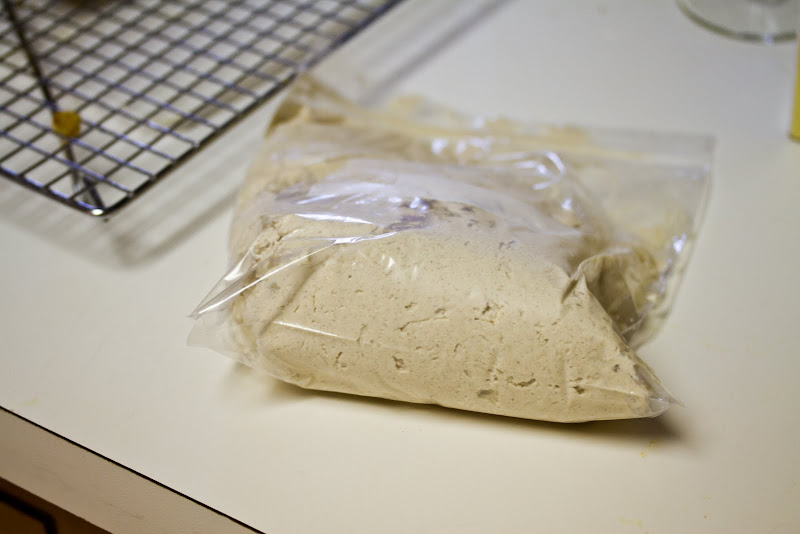
Now… this is where I messed up again… I don’t read directions well… so.. I added all of the above together in the blender and stirred… the result was a dough that was too sticky…
After the dough is mixed, wrap it in plastic an toss it in the fridge for a few hours.
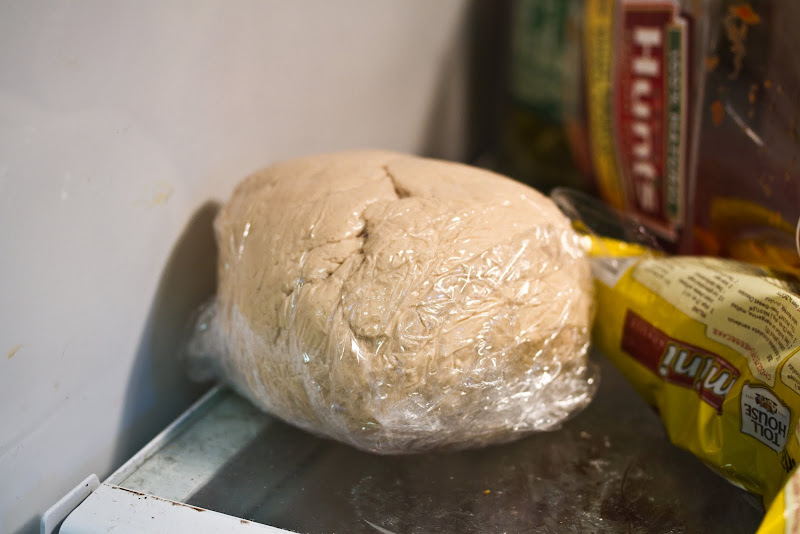
So… when I pulled the dough out… it was too soft… too sticky… it should b the consistency of a pasta dough… it should be “formable” … so.. at this point, when I took the dough out to roll it into shells, I had to add a good bit o flour as I worked the dough.
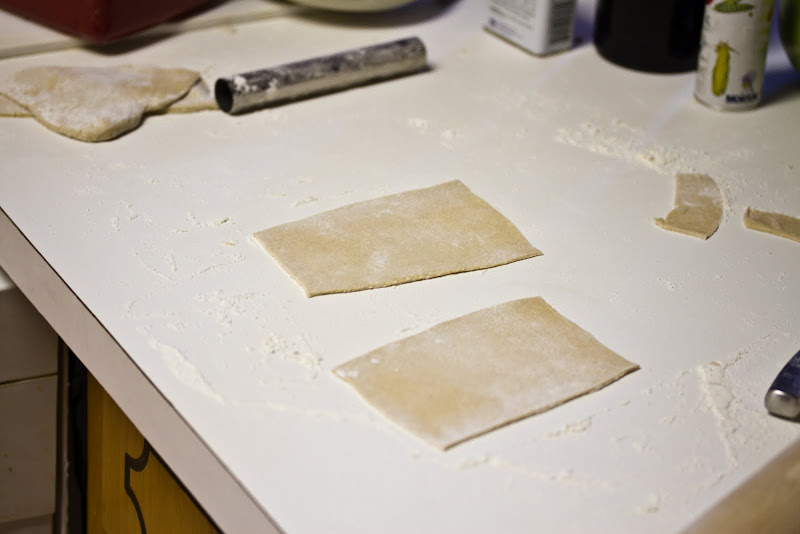
Roll the dough nice and thin… then the recipe says to cut it out in 4” circles… well.. I didn’t have anything that could make a nice 4” circle… so… I cut squares… in any case, take the cut out dough and roll it around your cannoli tubes. The egg white that I tossed into the dough was supposed to be used to make the dough stick to itself while cooking… so.. I had to crack another egg for that… but.. then, it’s into the oil that’s preheated to 375ish.
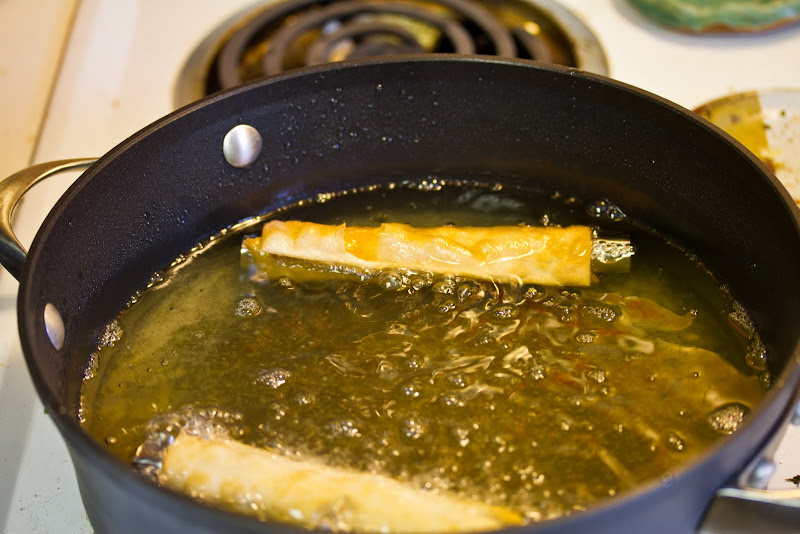
These will cook relatively quick.. so… you just want them to get a nice golden brown. As soon as they hit that brown, pull them out of the oil with a pair of tongs an shake off the excess oil back into the pan… then stick them on a cooling rack. I’d recommend putting the rack over the sink so any excess oil doesn’t get all over the counters.
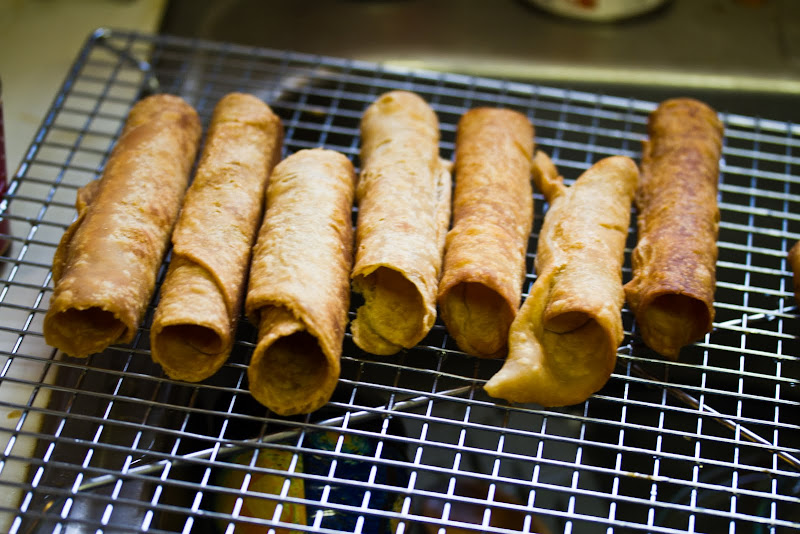
It won’t take too long to have all of the shells cooked up. One thing I learned was that you have to be very careful about getting your egg wash on the cannoli tube. Remember how the egg wash was to make the cannoli stick to itself? Turns out it’ll make the dough stick to the tubes as well. So.. the method I used was to pull them out of the oil, let them sit for about 30 seconds to begin to stiffen up.. then hold the whole cannoli and tube in a towel, and rap on the end of the metal tube with the handle of a spoon/fork/knife/etc. This was just to break the tube loose from the dough before the dough got completely hard.
So.. the shells are cooked and ready.. and the filling has been chilling for a good while… so. time to fill them… However, my filling was a bit thin as well, so I tossed it into the mixer and whisked it until it thickened up a bit… Same principle as making whipped cream… just whip some air into the filling and it’ll be light and thick. After I thickened the filling up, I spooned it into a zip-loc bag and cut the corner out of the bag to make a makeshift icing bag.
So, from here, it’s fast and furious. Grab the bag in one hand, grab a shell in the other.. and fill the shells.

Viola! Here are the filled shells. From here, it’s a matter of adding some garnish / extra flavor. This can range from candied orange shavings to…

…chocolate chips!! It’s pretty easy.. take your “garnish” and put it in a shallow bowl. Dip the cannoli ends into your “garnish” and the cheese mixture will adhere to it.
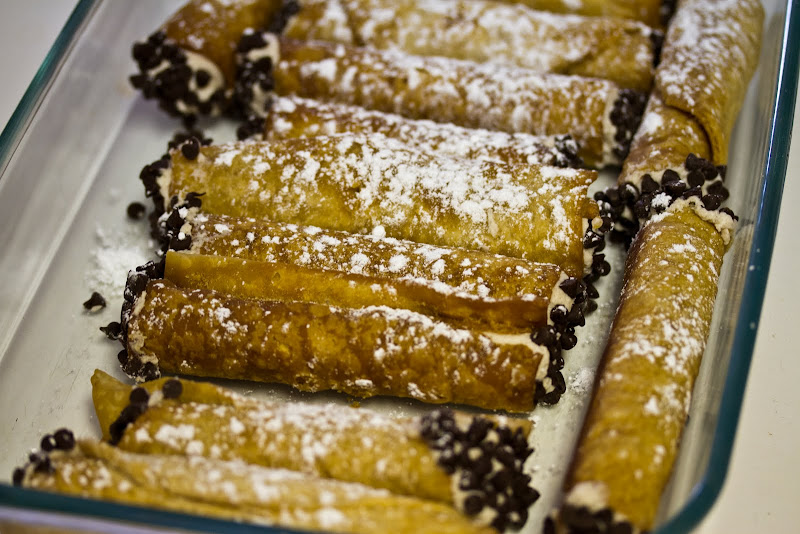
Top them off with some powdered sugar.. and they’re done… Now, you should avoid filling and finishing them until you’re ready to serve them… if you let them sit filled too long, the shells will get soggy. I made these and immediately took them in to Virginia’s office… where about half of them disappeared rather quickly… then, we took the remaining ones to our favorite place for wine tasting and buttered up the employees with them.
The general consensus from everyone that ate them is that these were the best cannoli’s ever made in the history of the world. So..on that note, I’d recommend you make them. You should be able to find cannoli tubes at your local kitchen store. We got our tubes for all of $2.99 .