About the cooking blog...

We enjoy a good meal. 99 out of 100 times, this good meal takes place in our kitchen. We don't eat out very often, and when we do, we're rarely "wow-ed" by the food we get. The following are recipes that have passed through our kitchen. They're not always winners, but we'll tell you if they're not, and what should be changed to make them better. Enjoy!

Sunday, October 28, 2012

Butternut Squash Soup?

Well… First off, allow me to apologize. This post, and the one on biscotti below aren’t up to my normal level when it comes to the photography… the little man was… well..

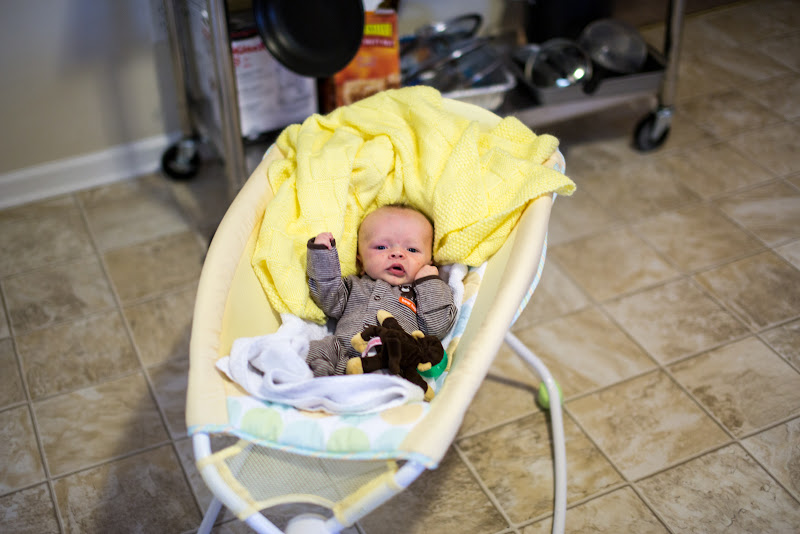
Hanging out in the kitchen… so, once he fell asleep, I didn’t want to set up the umbrellas and have flashes going off all of the dang time… so that lead to a collection of pictures suffering from mixed lighting due to the CFL overhead, fluorescent over the sink, incandescent over the stove, plus natural light coming in the door… so.. yeah. enough of the picture excuses….


On to the food excuses. … I don’t make soup. In fact, I’ll take it further.. anyone who knows me well knows that I don’t consider soup a food. At most, it’s a warm drink, usually good for a serving of vegetables.

But in any case… I made soup.

Step 1. 1 inch cubes of butternut squash. 2 pounds. Put it in a pot.

Step 2. 42 Ounces of Chicken stock / broth. Put it in the pot.

About 2 carrots… or 2 carrots'’ worth of baby carrots.

and a cup and a half of onions…. put them in the pot.

Now, toss the pot on the stove, throw in a pinch of salt…

and let it simmer until everything gets soft.

Picture 1 is the start, picture 2 is about an hour later…. can’t tell much of a difference by looking at it, but after an hour you could feel things go squish under your wooden spoon.

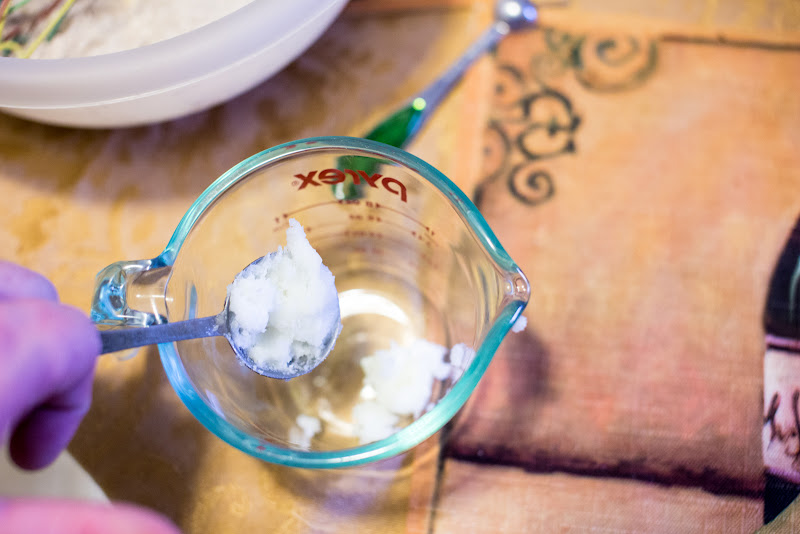
After everything is good and soft,add 2 TBSP of butter and hit it with the hand blender. Word of wisdom… something that’s been on the stove simmering for an hour is going to be a little warm…. watch the splashes…. Get everything good and smooth… it won’t take long.

Then, add a half cup of cream and beat it a little bit more.

BAM!

Here’s my bowl of radioactive looking soup. …. and you know what? It was damn tasty…. I had it with a biscuit tonight, but I think it’d go awesome with a grilled cheese ‘sammich with a slice of ‘mater on it…

Maple Oatmeal Biscotti!

Here we go… this is going to be quick and dirty.

Dry Ingredients:

  • 1 Cup Flour
  • 1/2 Cup Oats
  • 1/4 Cup Brown Sugar – Packed
  • 2 TSP Saigon Cinnamon
  • 1/2 TSP Baking Powder
  • 1/4 TSP Baking Soda
  • Pinch of Salt

Take all of that, put it in a bowl.

Then mix it together


Wet Ingredients:

  • 1/4 Cup Maple Syrup
  • 1TBSP Coconut Oil
  • 2 TSP Madagascar or Tahitian Vanilla
  • 1/2 TSP Anise Extract
  • 1 Egg Yolk
  • 1 Egg White

K… grab something you can mix the wet ingredients in, and start measuring things out.

Here’s the thing… you’re going to use the whole egg, but not all at once.So, mix the yolk in with the rest of the liquids, save the egg white for a second.

Also… a note on the coconut oil… if you’ve never used it before.. it’s not a liquid.

It looks like Lard… and has a bucket load of saturated fat in it…. yet, it says on the label how it’s better than every oil out there.. and I’m sure that there’s a reason it’s in this hippie recipe…. but… whatever… you have to heat it up a little bit to make it a liquid so you can mix it all in….not long, but about 15 seconds in the microwave will turn it from the above into:

So… YAY!

After you mix all of the wet (minus egg white) together, mix the bowl of wet with the bowl of dry.

Yeah… it’s not very sticky… so now, dump the egg white in, and mix it together by hand…. it’ll glue things together a bit more…

So now that it’s sticking together, preheat the oven to 350 degrees, grab a cookie sheet and use a piece of parchment paper if you’re a dirt lovin hippie, or grab a piece of aluminum foil and give it a spray of baking spray. … Then make a 4 inch wide by 12 inch long log out of the mixture.

Bake at 350 for 20 minutes, then pull it out of the oven, but leave the oven turned on. It should be a bit browned on the bottom.

After about 10 minutes, when you can handle it, grab a serrated knife and cut it into diagonal, biscotti looking pieces.

Now, lay the pieces down on their sides, and finish off at 350 for another 8-10 minutes…. they should be a little crunchy… like biscotti.


So… these are pretty tasty… in a dirty hippie kind of way….  Don’t get me wrong… they’re tasty enough… but they also just have that down-home taste to them.. not that big city biscotti we’ve all come to know and love… Picture biscotti that you might get at a farmhouse in the south.