About the cooking blog...

We enjoy a good meal. 99 out of 100 times, this good meal takes place in our kitchen. We don't eat out very often, and when we do, we're rarely "wow-ed" by the food we get. The following are recipes that have passed through our kitchen. They're not always winners, but we'll tell you if they're not, and what should be changed to make them better. Enjoy!

Tuesday, August 16, 2011

$20,000 Chili

While perusing around on the internet, I ran across this recipe, that supposedly won $20,000 in a chili cook-off. So, needless to say, I was a bit excited to make it.

This is a recipe, that to a certain point, you can make from memory. It starts off pretty easily.

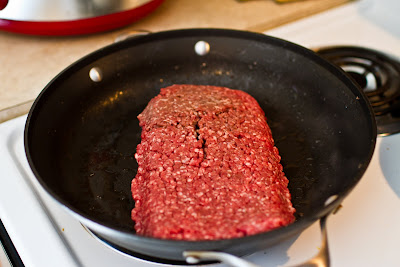
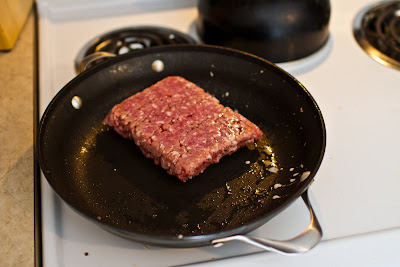
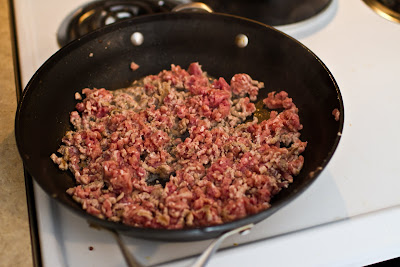
Brown a pound and a half of ground beef.

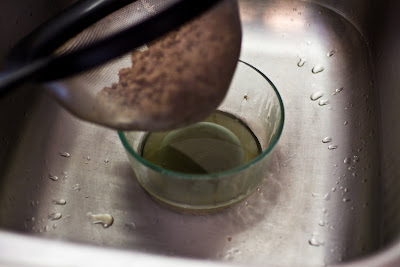
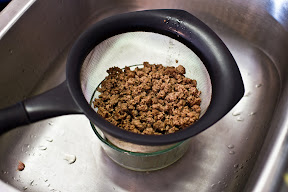
Then drain it… catch at least some of the grease from the pan… you’ll need it later. Here’s my method of doing that…

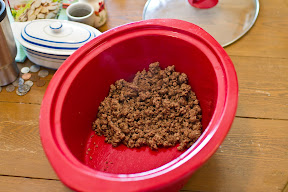
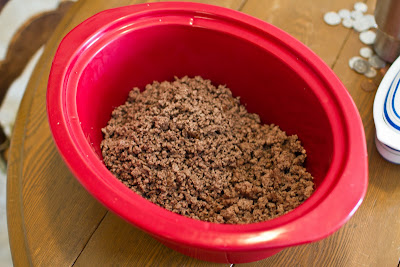
Then, after your beef is golden brown, toss it into a crockpot.


Then….

Oh.. yeah.. brown a pound of ground pork. Not ground sausage.. just regular ground pork…

Ok… so you browned your pork… now drain it and add it to the crockpot….

Then… brown another pound of beef and add it to the crockpot.. so, in the crockpot should be a total of 2-1/2 pounds of browned ground beef and a pound of browned ground sausage..

Ok… meat in the crockpot… then time to get the veggies ready…

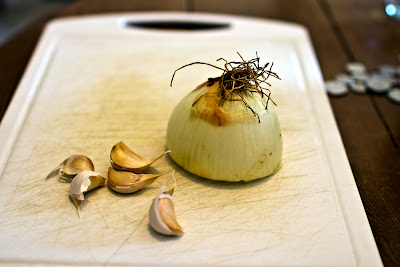
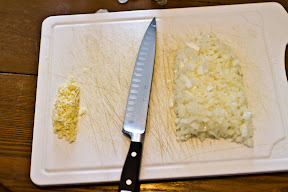
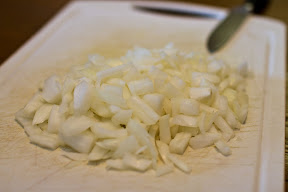
So, finely chop up 4-5 cloves of garlic and the equivalent of a medium sized yellow onion…

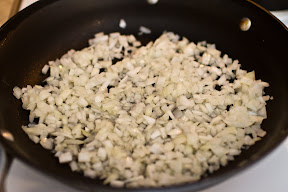
Now that the garlic and onion are finely chopped up, add 2 TBSP of your leftover meat grease to a pan and cook your onions until they get a little translucent, then add the garlic and get things a little caramelized and brown..

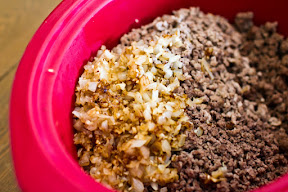
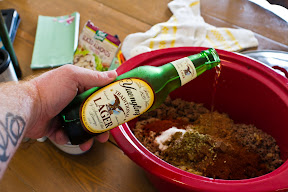
Toss the onions and garlic into the crockpot…. and this is where you might need to look at the recipe…

You’ll need:

  • 8oz Tomato Sauce
  • 1 Cup Water
  • 12oz beer
  • 3 TBSP Chili Powder
  • 6 Beef Bullion Cubes
  • 2 TBSP Ground Cumin
  • 2 tsp Paprika
  • 2 tsp oregano leaves
  • 2 tsp sugar
  • 1/2 tsp ground coriander
  • 1 tsp unsweetened cocoa
  • 1/2 tsp hot sauce

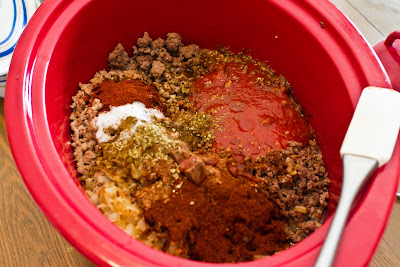
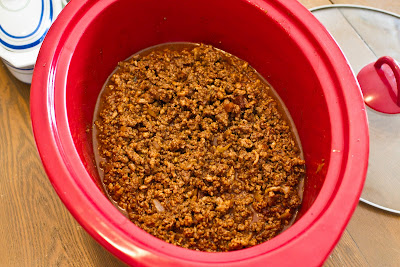
So…. mix all of this wonderfulness together…. then, put the crockpot on low for 4-6 Hours… you might need to stir it around a bit to make sure the bullion cubes break down… and to make sure everything gets equally distributed….

Ok…. here are my thoughts…

The chili isn’t bad.. but it’s nothing amazing as far as I’m concerned… it needs some sort of vegetable in it… so, if I make it again, I’d toss some banana peppers into it.. maybe a few beans…

However, I don’t know if I’ll ever make it again… this chili gives me wicked heartburn… and, the taste sticks with me all day long… I think the use of some different spices is nice.. but none of them seem to make a real difference… the cumin and chili powder are still the standout flavors.

All in all… it’s not bad chili… but… I’ve had better.

Thursday, August 11, 2011

Banana Bread!

So, quick moment of truth… I can’t spell Bananas without thinking of that dang Gwen Stefani song… (B-A-N-A-N-A-S)

I decided to make some banana bread, and after looking around, found a recipe that seemed pretty dang good…. it looked easy, didn’t require any super special ingredients…and made an appropriate sized recipe.

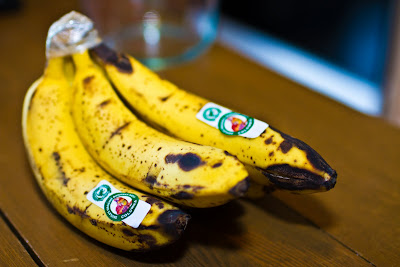
To start off, you’re going to need some over-ripe bananas. If you don’t have some lying around, they actually sell them already over-ripe at the grocery store… our local Kroger had them for 29 cents a pound… You’ll probably need 5-6 bananas.

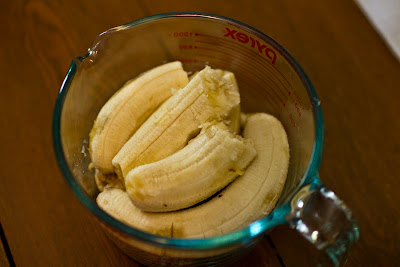
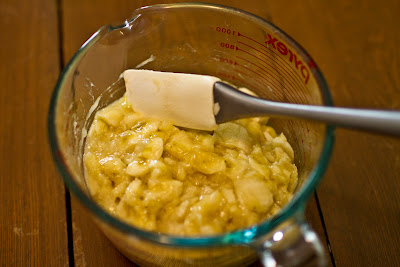
To start things off, preheat the oven to 350 and lightly spray a 9x5 pan with baking spray. Then, peel all of your bananas and put them into some sort of measuring device that will let you se when you have 2-1/3 Cups.

Grab a mashing device, and mash the bananas up a good bit. You can really use anything. Potato masher, your hands, beer bottle, spoon, or… a rubber spatula.

Now that you have the ‘nanners mashed up, it’s time to get out the mixer and the softened butter. I think it might be a good idea to just always keep a few sticks of butter softened and “on the ready”. A lot of the baked goods that I like have two main things in common. They require softened butter, and they take at least an hour to cook. So, a pound cake that take an hour and a half to bake takes another hour and a half waiting for the dang butter to soften... Solution = Always keep softened butter ready.

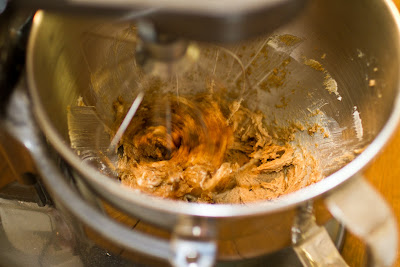
Anyhow. Cream together 1/2 Cup of butter and 3/4 Cup brown sugar.

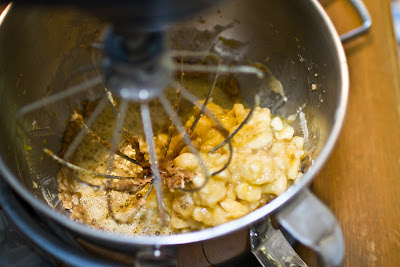
After they are creamed together nicely, add your mashed bananas and your eggs. (Remember from the last pound cake recipe… you should beat your eggs before adding them to them them incorporate into the mix.)

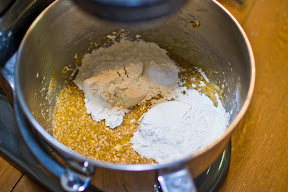
After the wet ingredients are mixed together, you can remove the bowl from the mixer. You won’t need the mixer again. Meanwhile, mix your dry ingredients together. That’s 2 Cups of all purpose flour, 1/4 TSP Salt and 1 TSP of baking soda. Add the dry to the wet.

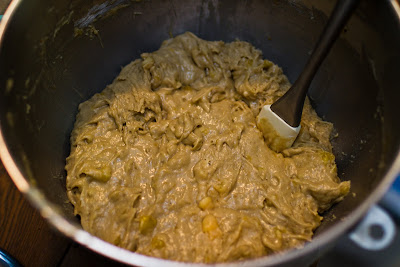
Now, mix the dry and wet together just enough to make sure that the dry stuff is wet. Do it by hand to make sure that you don’t overmix it.

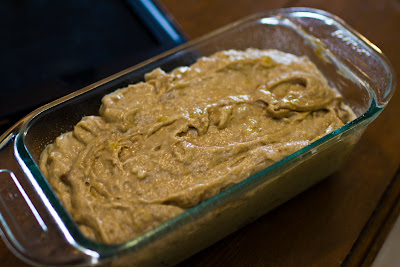
This is about what you should be looking at. Slightly thicker than a batter… but not as thick as a dough… Now, all that’s left is to toss it into your 9x5 pan and cook it for an hour… or so.

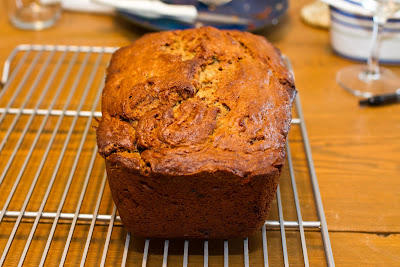
Mine took about an hour and a half.. but I was baking the stuffed peppers at the same time.. After you can insert a toothpick into the tallest point of the “bread” and have it come out clean, it’s done. Take it out of the oven and let it sit in the pan on a cooling rack for ten minutes before dumping it out of the pan.

This stuff was tasty. The outer crust was just the right amount of chewy.. the inside was nice and moist… because of all of the bananas inside when you first cut it open, you might think it’s not cooked all of the way… but.. it’s just awesome. Don’t get confused.

I’m a big fan of this recipe for several reasons.

  1. It doesn’t have nuts. Not that nuts are bad… but the moistness and softness are spoiled by the nuts for me… if you like nuts in your banana bread, put them in there. It’ll really have zero effect on the recipe otherwise. How many? I dunno. How much do you like nuts? I think about a cup would be normal.
  2. I like any bread that’s really a cake. Since it’s called a “bread” it’s perfectly acceptable to sit there and have a piece for breakfast… maybe toasted a little bit… little bit of butter…  Awesome. But.. people look at you a little odd if you it down for breakfast with a cup of coffee and a big ‘ol piece of Red Velvet cake.

Wednesday, August 3, 2011

Stuffed Peppers!

So, I’m not sure why, but I got the urge to make stuffed peppers last night…. My Great-Grandmother used to make them, and that’s really the only experience I ever had with them… However, I decided I wanted to try to make them, and for my first attempt, the reviews of the “test-subjects” (mom and Virginia) was favorable.

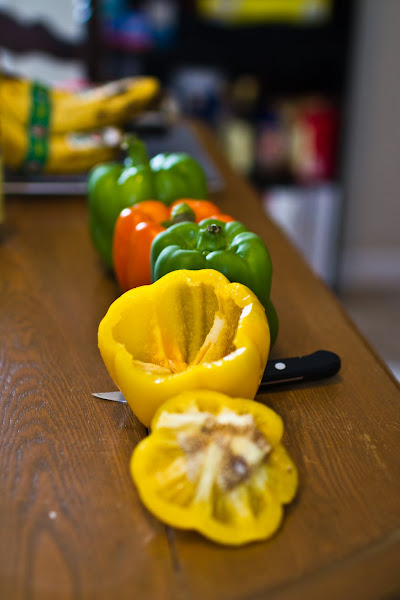
To start off, you’ll need some bell peppers. This recipe makes enough filling for 4 large bell peppers. When I say large, I mean bell peppers that are a little bit bigger than MY fist… but, consider each pepper as a serving. So, with 4 peppers, you get roughly 1/3 – 1/2 of a pound of filling in each… adjust the size and quantity of your peppers to adjust for your desired serving size. Also, you’re going to need a cup and a half of cooked rice. So.. if you have some leftover rice, that’s fine… but, I had to make fresh rice because I didn’t have any lying around… So.. that slowed me down a little bit.
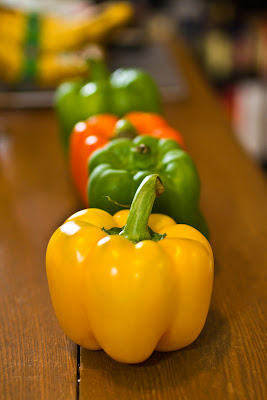
I’m sure this isn’t new to anyone, but as far as sweet peppers go, the color really determines how sweet, and how “strong” the pepper will be. The reds, oranges, and yellows will be more mild flavored, and a bit sweeter. The green will taste the most like bell peppers, and be the least sweet. So, if you’re not too keen on peppers, or if they give you digestive distress, you can still make this meal… just move to a pepper that’s better suited to your digestive system / taste. Red = sweetest/most mild, then orange, then yellow, then green.

So, now that you have your peppers, and you’re well versed on their rank structure, it’s time for some prep work. This is one of those recipes that will require you to have the majority of your ingredients ready at the same exact time, so doing as much prep as possible up-front is the key to making this go smoothly.

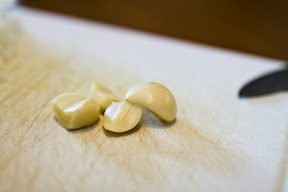
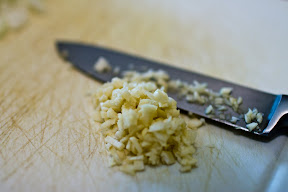
To start off, chop up a medium sized sweet yellow onion and mince few good sized bits of garlic.


Set all of this to the side for a minute, put enough water in a large pot (large enough to hold all of your peppers) toss in a few TBSP of coarse Kosher salt, and bring it to a boil. While you’re waiting for it to boil, cut the tops off of your peppers, remove as much of the “ribs” as possible, and get rid of the seeds.
A sharp knife is the key here… it makes it go quickly…

While you’re still waiting for your water to boil, get the filling somewhat ready…


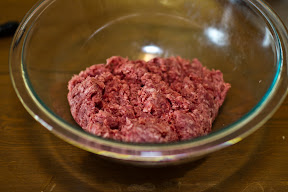
Start with a pound of lean ground beef (80/20 is good enough) and add a chopped up medium sized tomato. You could use canned tomato, but this time of year, it’s easy enough to find good tomatoes. This is also a good time to get your oven preheating to 350.

Now, back to the stovetop…. Your water is boiling. In one smooth motion, put your peppers into the boiling water. Put them in with the open side up, allowing them to fill with water. You want to have the entirety of each pepper under the boiling water. Interestingly, the orange and yellow peppers sank, and the two green ones tried to float. I put a wooden spoon in each of the green peppers to keep them under. Your peppers need to spend about 3-4 minutes in the boiling water. You just want to get them a little softer right now..After they’ve been in for a few minutes, invert them somewhere where they can drain / drip dry. For me, this was a cooling rack laid across the sink.

While the peppers are boiling, toss your chopped onions into a pan with 3-4 TBSP of olive oil and cook them until thy begin to turn translucent. Once they become translucent (should happen in 4-5 minutes), toss in your garlic and move it around in the pan for another minute or so.

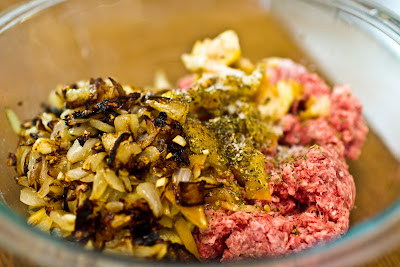
Add the onions and garlic to your meat and tomatoes, and give it a dose of salt and pepper, as well as about 2 TSP of dried oregano.

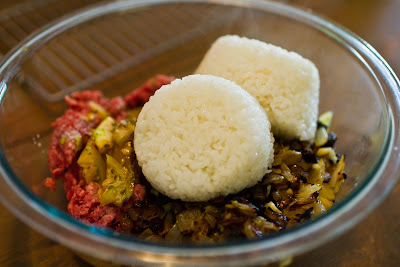
Then, add your cup and a half of cooked rice, and it’s time to get dirty. There’s no clean and/or pretty way to mix this all up. So, roll up your sleeves, take off your jewelry, and get into it with both hands. You may need to let this sit for a little bit to allow the onions, garlic, and rice to be at a temperature where it’s not painful to mix them by hand.

When it’s all mixed up, it should look something vaguely like this mess above. The only thing you’re really going for is making sure that all of the various ingredients are distributed mostly evenly, so you don’t have one pepper stuffed with all rice, and one with all meat.

Your oven should be preheated by now… So it’s time to get the peppers ready to go into the oven. The peppers have drained, and are dry inside, so get a 9x13 pan or similar, place all of your peppers into the pan, and toss about 1/4 cup of water into the bottom of the pan. Then, drizzle the inside of each pepper with a little bit more olive oil. just about 1/2 TSP or so into each pepper.

It’s now time to stuff the peppers.

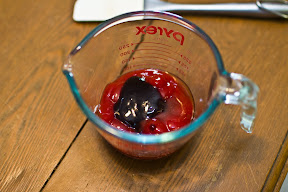
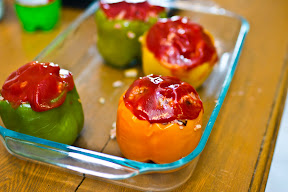
Once again, no rocket science here. Pack the peppers with your mixture. Jam it into the peppers a little at a time to ensure that you get it down into the valleys of each pepper. If you come a little over the top with the mixture, it’s ok. It’ll shrink a little bit when you cook it. After they’re all stuffed, make a little sauce to go on top from 1/2 Cup of Ketchup, 2 TSP Worcestershire sauce (I use the “thick” kind), and a splash of your favorite hot sauce. Mix it all up, and smear it onto the top of your peppers, nice and thick.

Now, toss the whole she-bang into the oven for about an hour… If your peppers are smaller or larger, adjust your time a little bit in either direction. You want to make sure that the meat is cooked all of the way through, but you don’t want them getting dry. If you need to, you can stab them with a meat thermometer to make sure that the internal temperature at the center is at least 165.

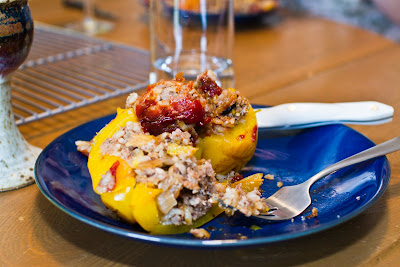
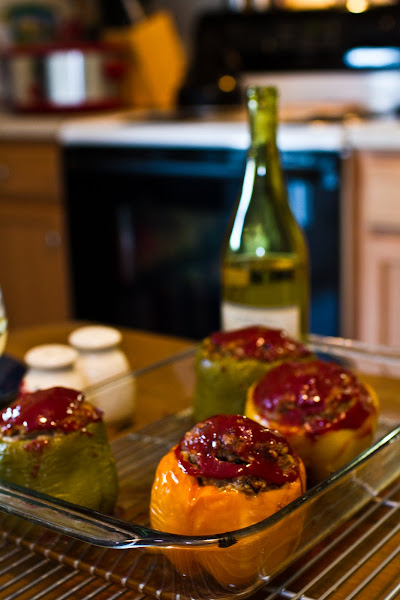
Viola! Here’s how they look when they come out of the oven. The tops should be nice and dark, the skin on the peppers just ever so wrinkly… We paired them with a light and crisp Chardonnay… which may seem odd for something made with beef, but with the rice and pepper, it paired pretty well.