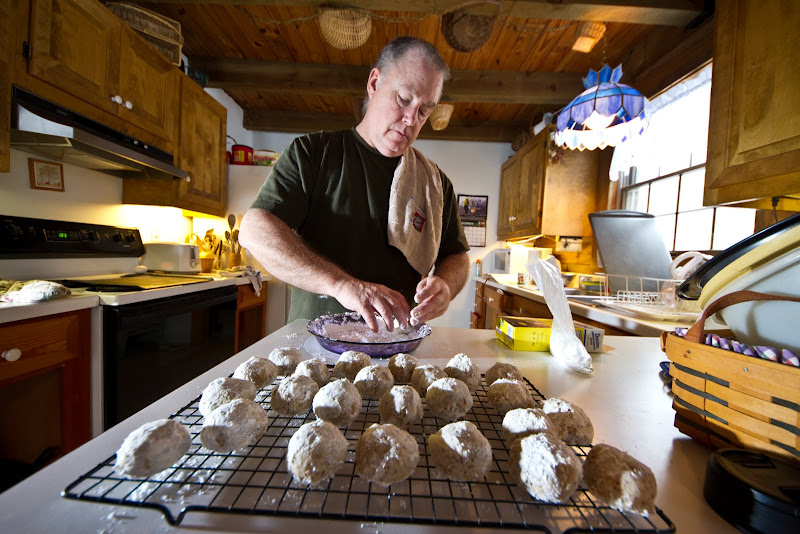
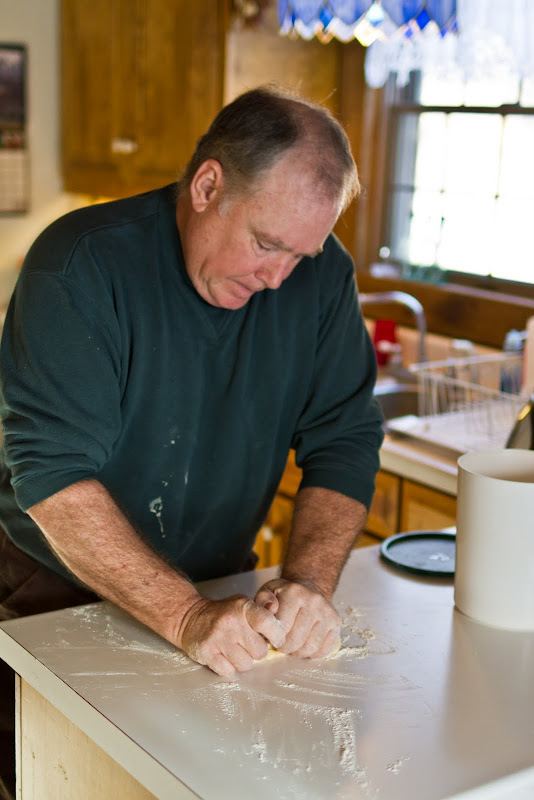
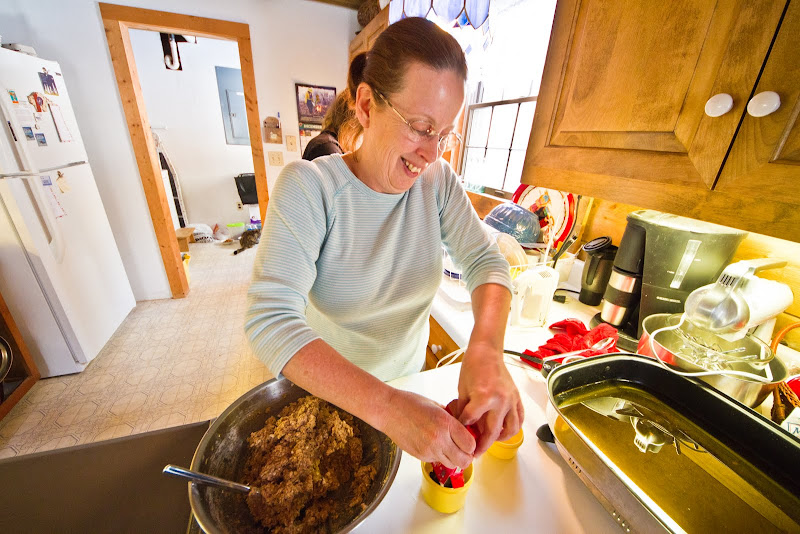
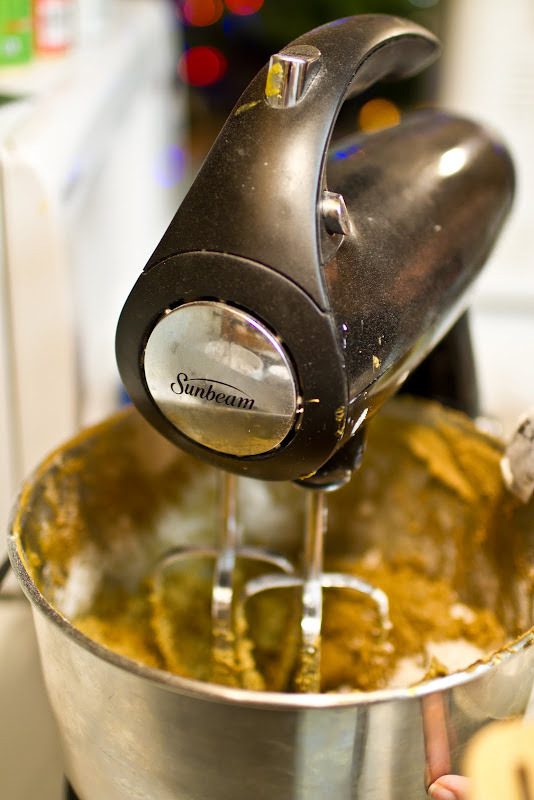
Let me begin by saying that making gingerbread is quite possibly the most heinous way that you can spend your day… The mixer struggles and strains to mix the dough… it’s sticky… one batch doesn’t go a long way, so you have to make multiple batches… and for the type of gingerbread I was making, you really don’t even want to eat the stuff.
All of that said, the reason I was doing it was so that Virginia could make Gingerbread Houses with some friends last night. So, if for some reason you’d like to torture yourself and do the same.. here’s how it’s done:
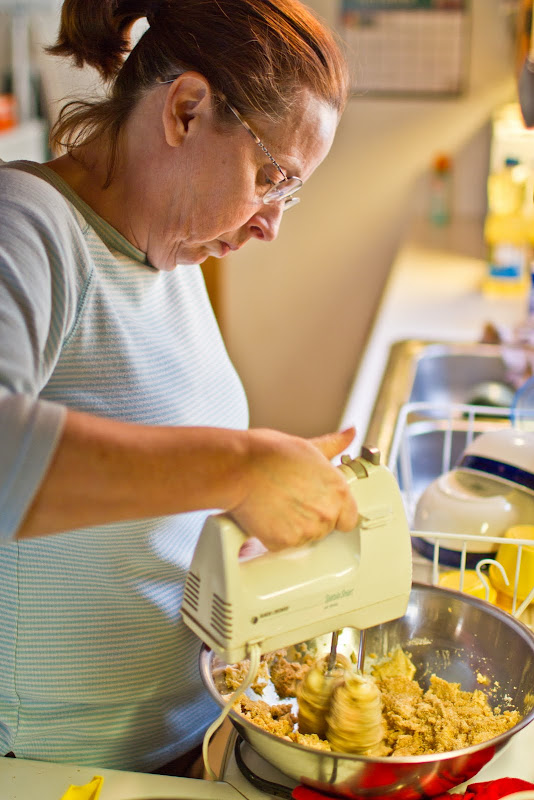
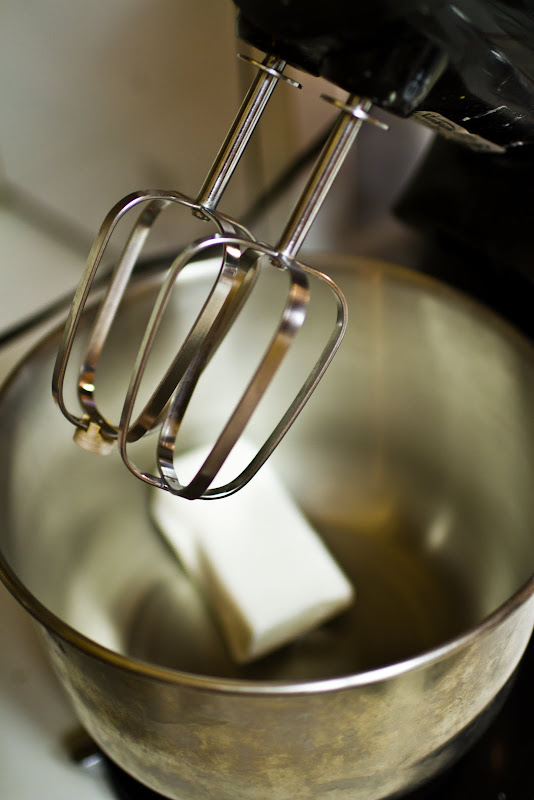
We start off with 3/4 Cup of shortening in the blender….
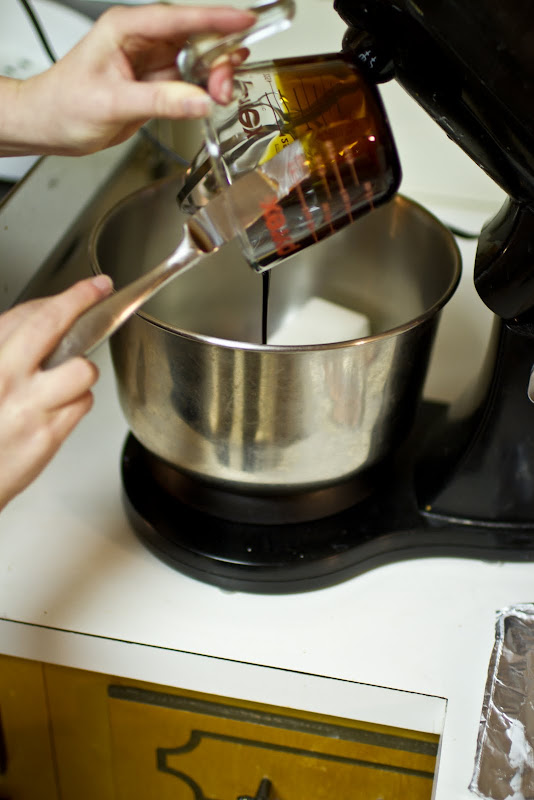
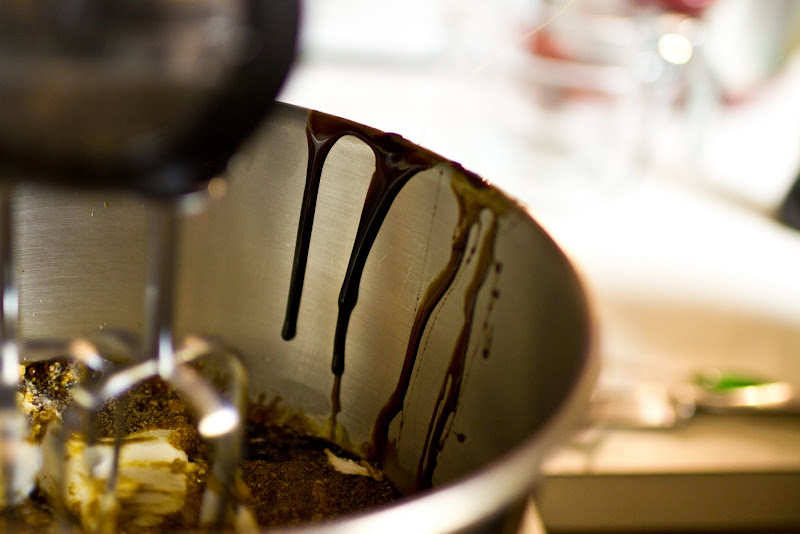
Add 1-1/2 Cups of Sugar, 3 TBSP Warm Water and 3/4 Cup of Molasses, and whip it up into a frenzy. … I mean…. blend together.
It’ll start looking like some sort of not so enticing icing… so that’s how you know when you have it creamed together sufficiently.
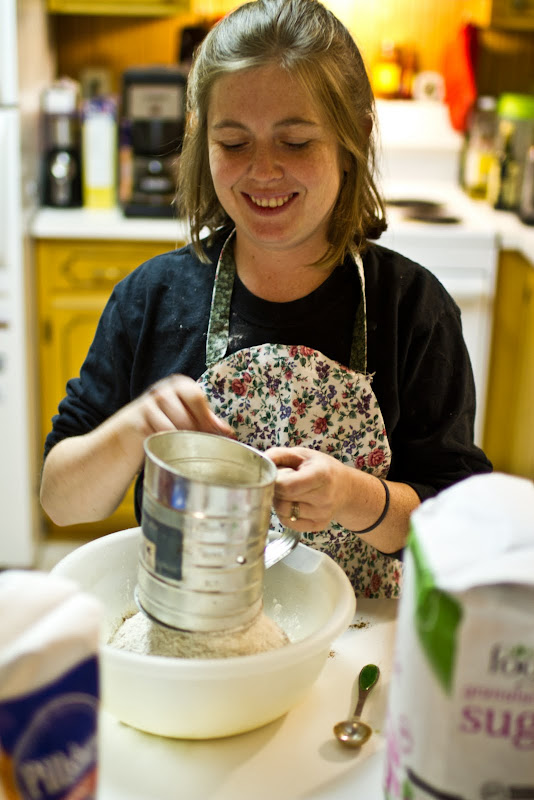
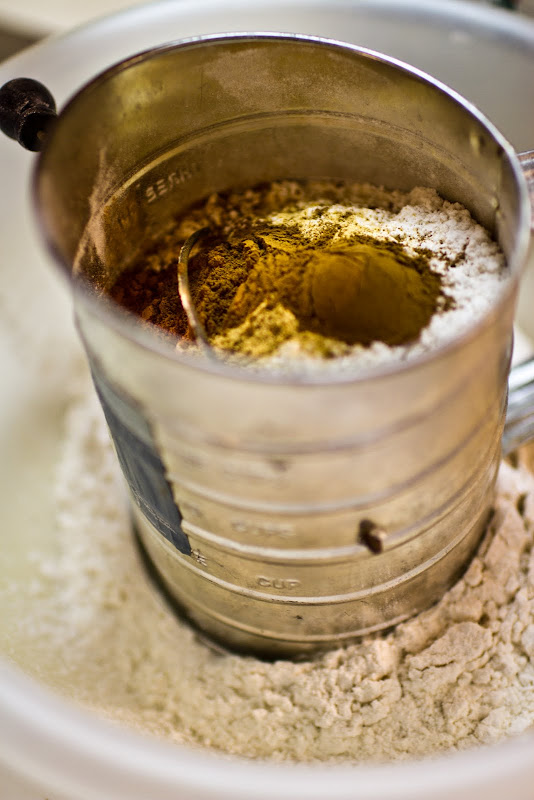
Now, you need to sift 4-1/2 cups of flour, 2 TSP Ginger and 2 TSP Cinnamon together into a container that will be difficult to pour into the blender… wait.. maybe it shouldn’t be difficult.. but the one we used was difficult to pour into the blender.
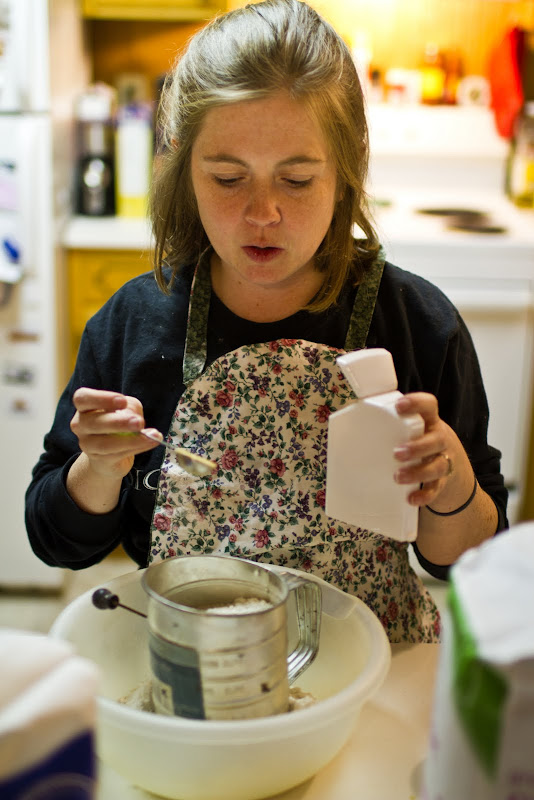
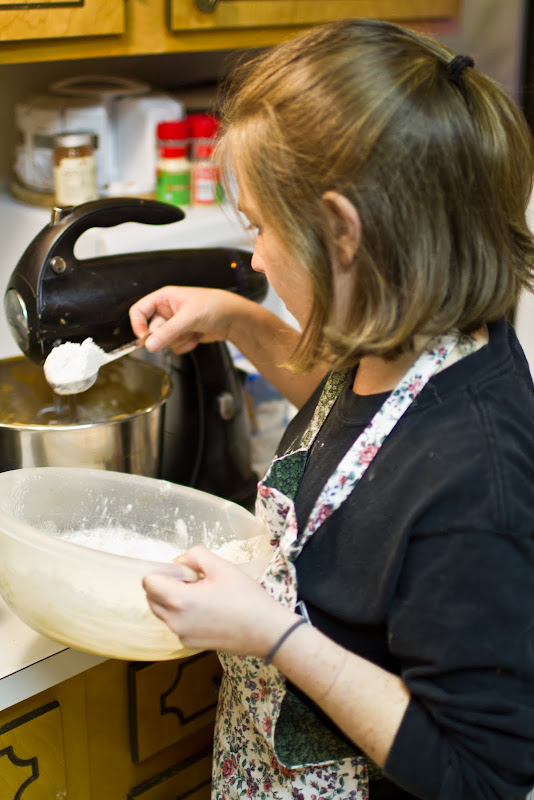
So… once you have it all sifted together… you start pouring it slowly into the blender… This is where you’ll end up with flour all over the kitchen. Inevitably, the mixture of dry ingredients will come out of the bowl too fast… it’ll go **POOF** into the blender, and then the blender will help to redistribute those dry ingredients in a 12 foot radius around the mixing bowl. For this reason, I’d recommend using a glass bowl for all of the dry ingredients… it allows for the dry ingredients to slide out of the container more easily.. and maximize the possible mess you can make.
As if your kitchen wasn’t a mess already at this point….
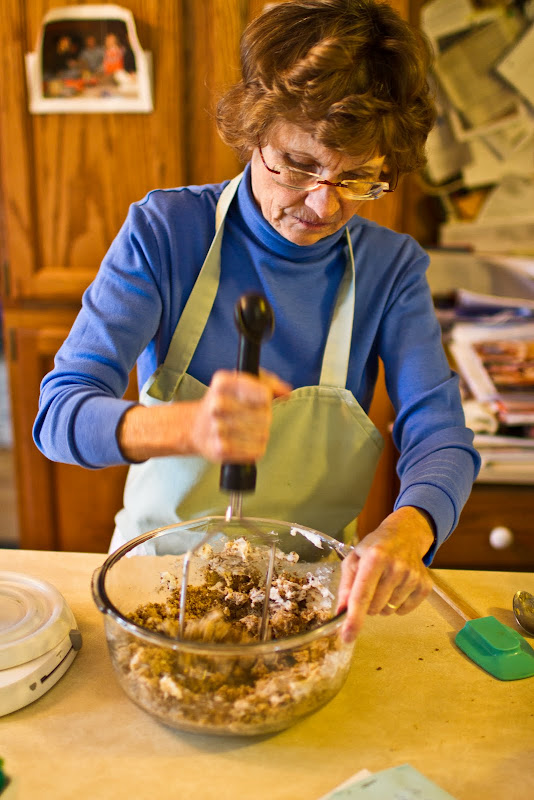
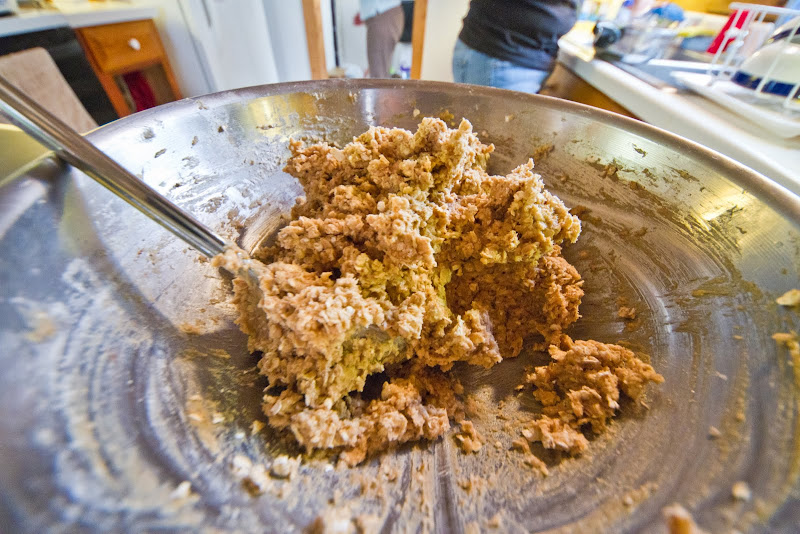
Soon, your dough will start sticking together and getting all nice and crumbly… this isn’t what you want.. you don’t want crumbles… you want a nice sticky dough… so, you may have to add some water to make everything stick together…
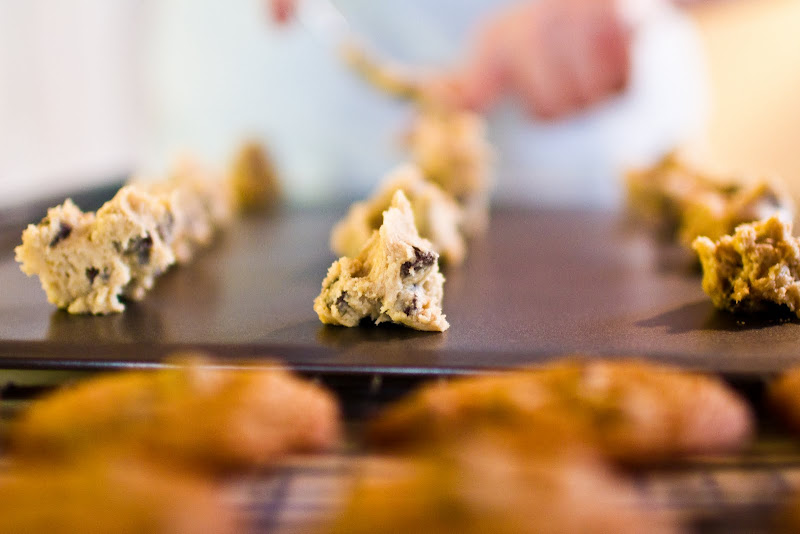
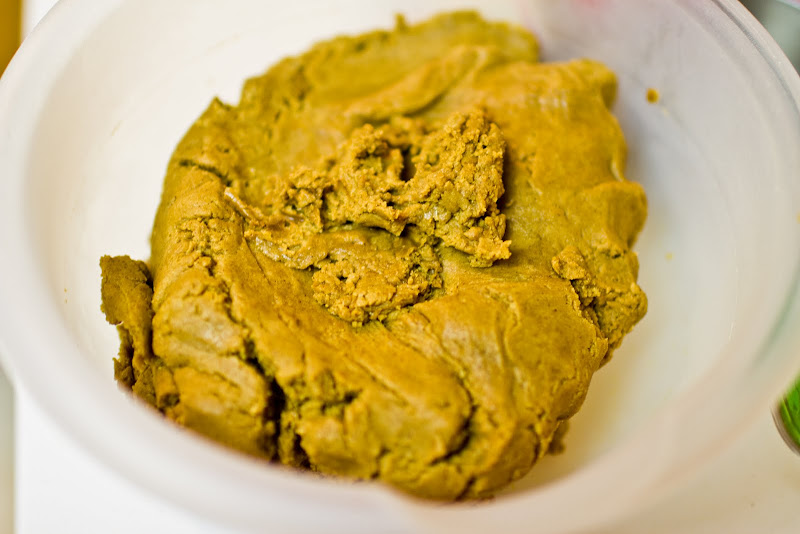
Voila. Here’s the sticky ball of dough. Now… it’s time to play the waiting game… you have to chill the dough for at least an hour before using… so, this is a good time to clean up the kitchen a little bit.. grab something stiff to drink… or.. jump right into making another batch of dough… like we did… time and time again.
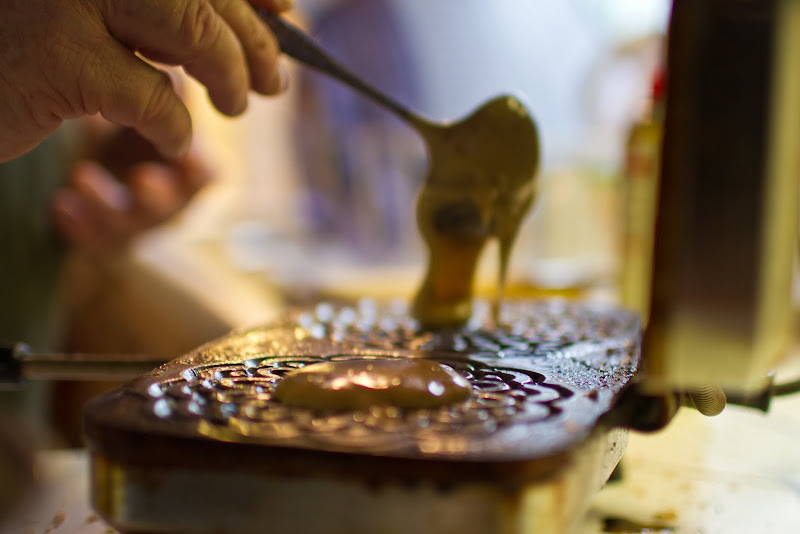
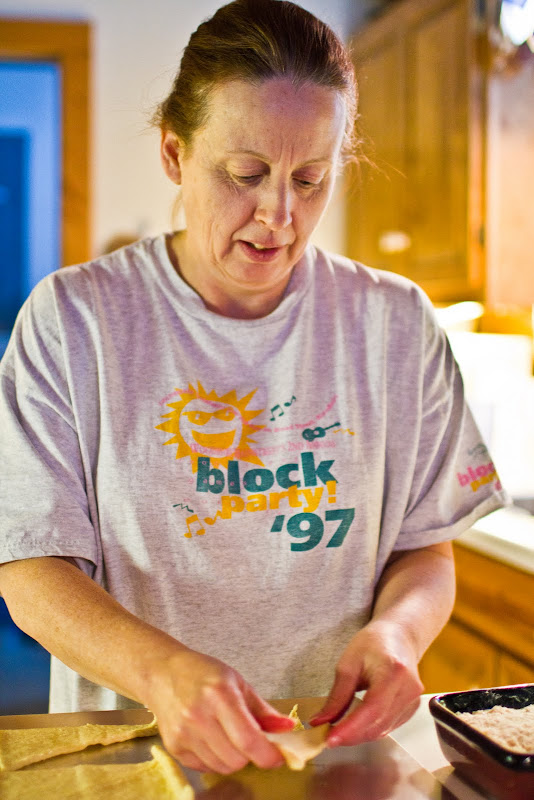
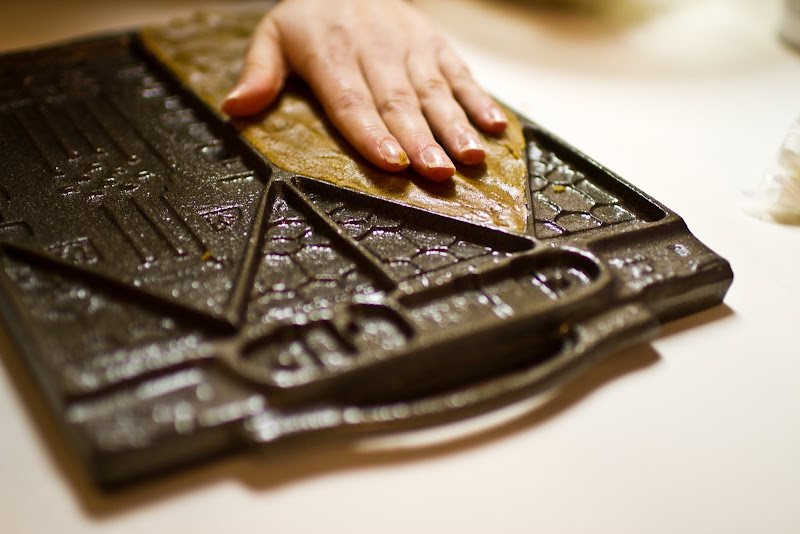
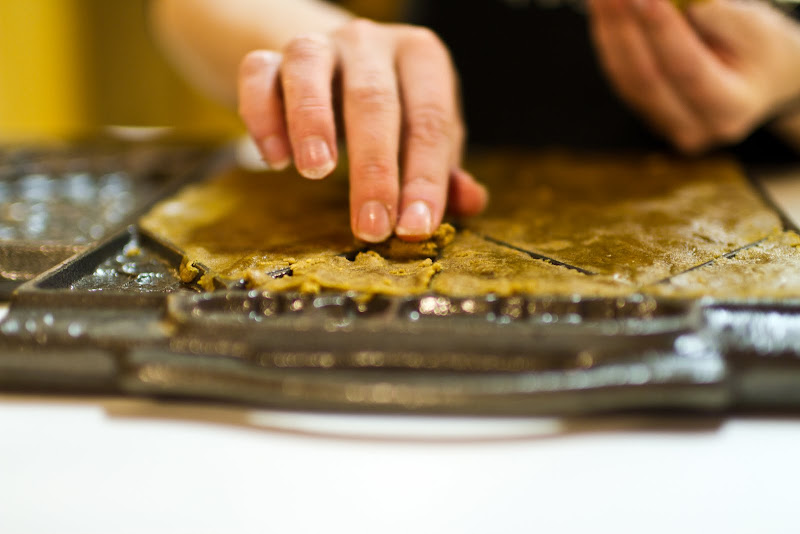
Once the dough has chilled for an hour.. you can start working it into your cast-iron gingerbread molds. What’s that? You don’t have cast iron-gingerbread molds? I thought everyone did…. In any case…you spray the molds with some baking spray… then press the dough into all the little nooks, crannies, and crevices in the molds… while trying to keep it relatively flat across the back as well… you don’t want dome shaped house pieces…
Once you’ve got the molds filled, you toss them into the oven at 350 for (the instructions said 45 minutes… 45 minutes = burned gingerbread) about 30 minutes… check them at 30 minutes… and remember that when they come out of the oven, they’ll continue to cook for a bit… when they come out of the oven, let them sit in the molds for 10 minutes to give them a chance to harden up a little bit before you pull them out.
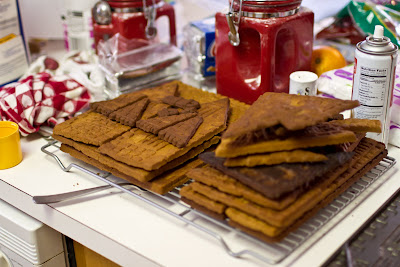
So… the above picture is the end result of a day’s worth of baking… let’s talk about the process a bit more… The House Mold has one wide face of the house and one roof section on one side.. and the both width sides of the house are on the other side, along with the additional roof pieces that will be needed. In order to make one house, you have to cook the depth side once, and the width side twice… Then you have the tower… there’s one side of the tower on each side of the tower mold… so, you have to do each side twice… so.. figure about 30-35 minutes cook time on each side… then 10 minutes of cooling to remove the pieces from the mold… then 30 minutes with the molds in the fridge to cool them down… then 15 minutes loading them back up with dough… it’s about an hour and a half per side… so… roughly 4-1/2 hours to get the material needed to make ONE house…and six hours to get the pieces needed to make one tower… not counting the time associated with the dough…
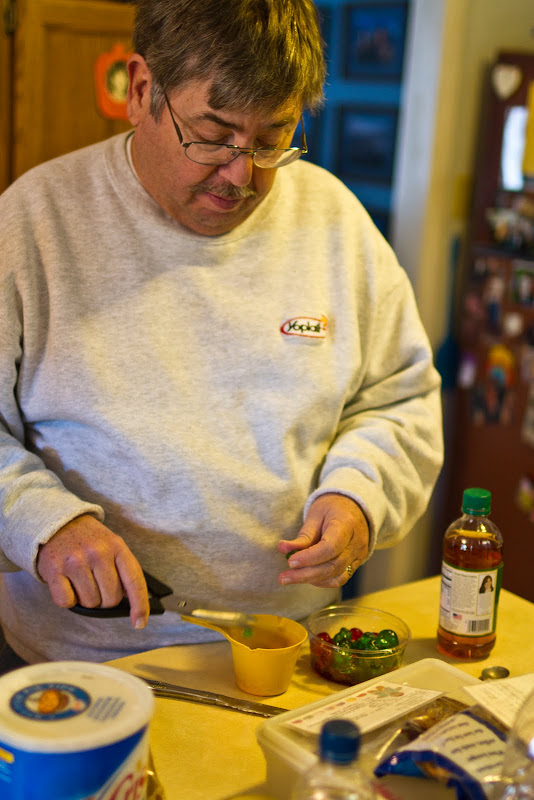
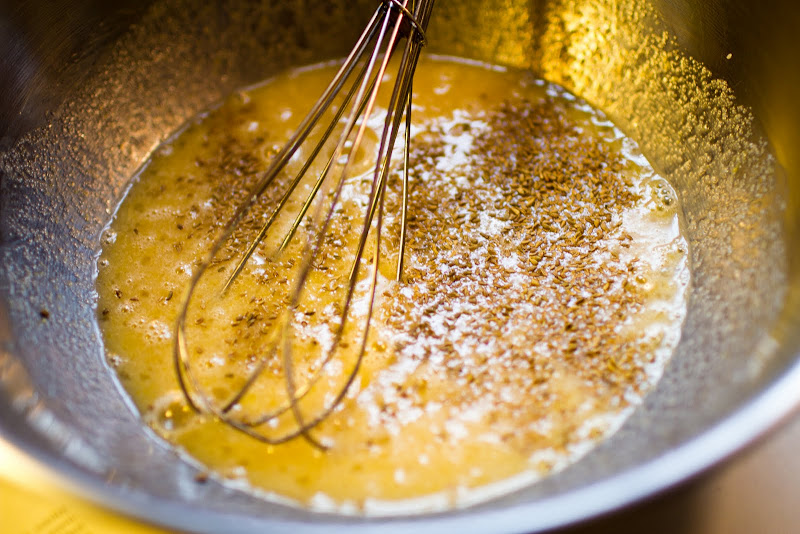
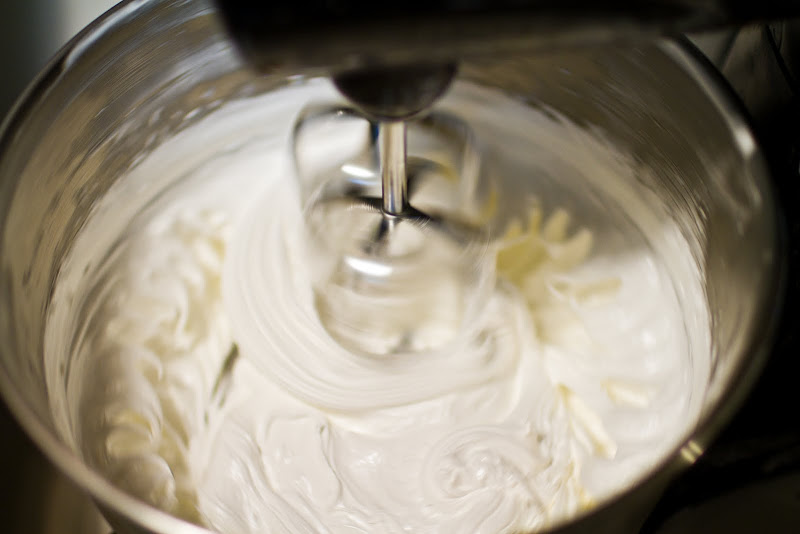
The icing is the easy part… 3 egg whites, a pound of confectioners sugar, 3/4 TSP Cream of tartar… toss it all into the blender and whip it… whip it good.
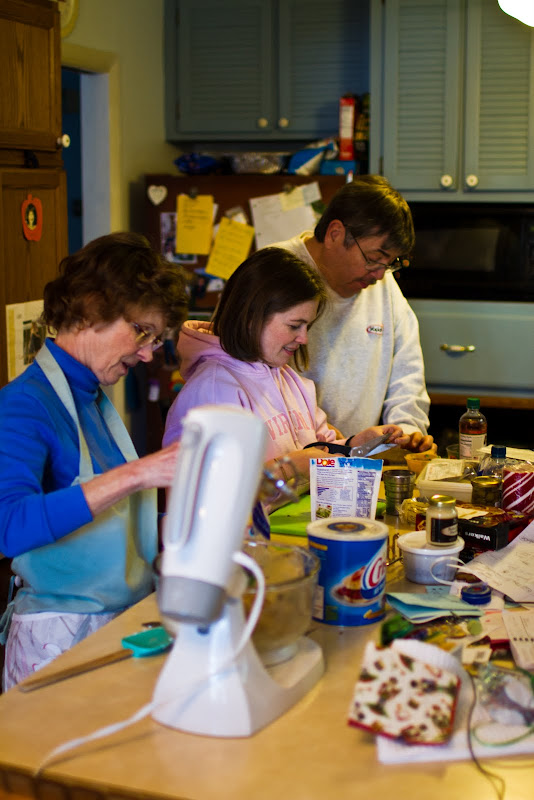
Now… you have all of the wall sections, and the industrial grade “Icing” that you’ll be using to put it together with… so you’re ready to pull all of the permits and start construction… but, to see that, you’ll have to go to our other blog… I’ll have that update posted this afternoon…..