About the cooking blog...

We enjoy a good meal. 99 out of 100 times, this good meal takes place in our kitchen. We don't eat out very often, and when we do, we're rarely "wow-ed" by the food we get. The following are recipes that have passed through our kitchen. They're not always winners, but we'll tell you if they're not, and what should be changed to make them better. Enjoy!

Monday, September 26, 2011

This isn’t made with butter!!!

Because…. it IS butter.
I think that this recipe is perfect to follow the last super-easy recipe…. once again, there will be more pictures than text…
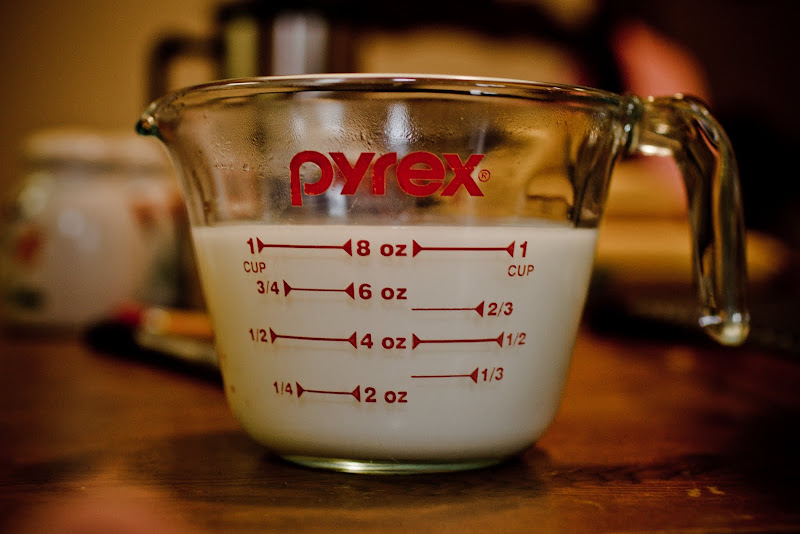
So.. start with 2 pints of Heavy Whipping Cream at room temperature. (Heavy Whipping Cream has a higher fat content than just regular Whipping Cream.)

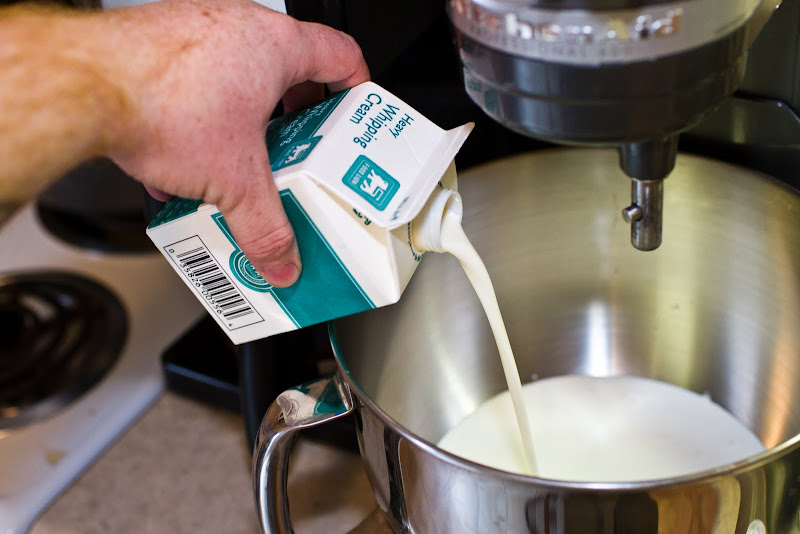
The cream goes straight into the mixing bowl…. then put the whisk on.

Start off the mixer slow, to avoid slinging cream all over the kitchen… then gradually pick up the speed as the cream thickens up.

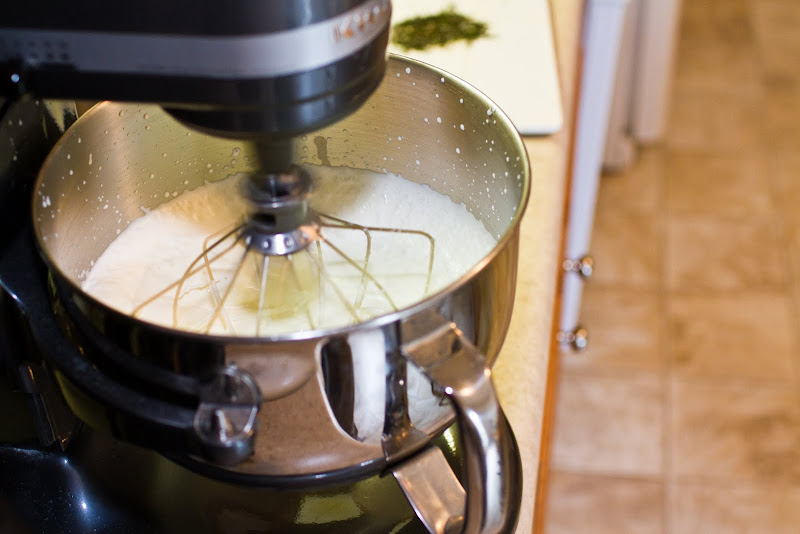
Here, it about doubled in size, but it still hasn’t thickened up yet.

Everyone has probably taken it this far before… here we have some light, fluffy whipped cream…. It’d be ready to slide onto a piece of pie right about now. (Except of course, it doesn’t have any sugar or vanilla in it) So, now that it’s whipped up… let the mixer run longer.

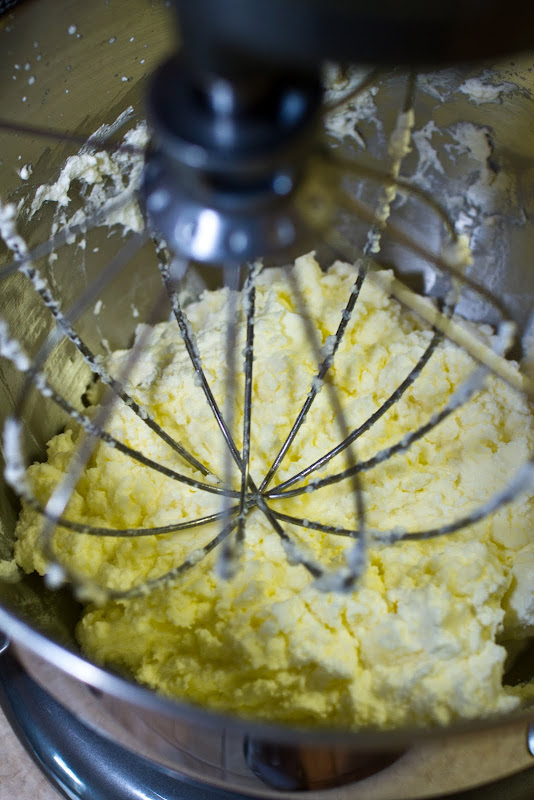
See how the consistency has changed? The color has started to go a bit yellow as well…

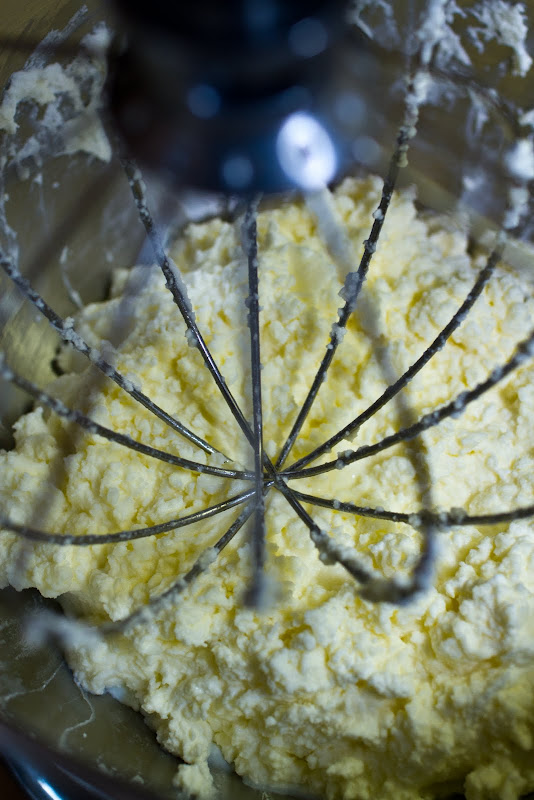
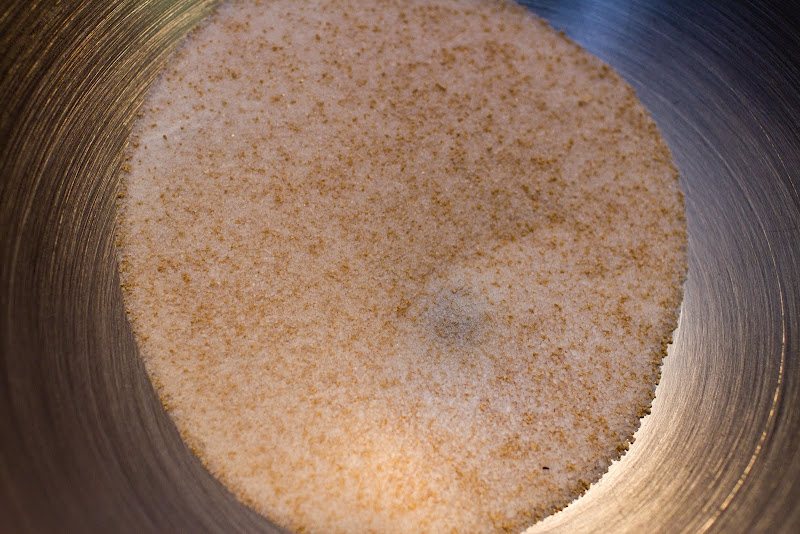
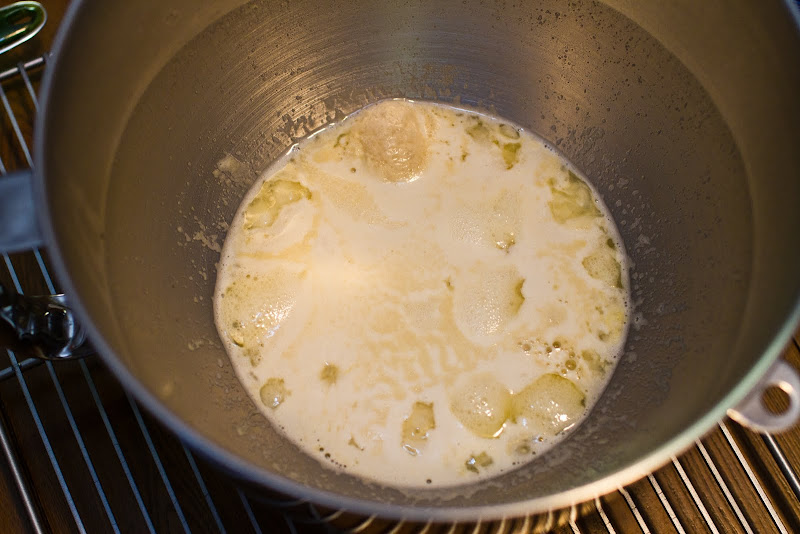
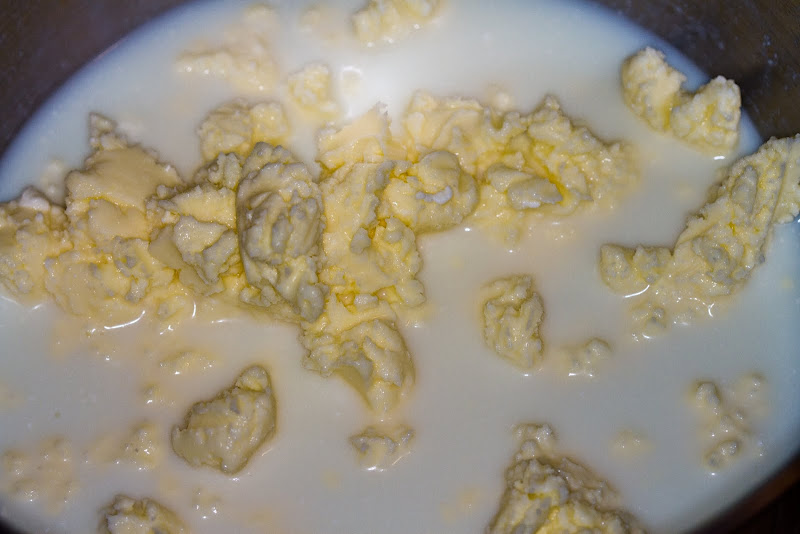
If you look around the edges of the mixer bowl, you can see the “butter-milk” starting to separate from the thick stuff. Now, let me warn you; From whipped cream to butter happens rather quick. I walked in to the living room to change the song on the radio and came back to butter-milk being slung around the kitchen.

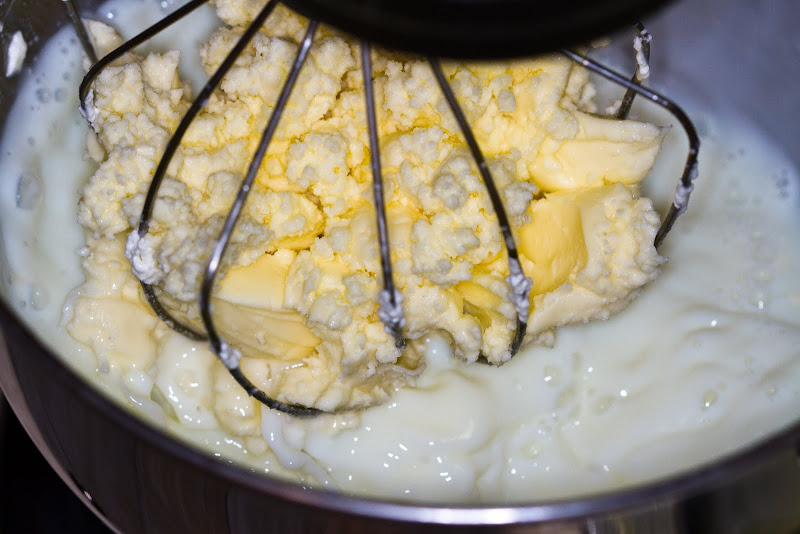
Now, you can pour out the butter-milk. … You can save it in some sort of container for later use, but it’s technically not real buttermilk since we never let the cream go sour… So I’m not sure what you would use it for…. I imagine it’s more like a “Whole Milk” type product at this point, as we’ve really just removed a large amount of the fat.

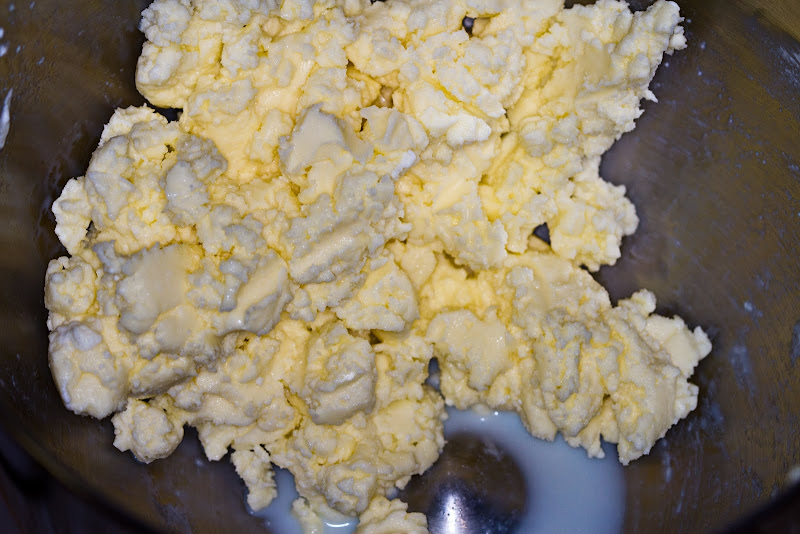
So, pour off all of the butter-milk, and you’re left with the butter.

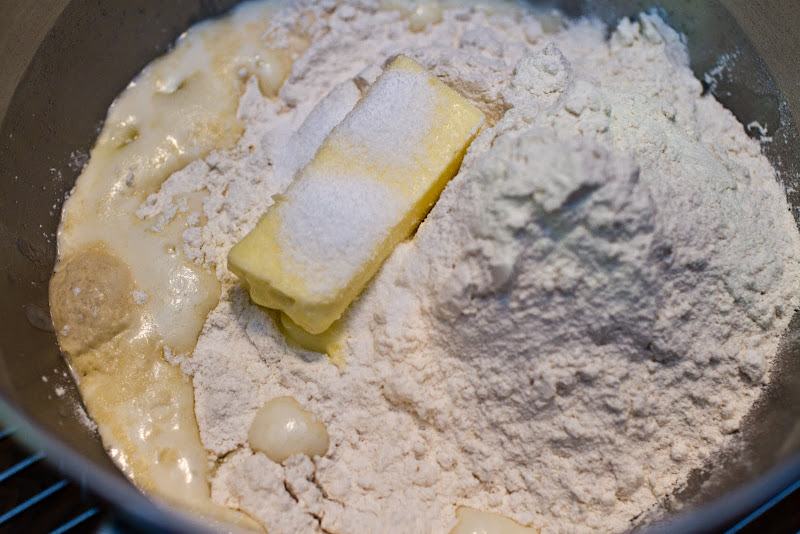
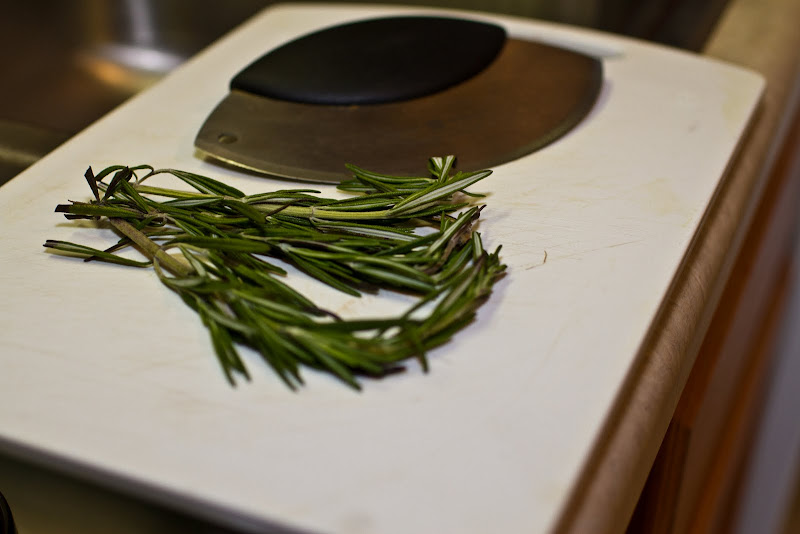
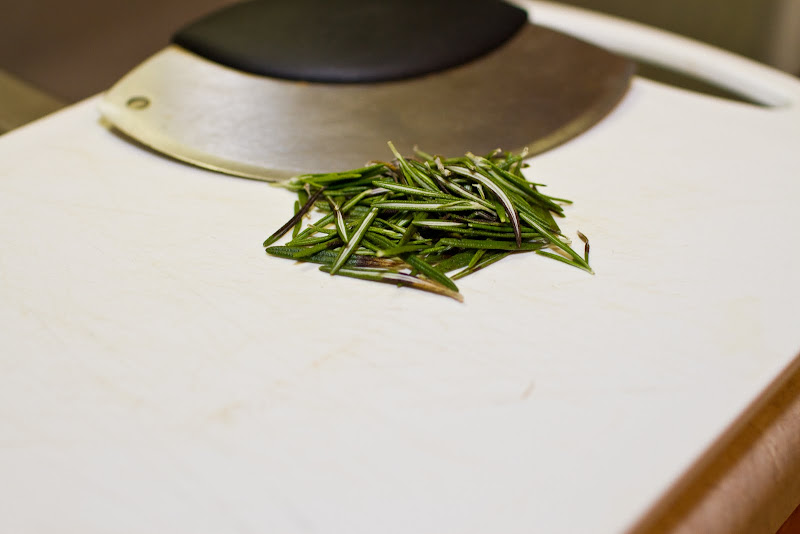
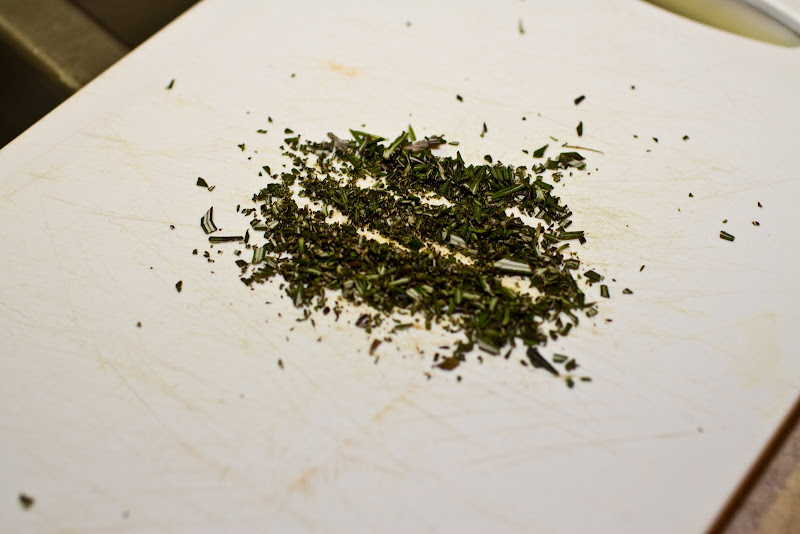
Now is a good time to add any extras that you might want in your butter… for me, I chopped up some fresh rosemary and mixed that in.


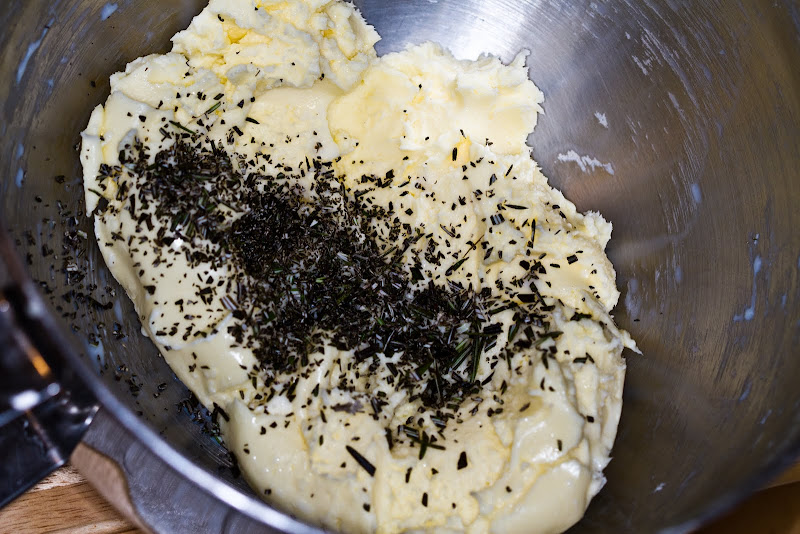
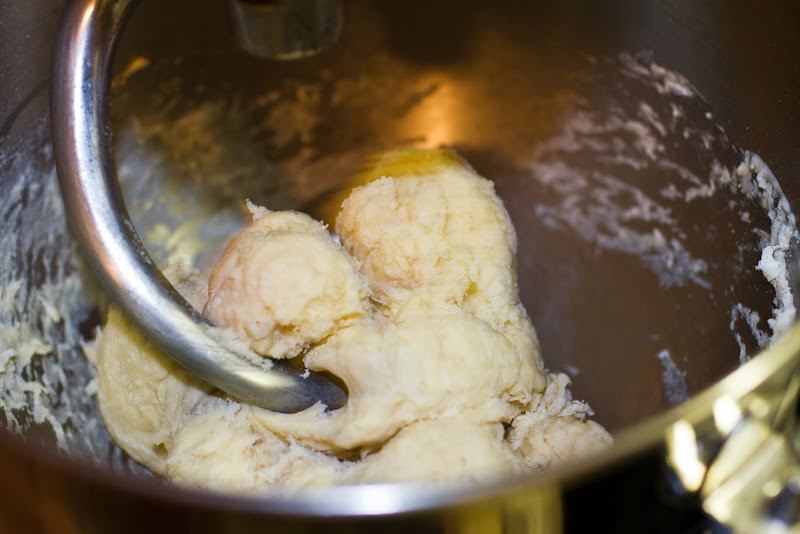
Mix it up and then run cold water over the butter. You need to “rinse” the butter until water runs clear off of it. This is to get rid of the rest of the milk that’s left over to make sure that your butter doesn’t spoil.

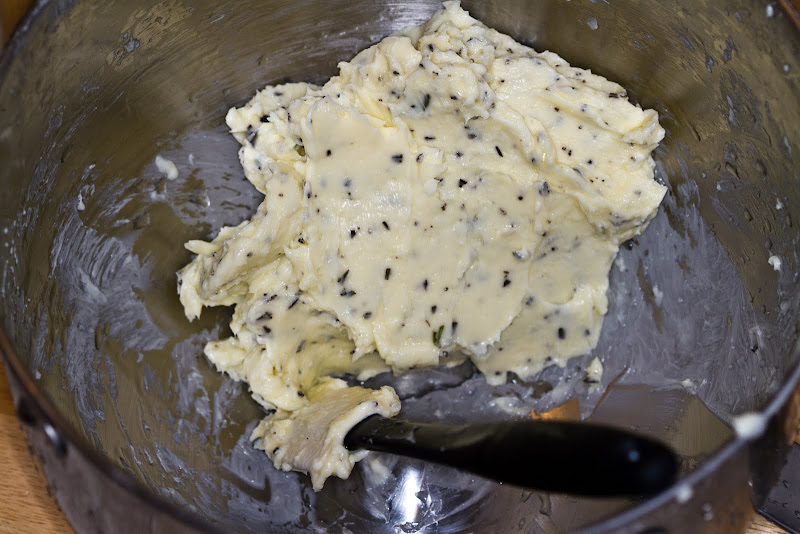
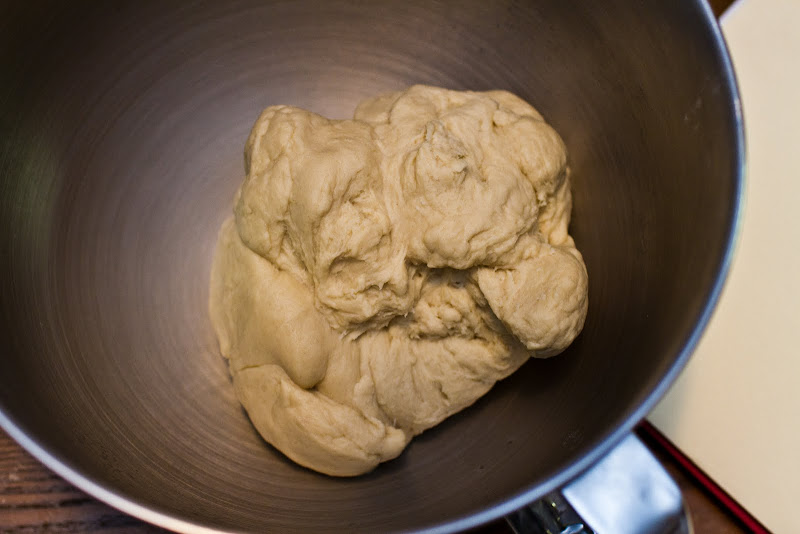
Once it’s all mixed, and the water runs clear, you can put it into containers and toss it into the fridge.

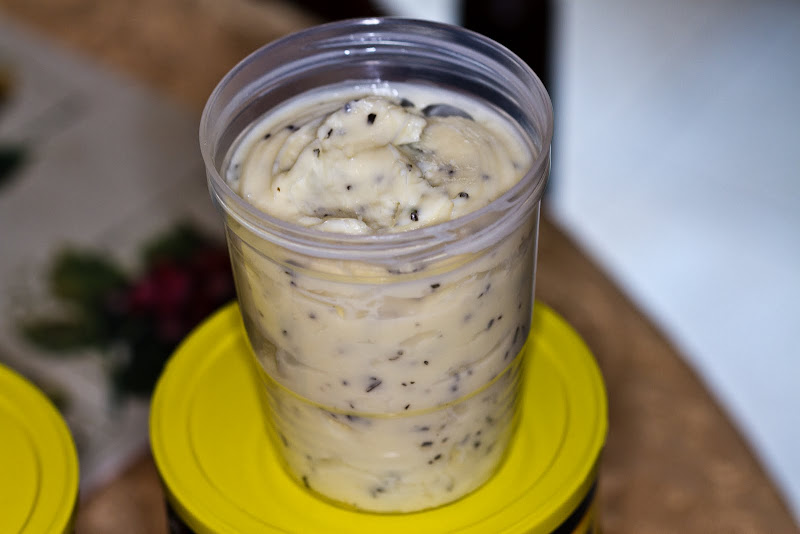
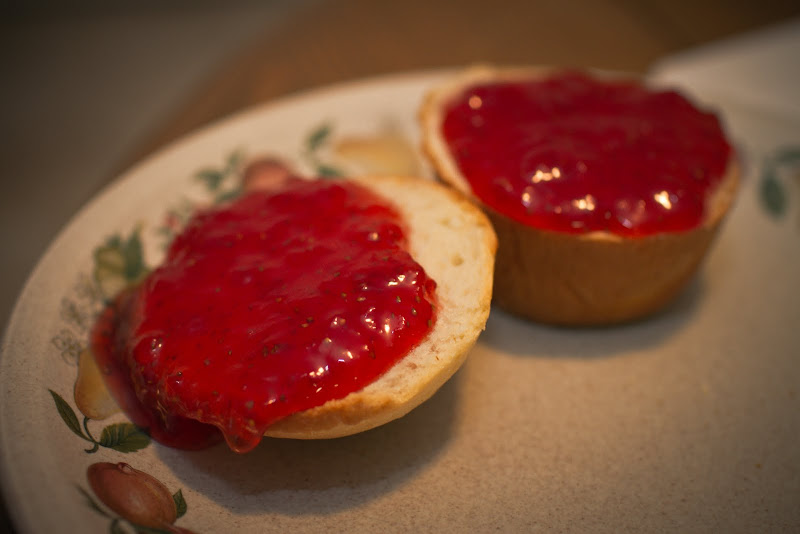
And BAM! Just like that, your butter is done. Put it onto some awesome home-made bread, or rub it all over a chicken and toss the chicken into the oven.

Thursday, September 15, 2011

Strawberry Jam!!

This is quite possibly the easiest recipe I’ve ever made. So, look at it once, then go make it. So… it’s going to be mostly pictures… just because there’s not much to say about this one.

Ingredients:

  • 32oz Strawberries
  • Cup Sugar
  • 1/4 Cup Lemon Juice

That’s it. For real.

Step 1. Rinse and hull all of your strawberries

Yeah… it’s kind of a lot of strawberries. But, slice al of your berries and chop them up a little bit.

Toss them into a big glass Pyrex measuring cup (4 Cups or larger) or something similar. (Non Coated, Non-reactive) Fill the measuring cup 75% to the top and mash the berries up a bit with your favorite potato masher.

All of the berries won’t fit in one round (or they didn’t in my 4 Cup Pyrex Cup) so mash, then add, then mash more, then add more.

When you’ve mashed them all, you should end up with about 4 cups of mashed berries.

Ok… here’s where the recipe gets hard. Take your berries, sugar and lemon juice and toss them all into a large pot.

This is some sort of “Dutch Oven” pot…. in retrospect, I should have used a stock pot…. you want something with taller sides on it. Toss the pot of everything on the stove, turn the heat on low, and mix until the sugar is melted in nicely.

Now, turn the heat up… crank it up to high and stir with a wooden spoon continuously.

Put a candy thermometer into the pot and continue to stir. You’re looking to get 240 degrees on the thermometer… although, I don’t understand how you would ever know the temperature on the thermometer, as soon as you put it into the mixture, it fogs up, and is unreadable. So.. I got it to a good rolling boil, kept stirring it, and kinda played it by ear. I was getting readings of 215-220, but it just wouldn’t go any higher. So, it’s either a garbage thermometer, or I have some sort of magical stovetop that won’t get anything hotter than 220… I think it’s the thermometer.

Once it’s hit “240” or, in my case been at a rolling boil for “what-I-consider-to-be-long-enough” turn off the heat, and ladle it into your containers. … on that note… I seem to have lost the majority of my mason jars in the move… so… this recipe made one mason jar, and one Pyrex bowl.

The jar is… 16ish oz? I think? and the bowl is probably 24-ish oz… in any case, put the jam in your containers and toss them in the fridge… Don’t worry that the jam isn’t super sticky… it’ll thicken up in the fridge.

The end result is a bit sweet… but, without pectin in it, the sugar is the main thing making it sticky… so, I’d be really hesitant to mess with the amount of sugar in it. But… this jam goes awesomely with some good home-made sweet Awesome-O Bread…. (Recipe Below)

or… on some Awesome-O bread…. with Ice Cream.

Now…I know what you’re thinking… but… the ice creamed one belongs to Virginia… so there.

Awesome–O Bread.

Okay… okay… really, this recipe is called “Sweet Dinner Rolls”.. but that doesn’t describe what it makes sufficiently. That’d be like calling Michelangelo's David a yard gnome. You wouldn’t suspect the awesomeness, looking at the ingredient list… it really doesn’t look like anything special….

  • 1/2 Cup Warm Water
  • 1/2 Cup Warm Milk
  • 1 Egg
  • 1/3 Cup Butter, Softened
  • 1/3 Cup White Sugar
  • 1 tsp Salt
  • 3-3/4 Cups All-Purpose Flour
  • 1 (.25oz) Pack of Yeast
  • More softened butter.

So, this was actually a bread machine recipe, so the instructions I’m going to give are my own creation. Professional bakers would probably have a stroke looking at my methods, but they’re not in my kitchen.

This is the sugar and the yeast… all happy together in the mixer’s bowl. They are about to meet the milk and water, which are at about 105 degrees.

Then… why not.. go ahead and beat your egg (which should be at room temperature) and add it to the mix…. stir everything up, cover the bowl in plastic wrap, and let it sit in a warm place for about 20-30 minutes to let the yeast “proof”.

So… since the egg was in the mix, making heavy spots, the yeast proofed in different areas… not all over the top like normal…. so… maybe next time, leave the egg out until later….

After it’s proofed, drop everything else into the bowl.

Boom. There’s the flour, salt and butter.. It’s time to put the mixer to work….

Start mixing slowly with the dough hook, until it’s “mostly” mixed, and then kick the speed up a notch. Let it “knead” the dough for 5-6 minutes until it’s nice and smooth. …. Like so.

Ok… that might not look smooth, but pull it out of the bowl and form it up a little….

After you form it into a ball, cut it in half. Then, in half again. Then each of those halves in half. You should get 16 pieces by the time you’ve divided it all up. Or, however many you need to fill your pans.. I like to make this bread in a muffin pan, so I make 12 small balls for the muffin pan, and then the leftover piece goes into a mini-loaf pan. (Spray all pans with floured baking spray)

Coat all of your dough on the top with some softened butter.

Then, cover the dough with plastic wrap and stick it somewhere warm for an hour to rise. When 45 minutes has gone by, preheat the oven to 400. The dough won’t exactly double in size.. but it’ll get bigger… like so:

After it’s been rising for an hour, toss it in the oven for 12-16 minutes, it should get golden brown.

Have some while it’s warm… it’s soooo much better when it’s warm…

Wednesday, September 14, 2011

Chicken with mango cherry chutney

This recipe was a bit outside of my normal comfort zone. It doesn’t contain ridiculous amount of butter… but.. we’ll let that slide.

For this recipe, you’ll need a few things that you most likely don’t stock in your kitchen on a regular basis.. so.. A quick ingredient list:

  • 2 Mangoes, Chopped and Divided
  • 1/3 Cup dried tart cherries
  • 1 TBSP Packed Brown Sugar
  • 1 TBSP Cider Vinegar
  • 1/2 tsp Mustard Powder
  • 1/4 tsp salt
  • Chinese 5-Spice Powder
  • 4 Boneless, skinless chicken breasts

First off, we’ll work on the chutney. This took a lot longer than I thought… so I’d allow for a some extra time, especially if you don’t work with mangoes very often.

As I said…I don’t work with Mangoes often… or ever for that matter… so I had no idea how I’d have to deal with this thing. For people like me, let me tell you about mangoes. They have a very thick skin, and a hard pit inside. This means that you’ll need an extremely sharp knife to make it through the skin, and the fruit will tend to stick to the inner pit… it doesn’t pull off cleanly like a peach pit. Once you manage to get a few chunks off of the pit, the next task is to remove the fruit from the skin. For this, you have to pretend that you’re cutting filets of fish. The best tool for this is an extremely sharp, but flexible knife. If you have one, a filet knife would probably be best.

Once you manage to free the fruit from its skin and pit prison, chop it into small cubes… you can make the call for yourself, but I wanted slightly larger chunks.

You should be able to get about 2 cups of chopped fruit from 2 mangoes.

Then, chop up about 12-15oz of dried tart cherries and add them to your fruit….

Put you fruits into a pan with the brown sugar, vinegar, mustard and salt.

You want to keep the fruit moving around in the pan while you cook it, or the fruit will stick to the pan pretty horribly… Keep the heat low, and just be patient and keep stirring.

After a little while, your fruit should look like above. You can mash it up a little bit to make it more like a traditional chutney, but you’ll be able to see when it’s cooked and everything is mixed together nicely. Add some vinegar if you need to deglaze the pan a little bit, add some more brown sugar if your mango isn’t super sweet… You’ll be getting tartness from the cherries, so you don’t really need any more tartness from the mangoes. Once your chutney is done, set it to the side and it’s time to work on the chicken.

I used chicken breast strips, but you could use whole chicken breasts if so inclined…. I like that the strips cook much faster though… For prepping the chicken, just make sure you’ve trimmed off the fat and whatnot, dump a few tablespoons of 5-Spice powder on a plate, and drag the chicken through it. Toss 1 – 2 tsp of Olive oil in the pan, and toss the chicken in. The five spice powder isn’t overpowering, so don’t be afraid to lay it on thick… a few minutes on each side, and the chicken is done.

And just like that, it’s done. Toss the chicken on a plate, put some chutney on top, and it’s magical.

I think that this recipe is pretty versatile, and you can adjust the sweetness / tartness / savory levels pretty easily. If you want a little crunch, I think that chopped pecans would go good with the chutney… you could garnish with some green onions for a crisp, crunchy addition.. or with some fresh mint leaves to play off of the chutney… I think that if you want a little more tartness in the mix, some dried cranberries would go well in the chutney…