About the cooking blog...

We enjoy a good meal. 99 out of 100 times, this good meal takes place in our kitchen. We don't eat out very often, and when we do, we're rarely "wow-ed" by the food we get. The following are recipes that have passed through our kitchen. They're not always winners, but we'll tell you if they're not, and what should be changed to make them better. Enjoy!

Sunday, November 27, 2011

Pecan & Cranberry Bread

This bread is really jut an extension of one of my favorite bread recipes. The basic recipe for the bread is as follows:

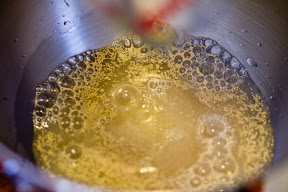
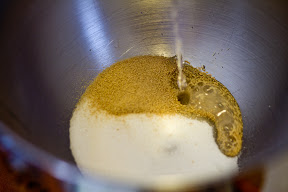
Add 1 cup of 105 degree water (I always use filtered water because our water is pretty heavily chlorinated… I’m not sure of the effect it’d have on the yeast, but it probably wouldn’t be wonderful.) to 1/3 Cup White Sugar and 1 pack of Active Yeast in your mixer’s bowl.


Stir the water, sugar and yeast together, cover your mixing bowl with plastic wrap and let it sit for 30 minutes to let the yeast “proof”.

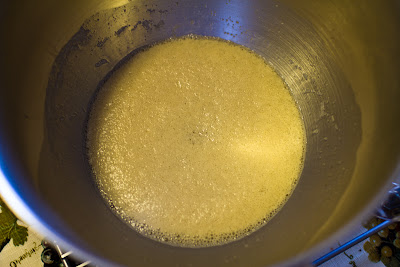
After 30 minutes, it’ll look like so:

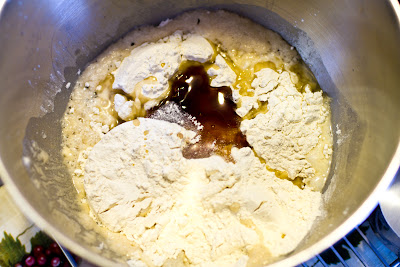
After the yeast has proofed, add 3/4 tsp Salt, 2 TBSP Vegetable Oil, and 3 cups of flour.

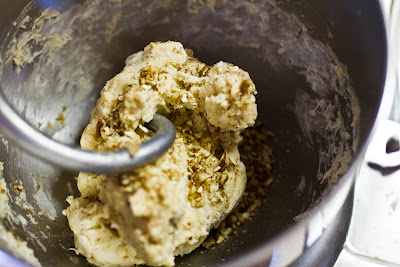
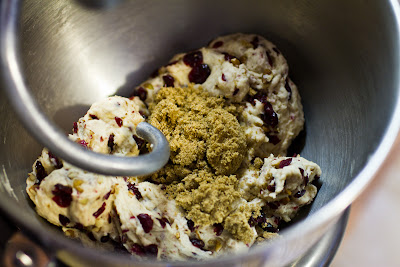
In the above picture, you might be able to see that I also added something else for this batch… but.. everything above is the basic bread recipe…so, mix all of the above ingredients with the dough hook in your mixer until they all stick together, and the dough cleans the bowl.


Now.. it’s time to make this special.. so, above, you’ll see that I added about 3 TBSP of honey. This will be a sweeter bread, so instead of just adding buckets of sugar, I’m  adding honey for a bit of body and different taste.

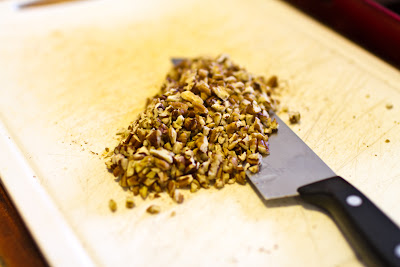
Next, I’ve got 2oz of chopped pecans.

add the pecans to the dough, and mix to incorporate.

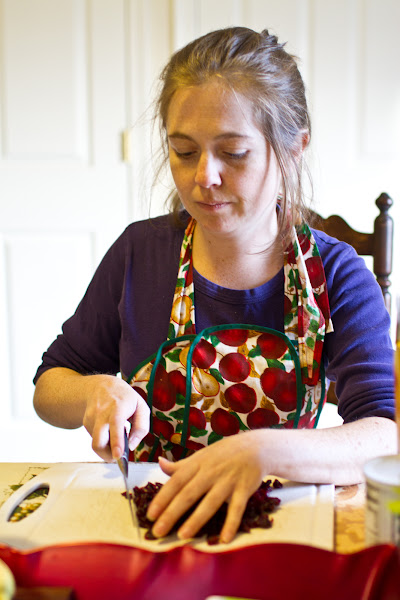
Then, chop 2 to 2-1/2 cups of dried cranberries.

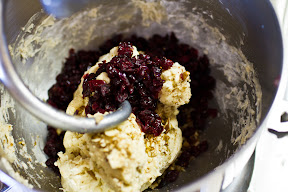
Add the cranberries to the dough and mix those in as well.


After the cranberries are mixed in, add about 3 – 3-1/2 TBSP of brown sugar.

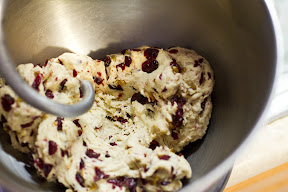
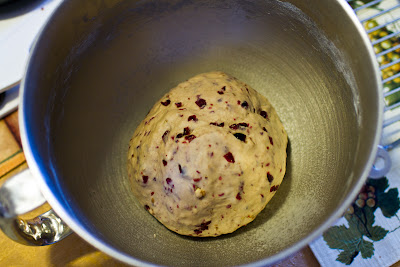
Mix the brown sugar in until the dough has formed up nicely again, and everything is mixed in happily together. At this point, you might have to adjust your dough. If it’s too sticky, add some flour. If it’s to crumbly, add some water. The dough should be elastic and cleaning the sides of the bowl.

See that? Too wet. I had to add a bit of flour to get it right.

Bingo bango. Formed up nicely, and didn’t stick to my hands… just what you’re looking for.

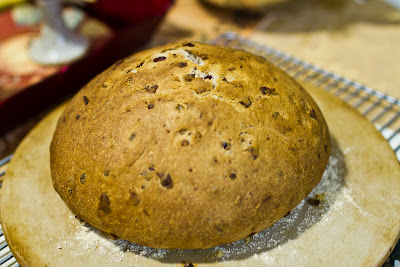
So, now it’s rising time. Totally a drag. So, it’s a good time to do some dishes, some grocery shopping, picture editing… trying to remove the smell of onions from the professional grade camera that you’re using that you’ll now never be able to sell…. you know… whatever’s clever. Pull the dough out of the bowl, spray it with some baking spray, and cover with plastic. The first rise is for 1 hour. Then, punch it down, and let it rise again for 30 minutes. After the first rise, put your ceramic baking wheel in the oven and preheat to 350. In the next 30 minutes of rising, your oven / ceramic should be preheated. Once it’s risen the 2nd time, don’t punch it down. Sprinkle some corn meal on your ceramic, plop the dough on it, and paint some melted butter on the bread with a brush. Bake for 30 minutes, then brush on some more butter, and bake for another 15-20 minutes. You can tell when the bread is done by tapping on it with your finger… it should make a hollow **thud** noise, and look like so:

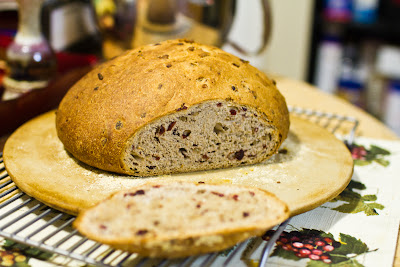
Looky there. Isn’t that about awesome? Well, you should taste it. It’s frickin’ amazing. For Thanksgiving, I made a similar loaf but with cranberries and black walnuts. However, I didn’t add the honey and brown sugar. So, I was a bigger fan of the black walnuts, but the added honey and brown sugar is definitely an awesome addition…. So… use black walnuts for an added kick. Use pecans otherwise. In either case, add the honey and brown sugar.

Saturday, November 26, 2011

Jennifer came over a month or so ago and we put her to work.

This is a very belated blog. But we’ve been having a very busy few months here at Casa Trovato. Hopefully we’ll have some new posts about that on the regular blog soon.

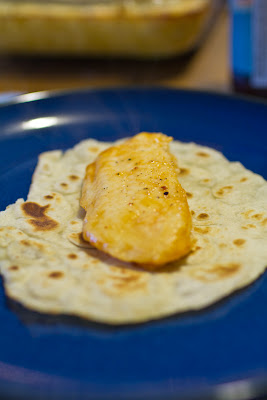
Anyway we had Jennifer over for dinner after she moved back to the area. We decided to make some fish tacos with real flour tortillas. The inspiration for the tortillas was these awesome tortillas that Nat and Erin fed me when I was out in Denver. I even brought some back for Aaron and he loved them so much he bought real live lard so that we could try to recreate them.

Here is the recipe we used: http://allrecipes.com/Recipe/homemade-flour-tortillas/detail.aspx

Let me tell you up front. Real flour tortillas = tons of work. So while real tortillas are a totally different, amazing experience which shouldn’t even go by the same NAME as store bought regular tortillas, I doubt we will ever try to make these again. We’ll just have to go to Denver.

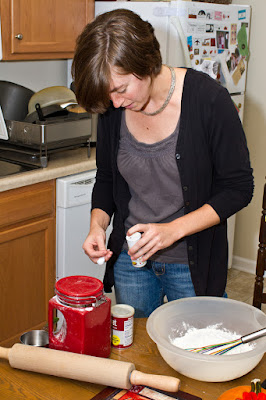
Ok. Step 1: Clear off the kitchen table because you are going to need some space. Step 2: Put your guest to work mixing up the flour.

So the try ingredients are just flour, baking soda, and salt.

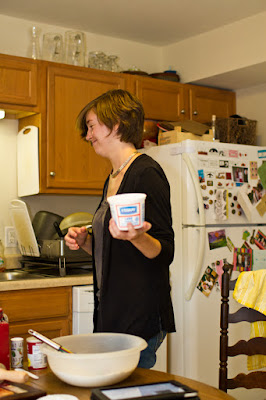
Then STEP 3: You get to incorporate the LARD!

Believe it or not, we had never bought lard before. It is definitely a magical element for the tortillas. You  mix it all in until it’s crumbly.

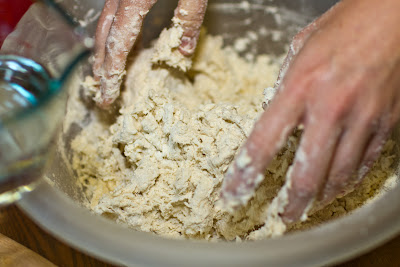
Step 4: Add the water to form a dough.

Once your dough is nice and smooth and elastic, you’ll want to form it into balls so that you can roll it out.

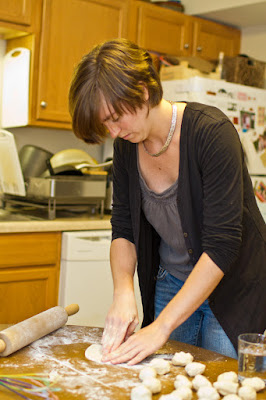
Here’s where you will learn that lard, while magical, is not sufficient to make the awesome tortillas. You definitely need a trained professional.

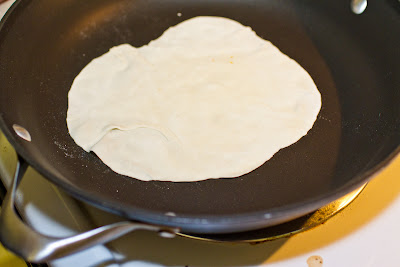
Otherwise you are just rolling and stretching weird misshapen tortillas.

Like anything else, we found that our tortillas were improved by frying them in lard.

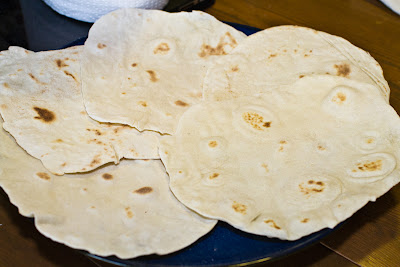
And here’s the finished product:

Still is wasn’t nearly as good as the ones in Denver. But we did enjoy our Jennifer sweat-shop while it lasted.

Spinach makes it healthy…

Today we were being exceptionally lazy, but we managed to drag ourselves out of the house to do a bit of grocery shopping. We went up to the local Food Lion and walked around for a bit… threw some things into the cart… but really didn’t find anything that we were super excited about.


However, this was about the time that the universe threw us a bone. Turns out, that Food Lion was doing a thing where if you bought $35 worth of groceries, and at least one Kraft product, you’d get a free “Southern Living: Our Best Party Foods” magazine.

As we loaded our random groceries into the car and left the parking lot, I turned to Virginia and said “We’re going to Martin’s to get bacon, so before we get there, find something in that magazine that we can make tonight, and put on the blog, since we haven’t done that in a while. (Of course, when we got back to the house, I remembered that we had taken pictures of another kitchen adventure that never got posted… so… that’s new tonight as well) So.. without further ado, here’s the recipe that Virginia picked from the magazine.

Sausage, Bean, and Spinach Dip

Ingredient list:

  • 1 Sweet Onion, Diced
  • 1 Red Bell Pepper, Diced
  • 1 LB Hot Ground Pork Sausage
  • 2 Garlic cloves, minced
  • 1 tsp chopped fresh thyme
  • 1/2 cup dry white wine
  • 1 8oz package cream cheese, softened
  • 1 6oz package fresh baby spinach, chopped
  • 1/4 tsp salt
  • 1 15oz can pinto beans, drained and rinsed
  • 1/2 cup shredded Parmesan cheese
  • vehicles for the dip (corn chips, pretzel rods, crackers, etc)

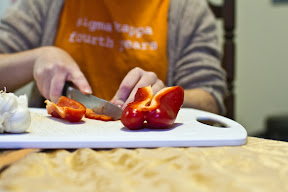
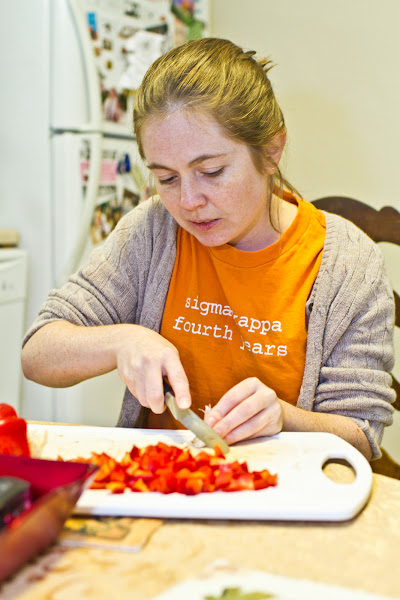
So, obviously, step 1 is to prepare everything as described in the ingredient list. chop, dice, mince, and measure.


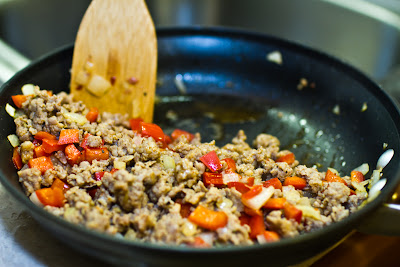
After everything is chopped and measured, preheat the oven to 375, grab a pan, and get the pan on a burner up to medium high heat. Toss in your sausage, onion and peppers until the sausage is browned, and the onions and peppers are softened.

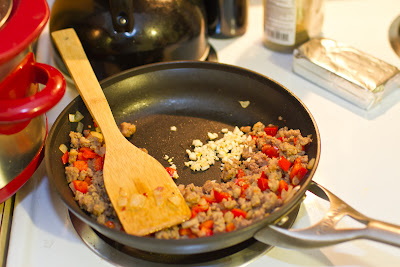
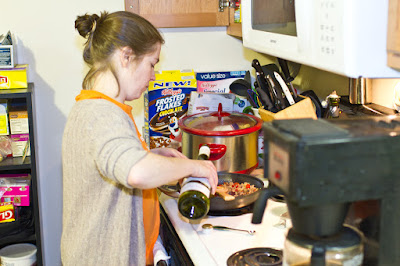
Now, you can add your garlic and thyme… cook for a minute… then add your white wine.


Cook until the liquid is evaporated, then add the cream cheese, stirring constantly.

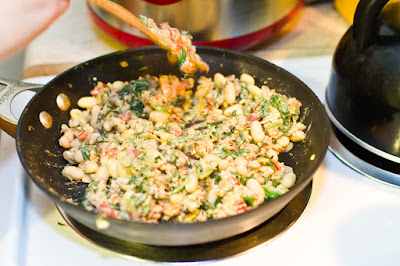
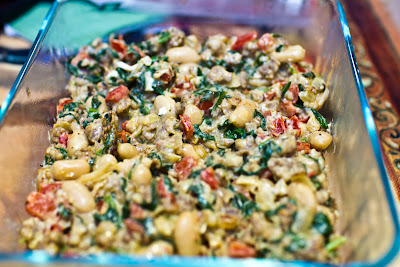
After the cream cheese is mixed in, add the spinach and the salt and cook, while stirring constantly. The spinach will wilt nicely, and thins will blend together nicely. After about 2 minutes, add the drained and rinsed beans. After another minute or so, pour everything out of the pan, into a small baking dish.


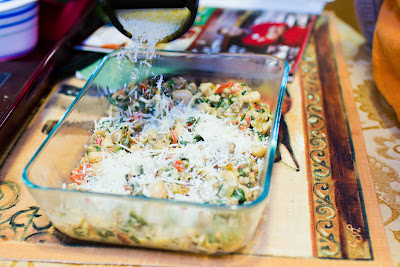
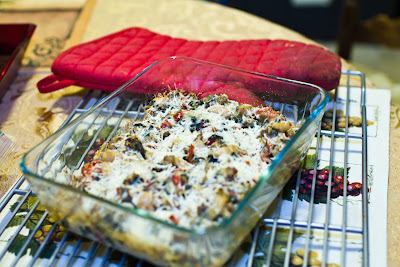
Top it all with your parmesan cheese, and toss it into the oven for 18-20 minutes.

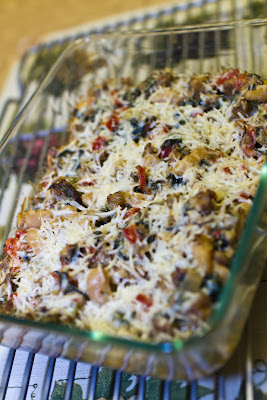
A few minutes later, you have a tray of steaming, happy awesomeness.

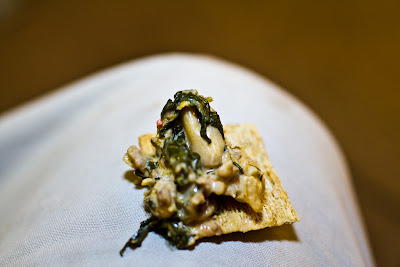
We had ours on some lovely Triscuit crackers…

All in all… this was a pretty awesome recipe. We had some Sweet Italian Sausage sitting the the freezer, so that’s what we used… it would have better with a spicier sausage, but I think that spicy Italian sausage is the way to go. With all of the other flavors, the fennel in the Italian sausage is a nice addition.

Saturday, October 15, 2011

Virginia makes food too!

So, I realized last week that while Aaron has been a culinary king, exploring exotic butters and jams, I haven’t made any blog worthy food since we moved to Staunton.

My solution was to spend one evening making home-made apple sauce and pumpkin pie. The inspiration for the pie was my mom who recently lured Aaron and I to Lexington just with the promise of the first pumpkin pie of the season. The inspiration for the apple sauce was Leah Sirkus who has been buying bushels of apples literally every time I see her.

First the pie. The only pumpkin pie that I really love is my mom’s and it’s ridiculously easy and almost impossible to mess up. Side note, this isn’t the real recipe, I’ve tweaked the amounts to make extra filling. All you do is mix:

  • 1 can pumpkin (use Libby’s DO NOT use pumpkin pie mix)
  • three eggs
  • 1/2 sugar
  • almost all of a small can of evaporated milk (PET - the can that's about the size of my fist)
  • 3/4 cup dark corn syrup plus a few extra squirts for good luck
  • 1/4 teaspoon salt
  • 1 teaspoon cinnamon
  • 1/2 teaspoon ginger
  • 1/2 teaspoon nutmeg


And pour that into a pie pan. Because I always use the whole can of pumpkin, it usually makes too much to fit in the pan. So just pour the extra into a pyrex baking dish and you have pumpkin soufle'!

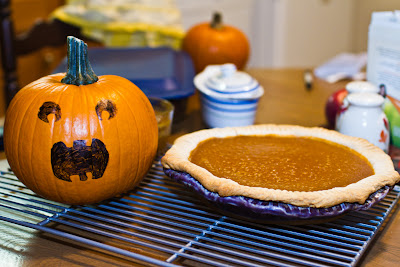
It’s so easy we didn’t even take pictures of that part. Here’s what the delicious pie looks like though.

That pumpkin was freaking out because he knows he’s next in line… But seriously, if I do make a pie out of a real pumpkin (with no help from Libby’s) I’ll be sure to document it on the blog.

Now for the apple sauce, which is also ridiculously easy. The hardest part is chopping up all the apples. I decided to go with the chopped, chunkier apple sauce because I was afraid grating it would be too messy and juicy, but next time I think I’ll try grating them.

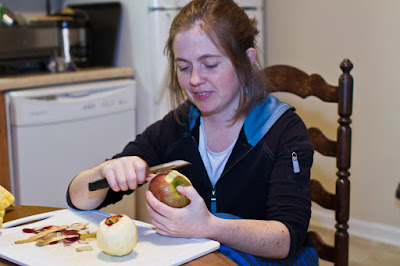
I peeled mine first to avoid the texture of the skin, but you don’t have to.

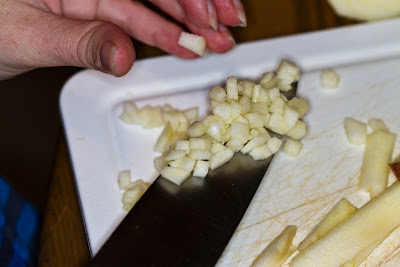
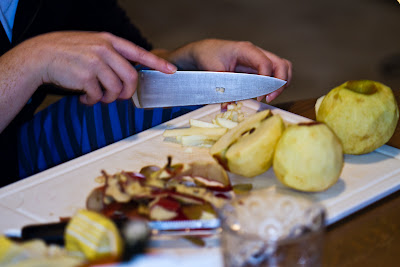
Then the chopping began.

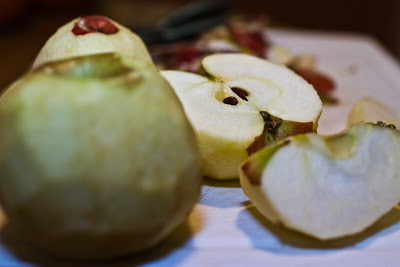
Oh the chopping!

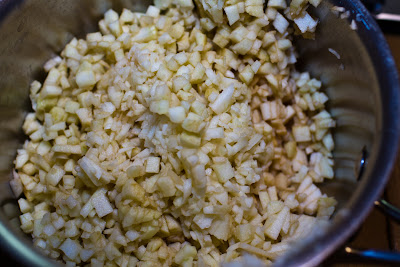
Once my apples were chopped. They went into the sauce pot.

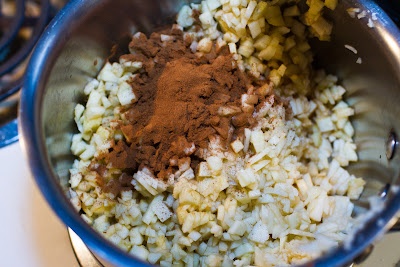
Then I added 1 teaspoon of cinnamon, although next time I would use less. Maybe start with 1/2 teaspoon.

I added about 3 tablespoons of water and 2 tablespoons of cider as the apples cooked down. Basically every time the consistency got really thick and started sticking to the bottom of the pan. I cooked the apples about 20 mins. until soft. Then added brown sugar to taste.

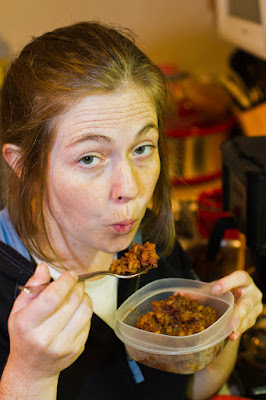
Delicious! But sadly three apples only made about three servings, so next time I would hire more minions to do the chopping and/or grating.

Tuesday, October 11, 2011

Habanero Pepper Jelly


A word up front with this recipe.

SAFETY FIRST.

I often say that stupidity should hurt. Well, today, I learned two things.

  1. Stupidity DOES in fact hurt.
  2. I am stupid.

So. When working with Habaneros, it’s important that you think about the damage they can do. The oil from the peppers will soak into anything they can. This means open pores, dry skin, open wounds, etc. If you tend to have especially dry skin, either lotion up, or wear gloves. Right now, it burns under all of my fingernails and the entire end of the pointer finger on my right hand feels like I’m holding it over a candle flame. My forehead finally quit burning about 5 minutes ago, and my nose is starting to stop burning as well. So.. wear gloves, turn the thermostat down to 62 degrees so you don’t sweat… whatever you have to do to make sure that you don’t touch any part of yourself after touching the peppers.

All of that said, on with the recipe. For this one, you’ll need a few special things…


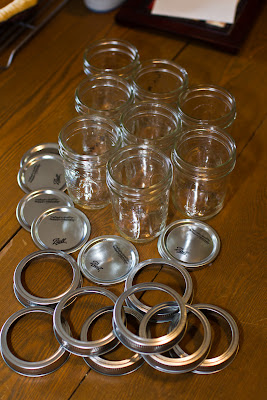
You’ll need about 8 1/2 pint Mason jars (or Ball jars) and 2 - 3oz packs of liquid pectin.

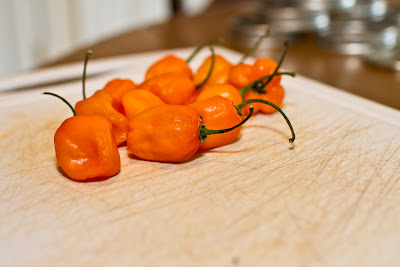
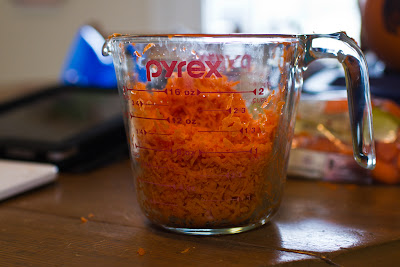
Also, you’ll need about 15 Habanero Peppers, a cup’s worth of shredded carrots, 1-1/2 cups of Cider Vinegar, 1 Red Bell pepper, and a bucket of sugar.
To start things off, let’s work on the Habaneros.

Here they are in their whole, evil form.

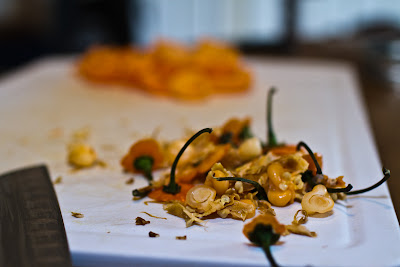
First, you need to get rid of stems and seeds…

Leaving just the flesh of the pepper behind…

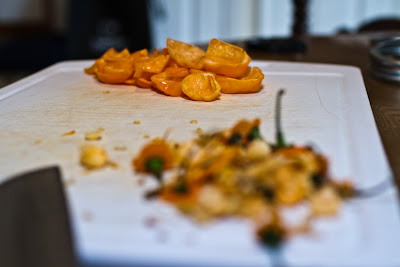
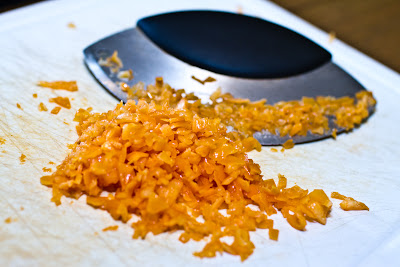
Then, mince the peppers until the are chopped like a fine relish…

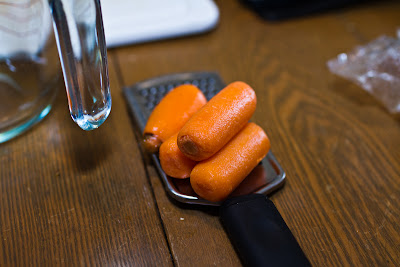
Go ahead and prep your carrots as well… you’ll be shredding the carrots…


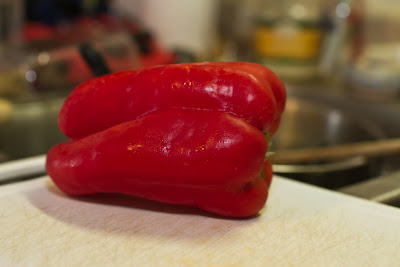
Now, the red pepper. You only need about a half a cup… but, you can eyeball it.

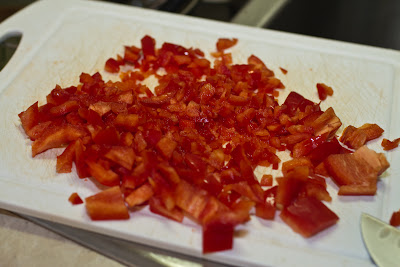
Chop it … all nice and fine.

It’s almost time to start making the jelly… but first, boil a big pot of water. Once boiling, take the lids off of your jars and toss them in the boiling water for 5 minutes to sterilize them. Then pull them out and let them cool a little bit on the counter.

Now, it’s time to start making the jelly.

So, remember that bucket of sugar I said you’d need?

This is 6-1/2 Cups of sugar…. yeah… that’s a lot… but… oh well.

Put the sugar in a medium sized pot, and add 1-1/2 Cups of cider vinegar.
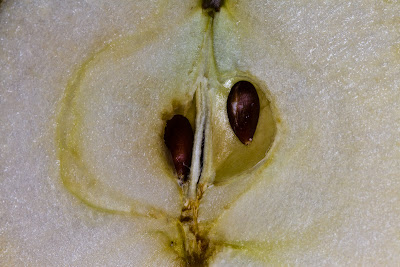
This will be enough to make the sugar mostly wet… toss the sugar around and try to get all of it wet before tossing it on the stove. This is also a good time to get a big pot of water boiling on the stove… like the one that you sterilized the jars in… you want to have 1 inch of water above the tops of the jars.
Put it on medium heat until all of the sugar is dissolved.

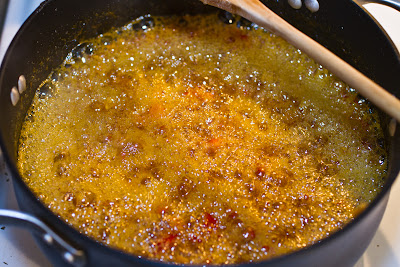
After all of the sugar is dissolved, add the chopped red pepper and the carrots. Bring it to a boil and let it go for 5 minutes, stirring occasionally.

After 5 minutes, add the habaneros and simmer for another 5 minutes, stirring occasionally.

After 5 minutes, add the 2 packs of liquid pectin and stir continuously for one minute. This will thicken the jelly up rather quick-like.

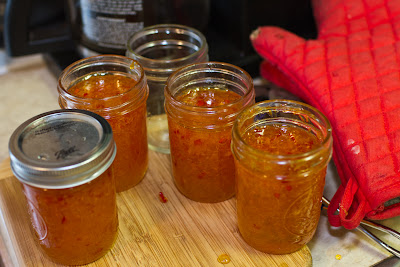
After the pectin has been in for 1 minute, it’s time to pour into jars. Leave some room at the top, I like to leave 1/2”.

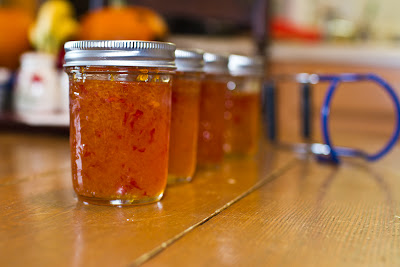
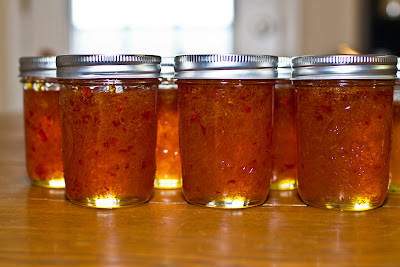
Toss the jars into the boiling water for 5 minutes, then remove them and allow them to cool on a wood surface, or a surface covered in a few towels.

This recipe made about 6-1/2 half-pint jars.

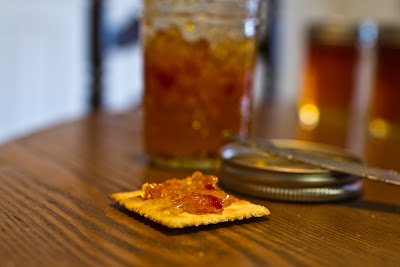
I like to serve the pepper jelly with some cream cheese and crackers, but I suppose there are all sorts of things you can do with it….


This was just a test batch.. there will probably be another batch coming around Christmas time…. so… let me know if you want to try a jar from the test batch… you can come by and grab a jar!