I call this Citrus Meringue Pie, because you can really make it with any citrusy fruit medley. Today I used grapefruit and oranges, because that’s what my grandmother sent us for Christmas. But I’ve done it with oranges, lemons and limes. Probably even pineapple mixed in would work for a Five Alive pie. You could even make a purple one with blood oranges.
It’s good to get the ingredients all ready to start, because the pie comes at you kind of fast.
You’ll need:
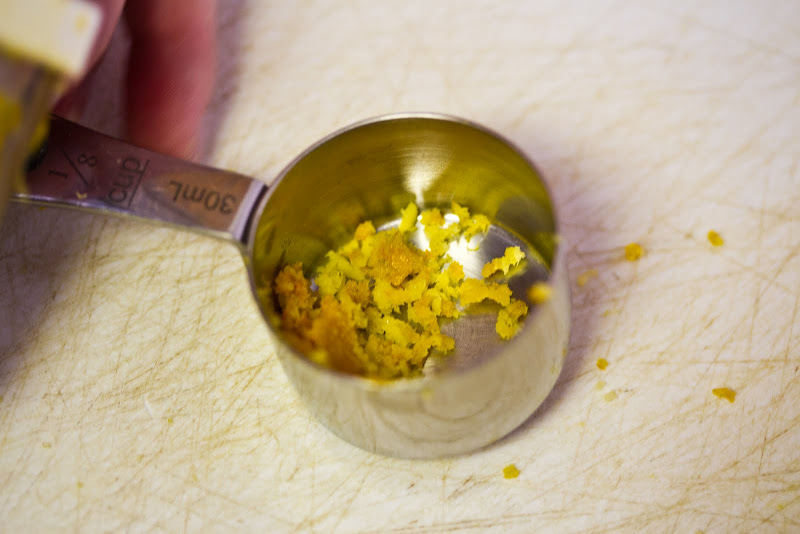
- 2 teaspoons of zest (do this first before you juice)
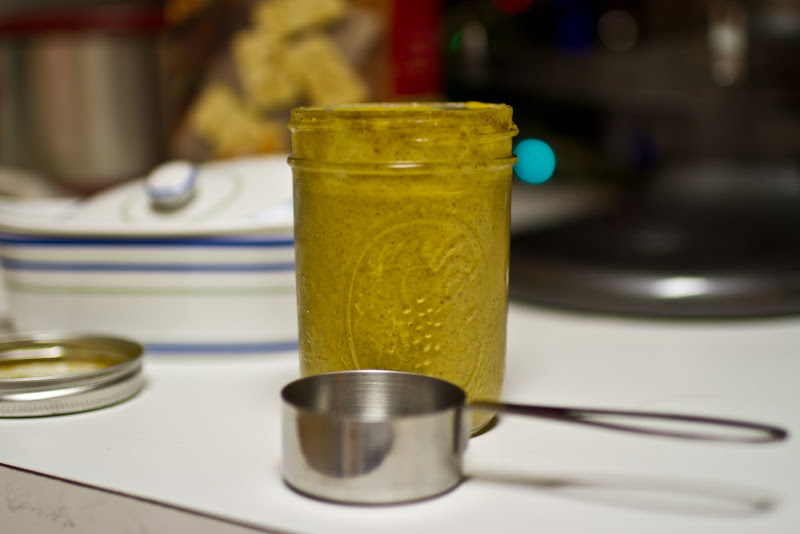
- 1 1/2 cups of juice (fresh is best, but whatever’s on hand)
- 1/4 cup water (pour in with juice)
- 1/2 cup sugar
- 1/3 cup corn starch
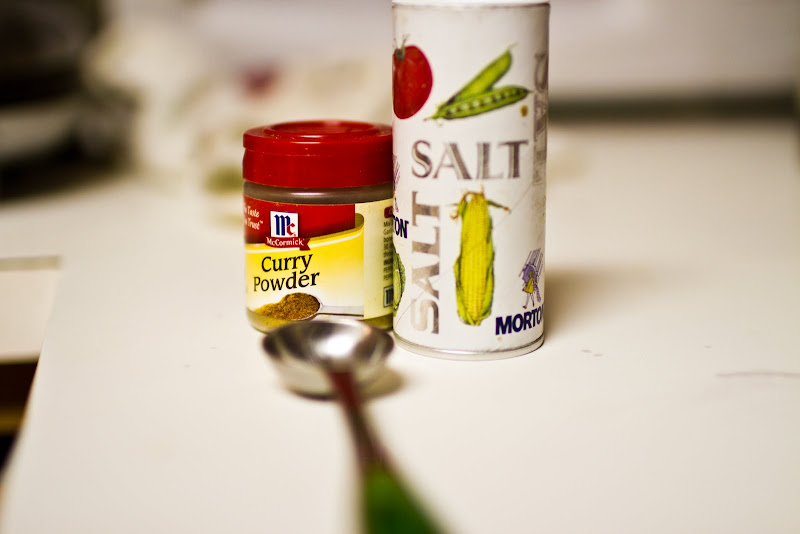
- pinch of salt (all dry ingredients above can go in together)
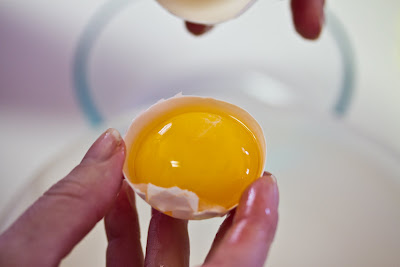
- 4 eggs separated (most difficult part of this easy pie)
- 1/2 stick of butter cut in tablespoons
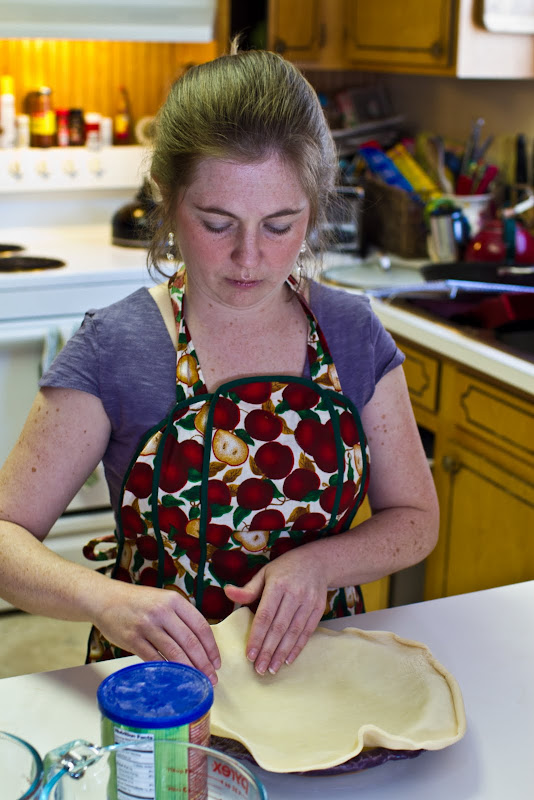
- 1 9inch pie crust (I use premade, although Aaron says that is cheating… whatever. It’s not like he offered to make me homemade pie crust!)
By the way, this recipe is adapted from this one: http://allrecipes.com/Recipe/Orange-Meringue-Pie-3/Detail.aspx
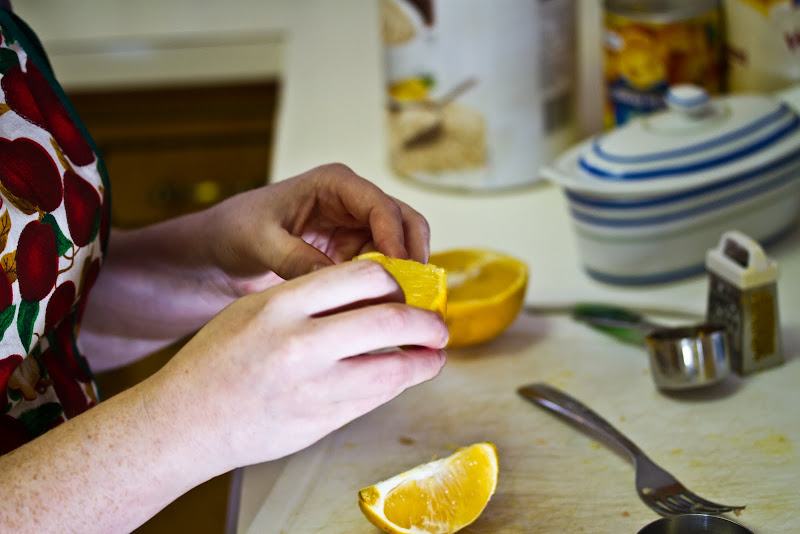
So to start, zest your fruit. Then juice your fruit.
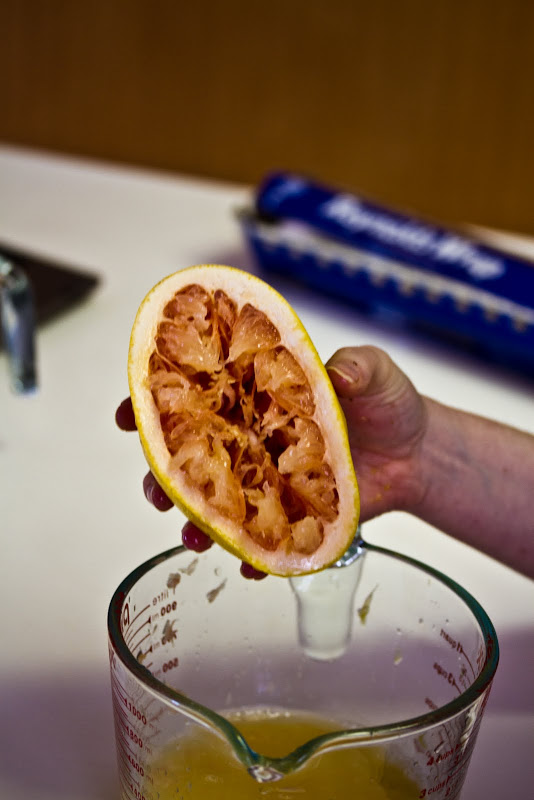
Try to get the seeds out. If you fail, tell everyone it’s for “authenticity.”
Next, prep and bake your pie crust. You’ll need to cover it with foil and wait it down with pie weights of dried beans. I didn’t have any of those things so I used spoons. Bake for 10 mins.

Note, spoons are not ideal, as every time I’ve made this I have broken the pie crust, but that doesn’t really matter. The pie is still delicious!
While the crust bakes, go ahead and prep your dry ingredients (sugar, corn starch and salt) and liquids (you should have 1 and 1/2 cups juice plus an extra 1/4 cup water). I used one grape fruit, one orange, and topped off the rest with lemon juice. I always add at least 1/4 cup lemon juice for the tang!
Then, separate your eggs.

The crust should be mostly cooked by now. Pull it out, take off the weights and CAREFULLY remove the foil. (This is where I always am not careful enough. Then back 5 to 7 more mins. until golden brown.

You can see a little of my crust is falling off, but no matter, we are going to cover it all with MERINGUE and no one will notice.
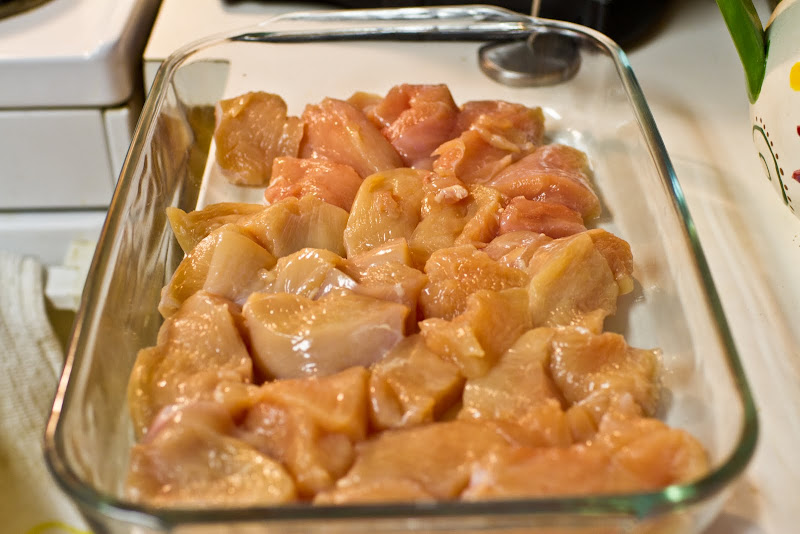
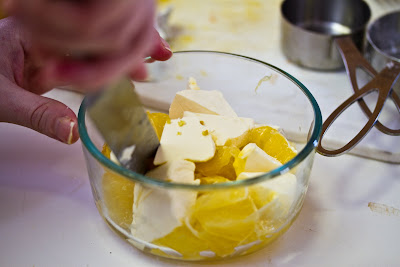
While the pie crust is browning, cut up some of your fruit sectionals. (I usually go with the oranges – unless you want some real zing!)
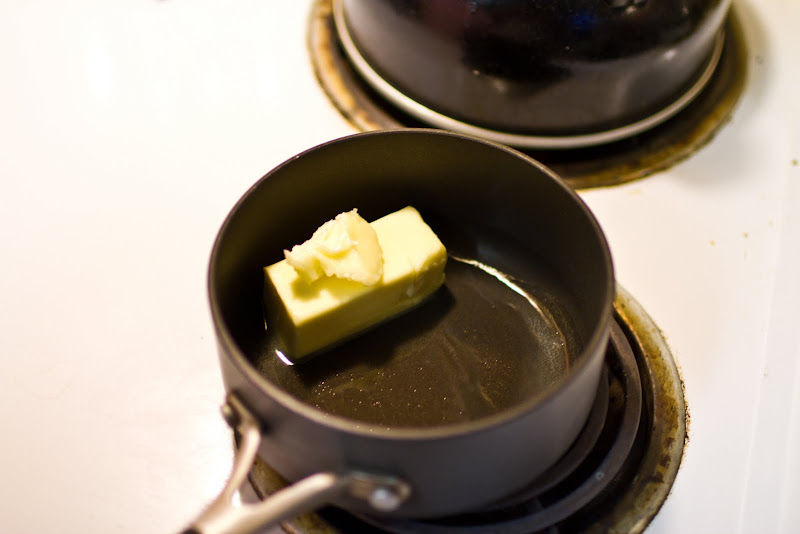
Top those lovely wholesome things with your 1/2 stick of butter. They will be folded in together later.
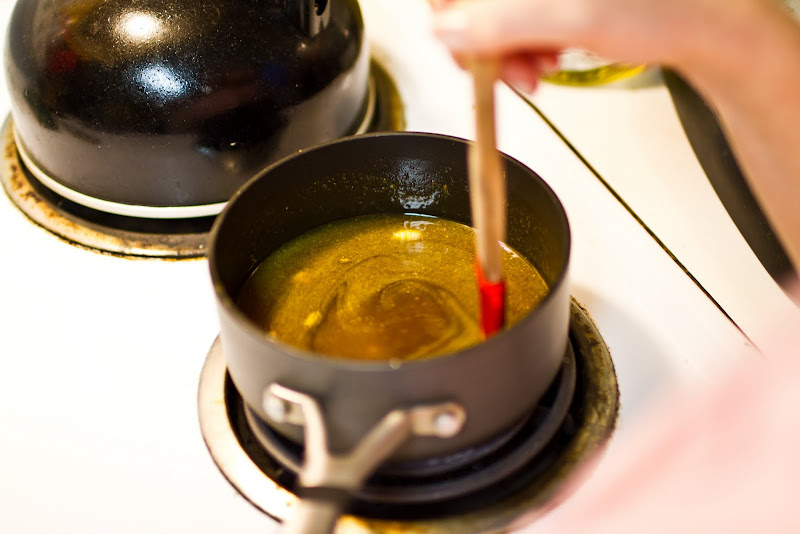
Ok. Now quick, pull out the pie crust before it burns. Then in a small sauce pan, stir together the dry ingredients until mixed.
Next add the juice and stir. Turn the burner on medium high heat. The magic is about to begin.
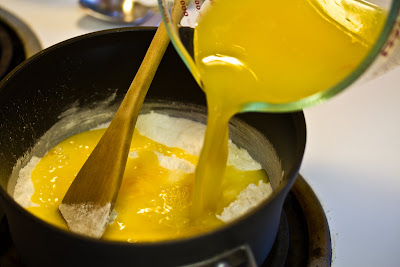
Whisk in your egg yolks that you separated. Reserve the whites.
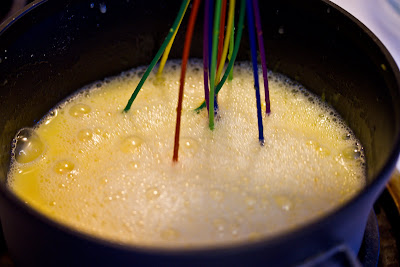
Then continue to stir until the mixture thickens. When it thickens, you will know, because it really thickens… think gel.
From
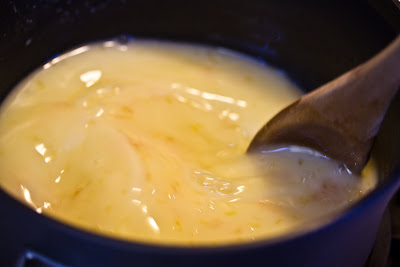
to
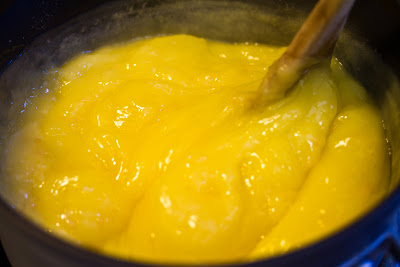
Remove from heat and fold in the zest, sections of fruit and butter.
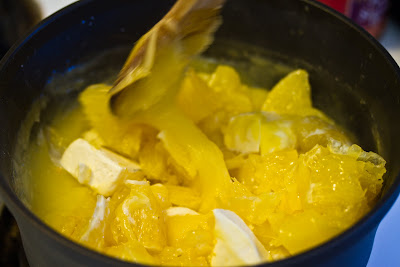
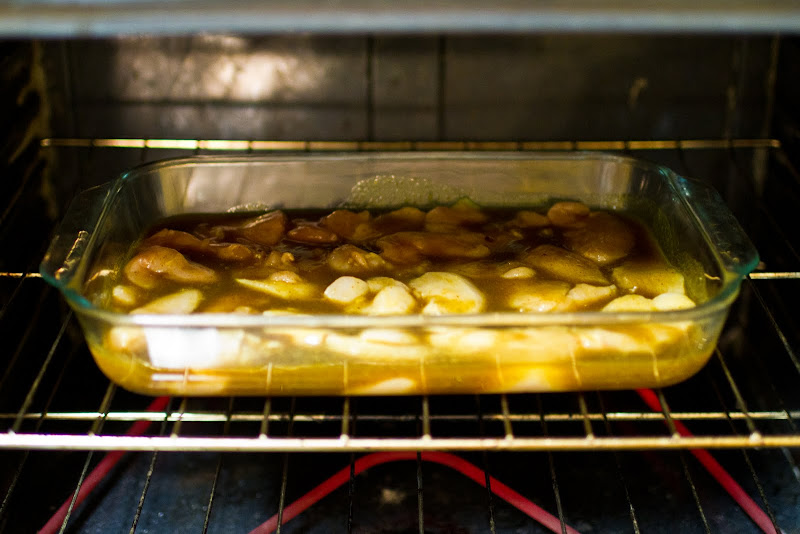
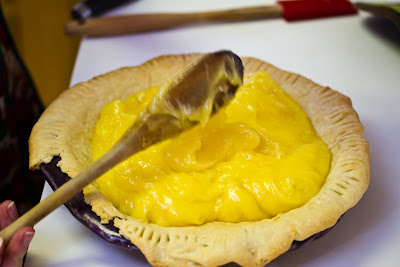
Once the butter is melted and everything is incorporated, Pour/scrape into pie crust.
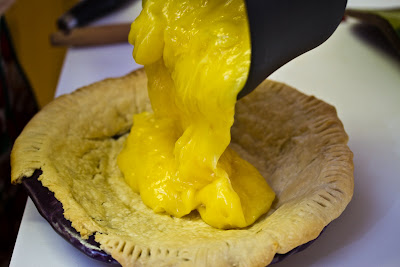
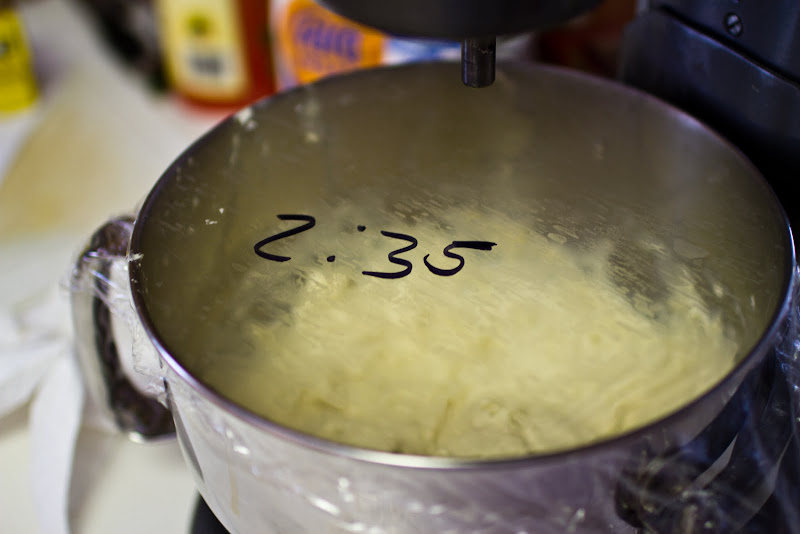
Smooth it all down with your spoon. Then let it cool to room temp. Meanwhile you can tackle the pile of dishes in the sink… or just watch TV.
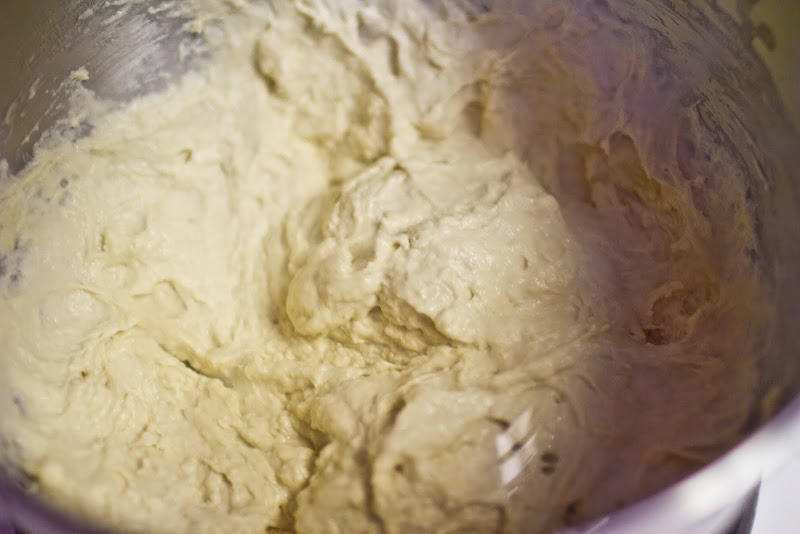
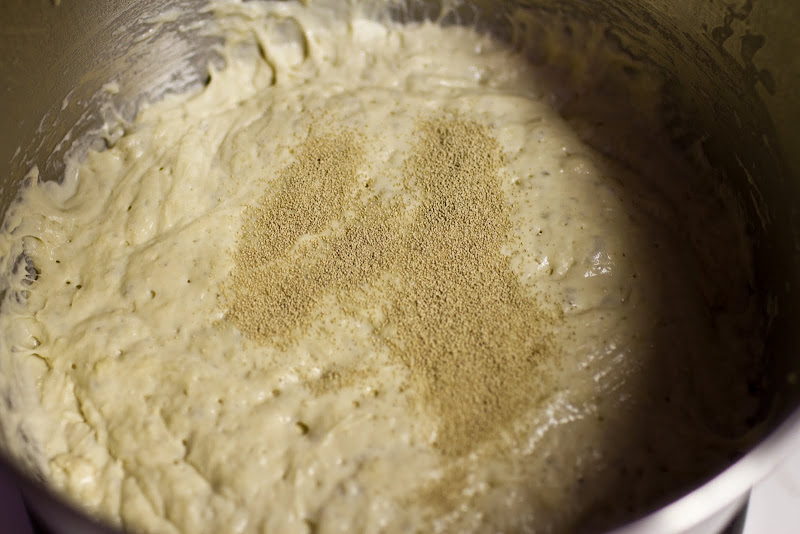
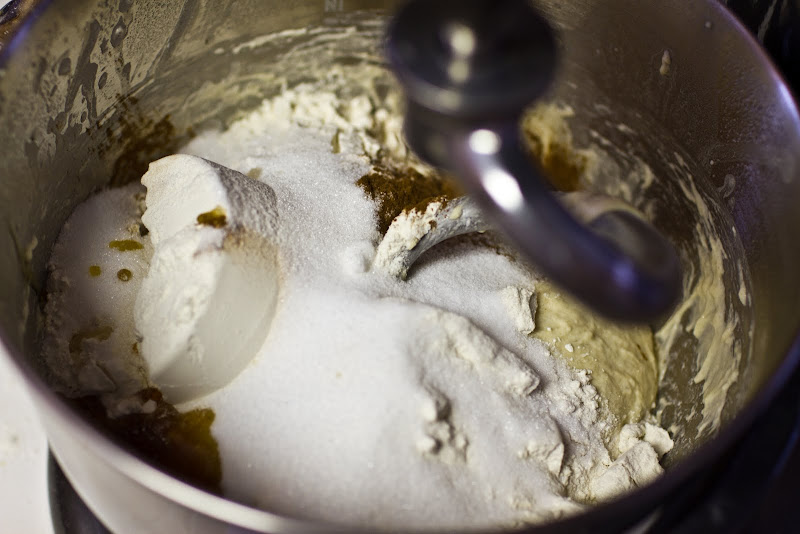
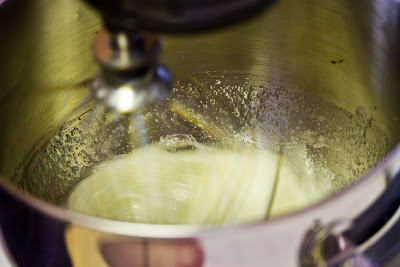
Now comes the super fun part. First, preheat the oven to 350. Then, take those egg white you reserved from earlier and pour them into a mixing bowl. Then whip them, whip them good, while slowly adding a 1/2 cup of sugar and 1/4 teaspoon of cream of tarter.
Here is the process:
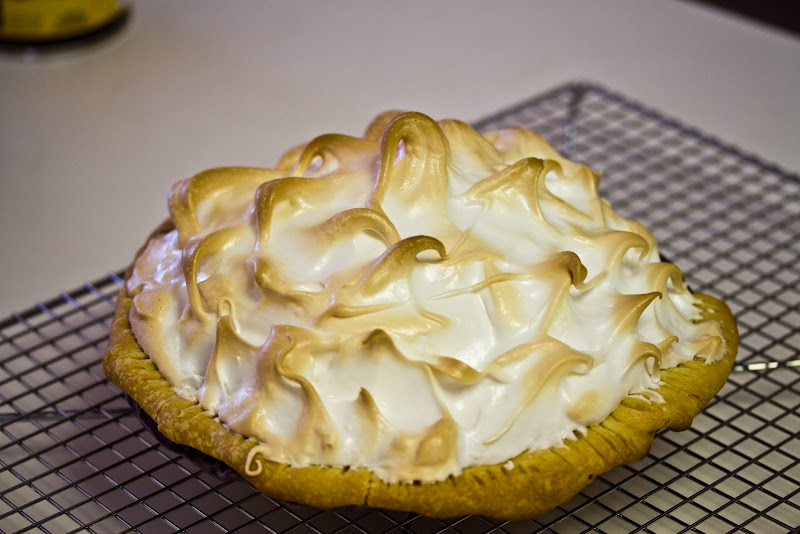
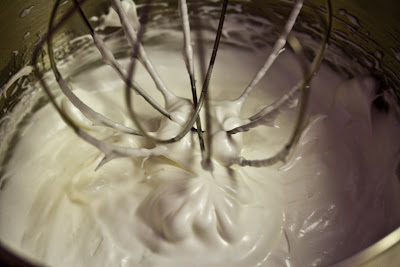
Here is the result:
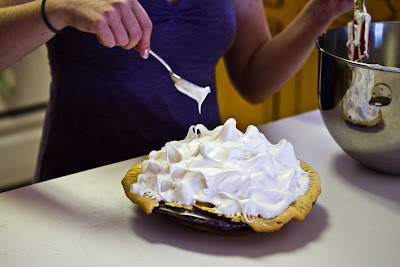
Spread on your pie.
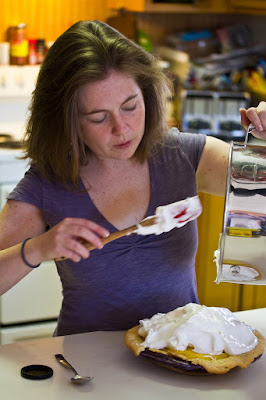
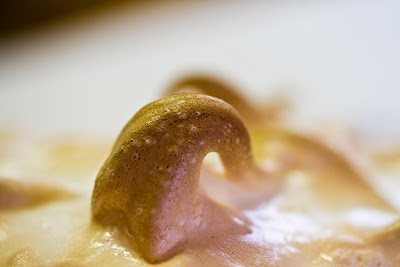
Then take a spoon and make those nice peaks all over it.
Bake in the preheated oven for 15 minutes until golden brown.
So good. I love this pie because it’s the perfect antidote for the winter blahs. It has the tart of the citrus with the nice sweet of the meringue. Also making the filling when the corn starch sets up is really fun, and turning egg white into meringue is like magic!